Scrapbooking albums for girls: ideas and production
Like several centuries ago, modern girls and girls love to keep diaries, albums, where they write down the most important events and secrets of the heart. You can purchase a ready-made edition, or you can make it yourself using the popular handmade technique - scrapbooking. Where did this type of needlework come from, what tools are needed, as well as ideas for creating albums for the tiniest and youngest princesses - in our material.
History of origin
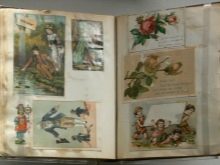
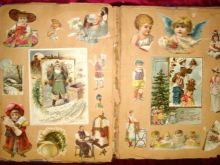
The term itself, translated from English, literally means "a book with clippings." The essence of this unusual creativity is to create a vivid and exciting story of the life of a person or a whole family, which can be passed on from generation to generation in the form of a photo album.
The idea arose in the distant 17th century, when special notebooks became popular, in which personal information, letters, autographs, clippings with important events were entered.
By the beginning of the 19th century, the term "scrapbook" had become popular and gained many fans around the world. Among the most famous are US President Thomas Jefferson and Mark Twain. The writer was not only fond of paper art - he patented a scrapbook with self-adhesive pages.
With the active development of photography, self-made albums with embossed covers, lettering and wishes have become even more popular. But scrapbooking gained worldwide recognition and global interest in 1980, when Marilyn Christensen spoke at the World Conference on Archives and presented her own vision of preserving family history.
In the domestic open spaces, the technology of creating handmade family albums has gained popularity relatively recently - since 2006. Thanks to the Internet and numerous forums of like-minded people, the army of scrapbooking fans is growing every year, and the skill of needlewomen is improving.
Features of scrapbooking technique
If you are a beginner and are just taking your first steps in the art of family history design, try to start not with the whole album, but with the design of individual pages or the cover.
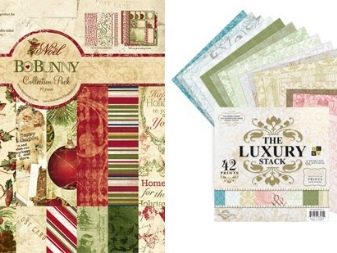
Necessary materials.
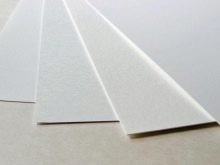
- Special scrap paper.
- The basis for the album: on bolts, rings, acrylic blanks. You can purchase whole kits for beginners, where everything you need is selected at first.
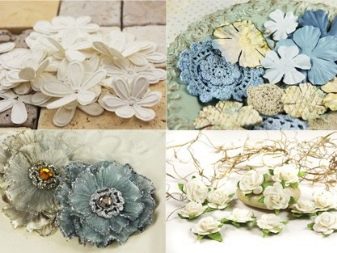
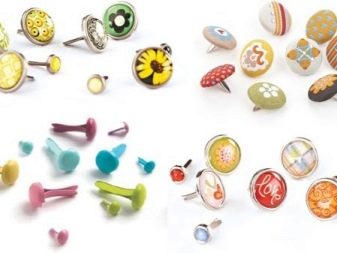
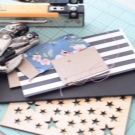
- Decor: flowers, ribbons, buttons, brads (decorative carnations on two legs), eyelets, die cuts, polishes.
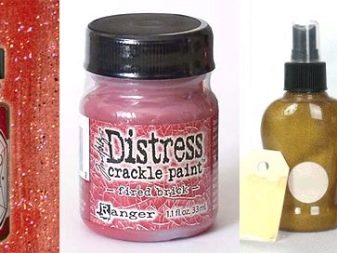
- Paints and varnishes.
- Gluing materials: adhesive tape, glue.
Scrapbooking also requires special tools. As in any hand-made business, good products are not cheap, however, they greatly facilitate the process of creativity. You will need the following tools.
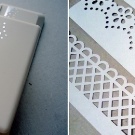
- Punchers. In the scrap industry, there are several types of interesting varieties: curly, designed to create patterns of all sizes; curbs - for decorating an openwork edge; corner composters - for decorating corners; multifunctional - combine all of the above.
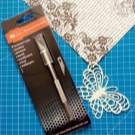
- Dummy knife - will make it easier to cut out small parts.
- Self-healing mat - will protect the surface of the desktop from scratches and other damage. For convenience, the rug is marked with centimeter markings.
- Roller cutter - Needed for cutting a large amount of paper, allows you to create perfectly straight edges, unlike scissors. It is a platform with a cutting mechanism and markings.
- Eyelet installer.
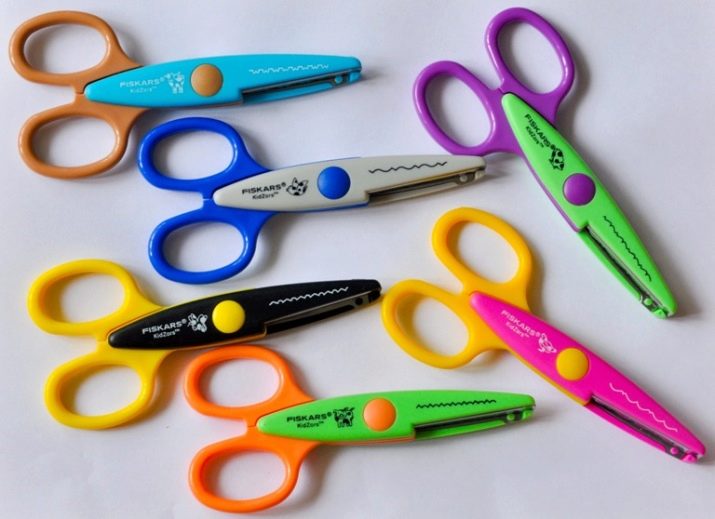
- Curly scissors - to create openwork edges.
- Handheld printer, creating the effect of embossing on colored self-adhesive tape.
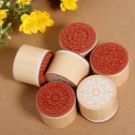
- Stamping materials: the stamps themselves (silicone, rubber), inks for them (chalk, fast- and long-drying) and accessories (acrylic block for gluing the stamp, stencil and applicator).

It is not at all necessary to make significant financial investments and buy all materials and tools at once. You can do a lot with your own hands, the main thing is a positive attitude and desire!
Workshop on making an album for a newborn
The period of infancy flies by so quickly that you just need to capture every moment! With tender nostalgia, mothers revise the photographs of their tiny babies and hardly believe that their girl was once like that. To show your grown daughter as many golden moments from her early childhood as possible, create a children's album with your own hands, adhering to the following recommendations.
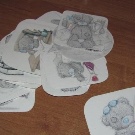
- Decide on the style, design technique and content of the future album.
- Prepare photographs and all materials for the basis of the album, its decor.
- Count the number of pages needed according to the chronology of the first year of life.
- Think about the text design for each page.
- Design each album sheet. First, just create the layout with photos and accompanying decorative elements. If everything suits you, then you can stick it.
- Think about how the pages will be attached - binding, rings.
- Gather the cover and the rest of the sheets.


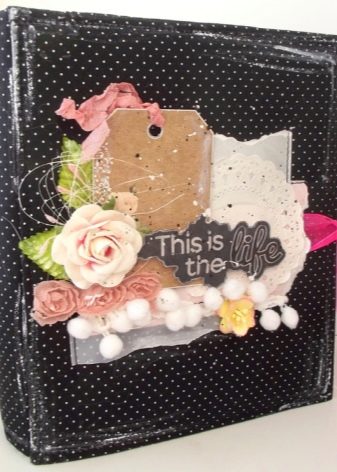
A separate item is to take out the design of the cover - the "face" of your future creation. We offer one of the options for creating a cover. For this you will need:
- glue;
- rings;
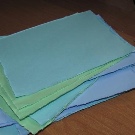
- canvas material;
- thick cardboard;
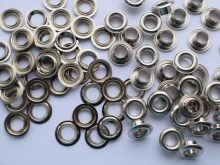
- eyelets;
- synthetic winterizer.

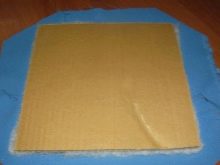
Cover is recommended several millimeters more than the pages themselves. Cut a rectangle from the padding polyester to fit the cover, glue it onto cardboard.Cut off the canvas with a margin of 1 cm - for easy fixation on the workpiece with padding polyester - and glue. To mask the edges of the fabric, cardboard is glued to the inside. In this way, the back is made.
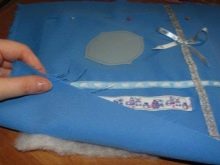
For the front part, a square is cut out in the center of the cardboard sheet (or any other figure of your choice) - a photo of the baby or an inscription will be placed there. Then the procedure is repeated with gluing padding polyester, canvas. When the layers are dry, you need to cut a hole and secure the edges. Attach a photo and glue the front side with cardboard from the inside.
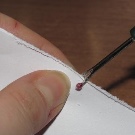
Make holes for the eyelets, stepping back 1.5-2 cm from the edges, insert the fastening rings. The cover is assembled, now you can insert pages!
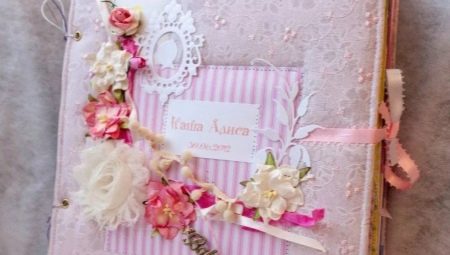
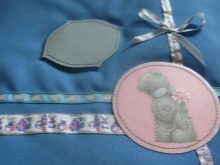
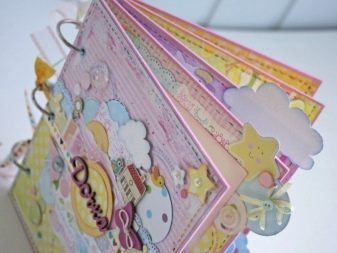
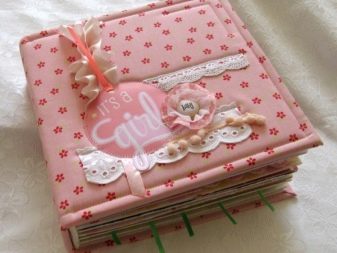
You can decorate the front side in a variety of ways. The combination of textiles with lace, satin ribbon looks very delicate. Artificial flowers and crocheted ones will organically bloom on rough canvas, they can be supplemented with various cut-outs and thematic figures (stroller, body, crown, bottle).
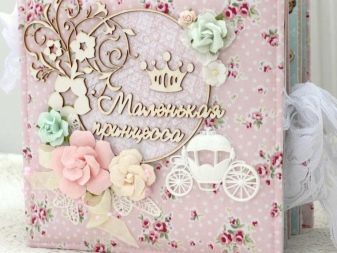
We offer some original ideas for the cover.

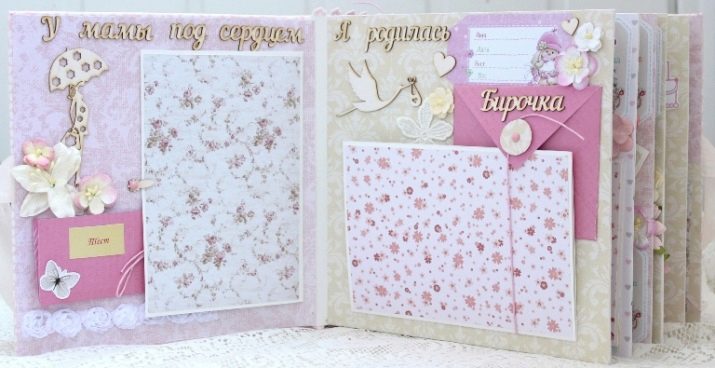
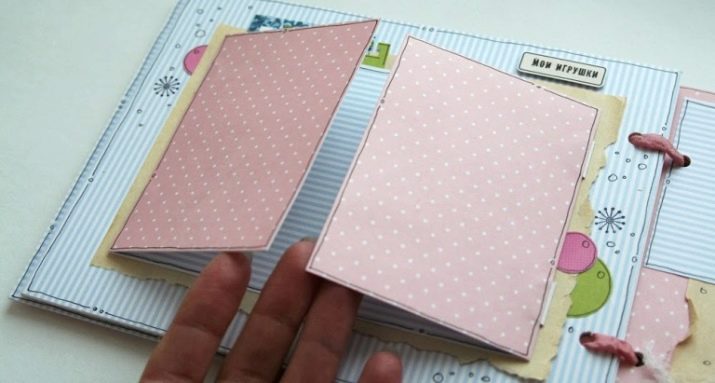
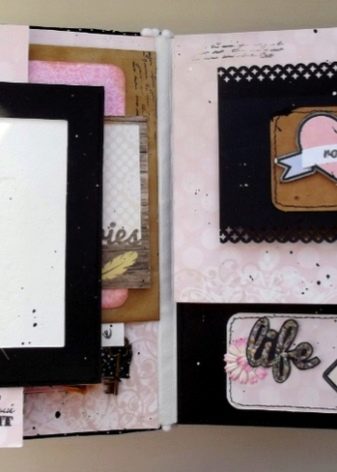
Internal pages can be styled in a similar way.
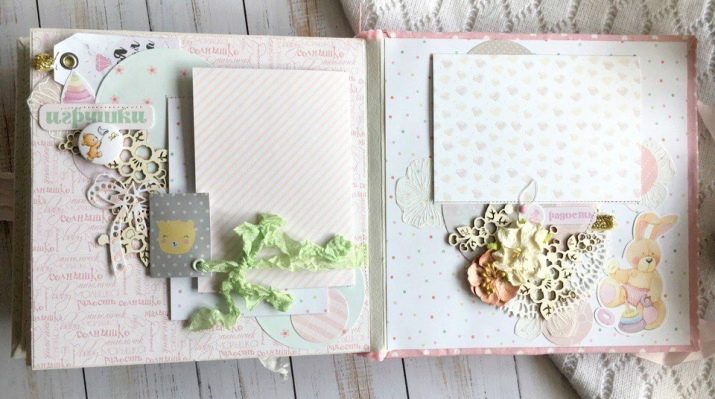
But even if you take just colored sheets, their content will still be the main value of a handmade album for a newborn.
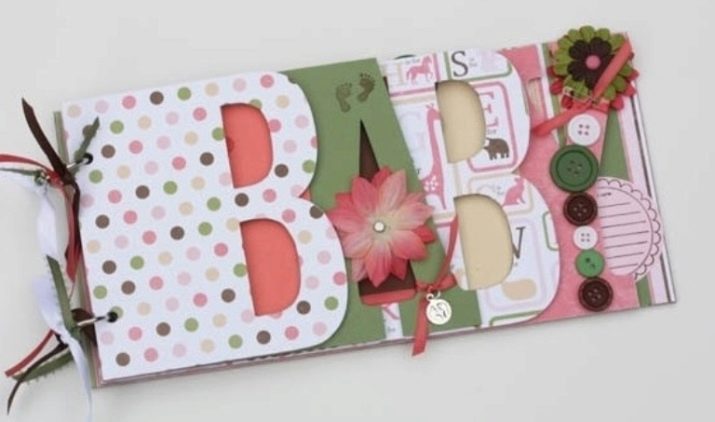
You may want to move away from the standards and create a mini-album with sheets in the form of letters BABY.
How to design an album for a teenage girl
An album for a young girl should be designed according to her preferences. The generally accepted pink and lace extravaganza will no longer work, as it did for newborn babies.
In adolescence, girls trust their diaries and albums with many secrets and secrets, so the inner content should be filled with a large number of envelopes, corners, and pockets. Someone really likes to pose and take pictures, while someone prefers to act as a photographer - this should also be reflected in the content of the album.
If you are going to make a similar gift to a teenage girl, be sure to consult with her loved ones so that your album suits her interests.
A master class on decorating an album cover using the scrapbooking technique, see the video below.


