Scrapbooking chipboards: what are they and how to use them?
Scrapbooking technology is very exciting. One of the most commonly used materials in this lesson is chipboards. These elements enliven the creations of the masters, bring zest to them. Chipboards for scrapbooking can be bought or made by hand. The features of their creation and use will be discussed in the article.
What it is?
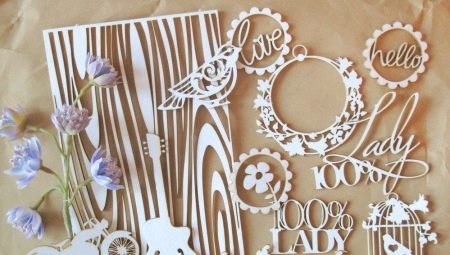
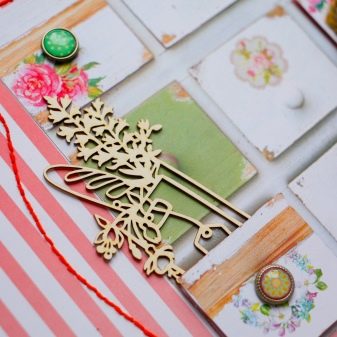
Chipboard - This is a figurine made of dense material. Usually such elements are made of cardboard or plywood. The thickness of the products varies from 2 to 4 mm.
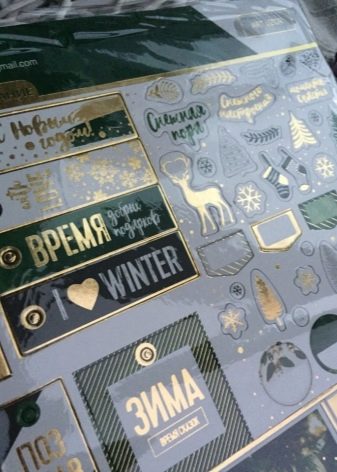
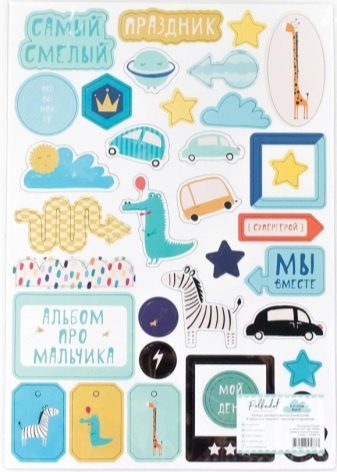
Decorative embossed elements can have different shapes. The most popular are silhouettes of people, animals and birds, images of flowers, snowflakes and other objects and phenomena of the surrounding world. It can also be numbers, letters or whole phrases, complex compositions.
The scope of application of such parts in scrapbooking is very wide.
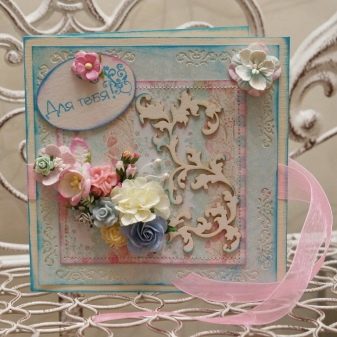
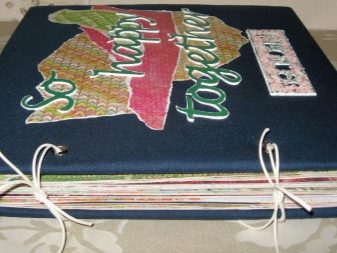
They are needed to decorate postcards, albums, boxes, wall and table decorations, etc. This versatile volumetric decor can decorate many crafts made of paper or wood.
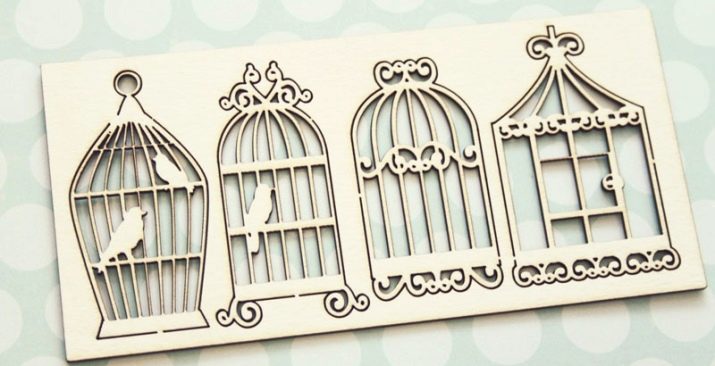
There are several types of chipboards. For example, silhouette options involve cutting out the image. Such details can be additionally decorated using different techniques. "Engraved" models have a pattern on their surface that is not cut through. They are already ready to use, you do not need to paint or decorate them. Decoupage models already have a certain color.
Some options have an adhesive base.
They easily adhere to the surface, which saves the craftsman from the additional work of applying glue to the parts. This is very convenient, especially if the decor is very elegant (for example, lettering).
How to do it yourself?
The assortment of chipboards offered by the stores is great.But with your own hands, you can create an exclusive item. The process is pretty straightforward.
- First of all, you need to find a suitable contour. You can draw it yourself using a graphics editor.
- Then you need to print the image. Its size should correspond to what is required for the product.
- After that, the drawing must be transferred to the cardboard. A simple path can simply be traced around the cutout template.
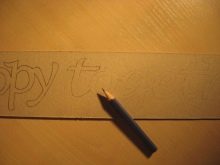
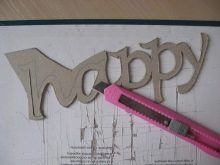
- More complex images, letters and numbers require the use of tracing paper. It should be placed on the stencil and outline the outline with a simple pencil. Then they turn it over, put it on cardboard and repeat the stroke.
- The decor is cut out with a sharp knife. You can take the usual clerical version of the tool. It is more convenient to cut long inscriptions in parts.
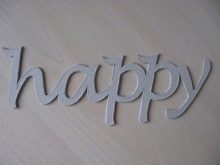
- Finally, the edges and sides of the workpiece are sanded. This allows the element to be neat and tidy.
How to use?
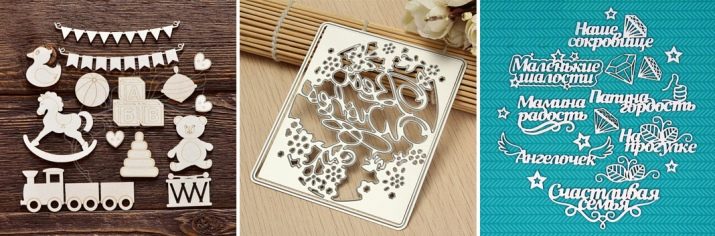
Usually chipboards are sold in sets. The sheets contain the outlines of several shapes. They are already cut with a laser device. You just need to extract the desired decor, arrange it (if desired) and place it in the chosen place in the composition.
The element is carefully detached from the substrate and glued.
You can use PVA glue or a stationery variety for this. Figures with a glue base do not require additional funds.
As for processing, sometimes chipboards are used in their original form. For example, products made of plywood or beige cardboard fit perfectly into eco and country style projects. Their color and texture only emphasize the author's idea. However, more often such elements perform the function of the base, which is decorated in accordance with the artistic concept.
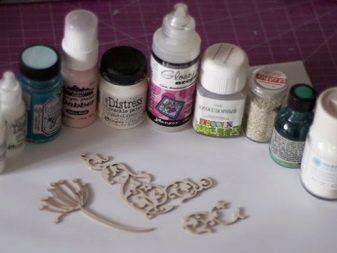
Dyeing
The cut-out element can be painted in one tone, decorated with a smooth gradient or patterns. You can use acrylic or watercolor paints, enamel, colored varnish.
The only nuance that should be taken into account is that some dyes are absorbed.
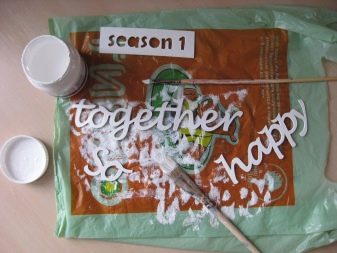
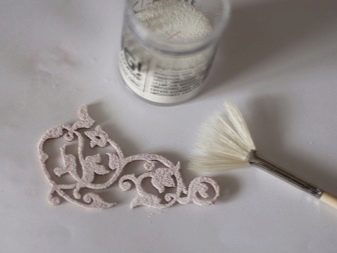
That's why for the purity of the shade, it is better to first cover the chipboard with white paint (preferably acrylic). Then you need to wait for the coating to dry. After that, you can already use the tone that matches your idea.
Pasting
You can give the chipboard a colorful look by pasting it with special colored scrapbooking paper. Decoupage napkins are often used. This is especially convenient if you want your figurine to have a print.
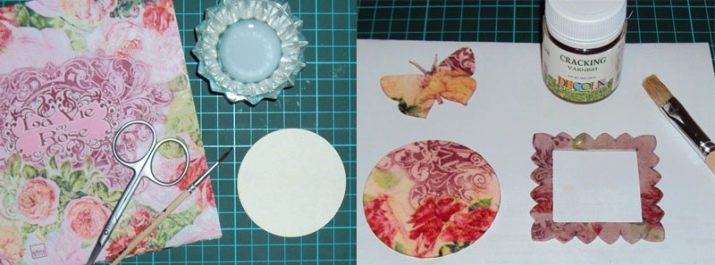
Creation of different effects
Depending on the idea, you can give the volumetric decor an unusual texture. For example, it looks interesting peeling paint effect. To do this, you need to put paraffin on the workpiece using a special technology. Can be used craquelure technique.
In holiday projects it is appropriate to decorate figures with sequins, beads or rhinestones... Romantic compositions use lace, beads, artificial flowers.
The original effect can be obtained by mixing several different products. For example, powder for embossing and acrylic show themselves perfectly in a pair.
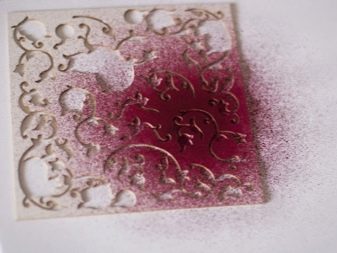
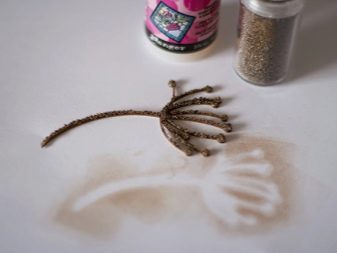
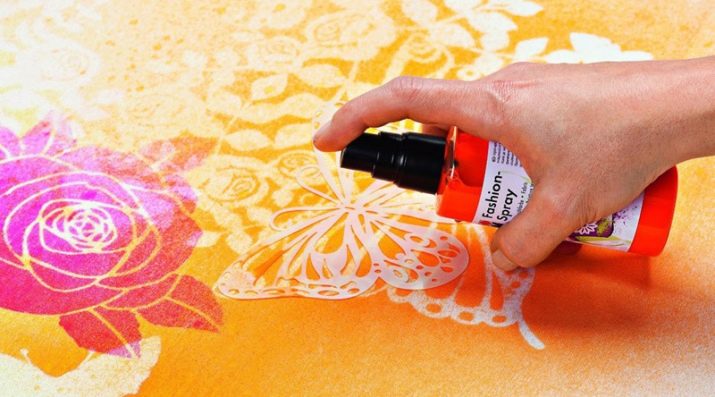
Use as a stencil
The chipboard and its substrate can function as a mask. To do this, you just need to place the substrate on a clean sheet and spray paint spray over it. As a result, a beautiful pattern or drawing will appear on the paper.
If you want the contour, on the contrary, to stand out by the absence of color on a colored background, use the element itself according to the principle described above.
For information on how to make a chipboard with your own hands, see the next video.


