How to create a scrapbooking album for children?
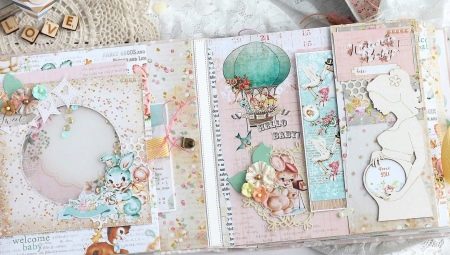
Not only other people's children grow up quickly, often parents do not have time to look back, as their kids become completely adults. Photos have become an indispensable attribute of modern family life, from birth a child has a very large number of pictures, and every mother wants to arrange them so that after years she would like to plunge again and again into this sweet atmosphere of the happy days of growing up of her baby or baby.
So that the photos do not lie in a dead archive in the memory of computers, there are various ways to collect them into photo albums, for example, designed using the scrapbooking technique.
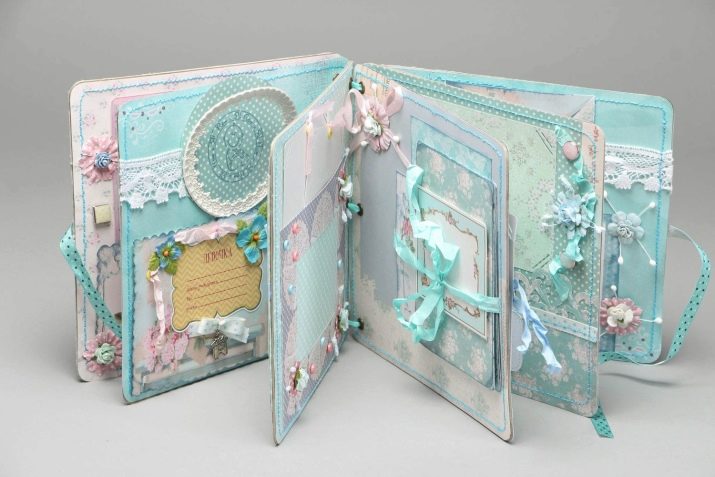
What might you need?
Scrapbooking allows you to create unique objects with your own hands, to be realized in creativity, to show imagination. With the help of simple tools and materials at hand, you can create real works of art. Such a composition will not only allow you to show your creativity, but also form such a useful item as a photo album.
You can choose any style, color scheme, theme and decor elements. The technique is not so complicated that a beginner scrapbooking master cannot master it, an album is the ideal start to a creative path.
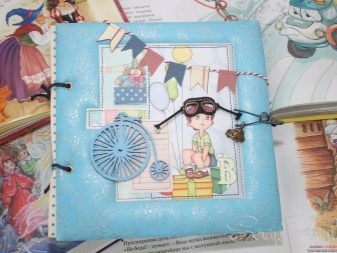
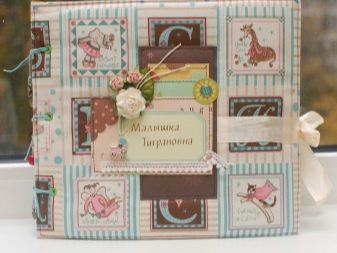
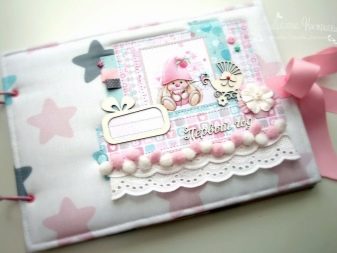
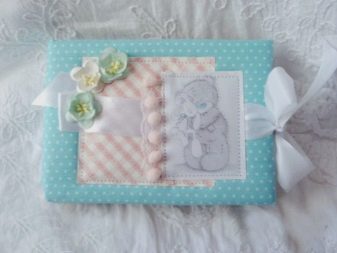
Photobooks ordered in salons are quite expensive, a self-made album allows you to replace it completely, while still containing a piece of your soul. Making this item will not take much time and effort, but the result will delight and impress the whole family. In order for everything to work out the way you want, you need to take care of the availability of the necessary materials and tools in advance. You will need:
- dense cardboard;
- patterned scrap paper;
- eyelet rings;
- corrugated cardboard;
- double sided tape;
- curly and ordinary scissors;
- pencil glue;
- Ruler and pencil;
- curly-type hole punch;
- acrylic paints;
- foam sponge or sponge;
- satin ribbons;
- decorative details - rhinestones, stones, half-beads, glitter.
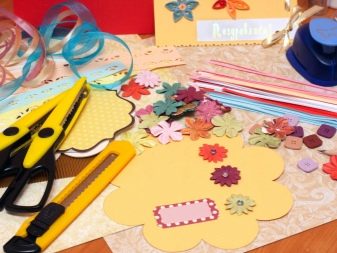
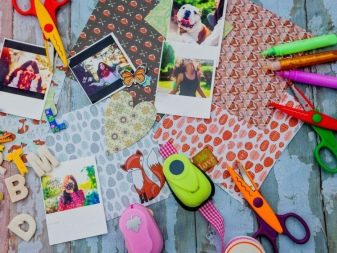
There are items on this list that perfectly replace each other, for example, glue and scotch tape, you should choose what you like more, what is more convenient and more familiar to deal with.
In order for all materials to truly turn into a magnificent work of art, the masters recommend adhering to some rules.
- Do not feel sorry for tracing paper. Placed between the pages of your album, it will serve as a protective layer and prevent mechanical damage to the pages. You can use parchment for this purpose.
- When applying acrylic paint, use a sponge or sponge, the best material is foam rubber. It is difficult to achieve an even coverage with a brush, the result will not be too neat. You can use sponges with which you wash the dishes.
- When thinking about individual inserts, do not be afraid to design them differently. A variety of decor and curly hole punches, scissors will help you with this.
- Avoid bulges inside the album. Volumetric details should fit on the cover, if you place something like this in the middle of the book, the pages will bulge. Use only flat type elements inside.
- Don't be afraid to use non-standard decor options - printouts, magazine clippings, spectacular stickers, decals. It is important that the shape, texture, style and color are harmoniously combined, everything else depends only on your imagination.
- Photos aren't the only way to fill an album. Enter there any text, poems, inscriptions, wishes. Over the years, your emotions will turn into vague memories and will be of interest not only to you, but also to the child.
- Try to create albums that span at least several years. Pages can display months or specific years of a child's life.
- Capture photos from the first year and beyond - these are real milestones in the life of a child, they are very important.
- Albums for newborns are best divided by month, the calendar will be relevant, in which you can make any changes.
Turn on your imagination and don't be afraid to experiment. In the end, only your taste and imagination can limit you.
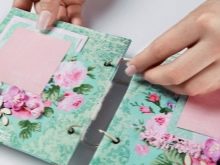
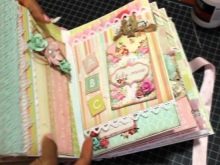
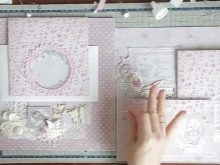
Master classes
Making a baby scrapbook does not require any special skills; you can master this technique from scratch. Therefore, if you decide to create such a gift for a baby, older child or schoolchild as a gift, you should study the algorithm of actions. Regardless of the theme, style, age target category (first year of life or graduation), the size of the future album (you can create one spread or many spreads), the presence or absence of inscriptions, step by step instructions are as follows.
- Prepare cardboard. You will need white cardboard, determine the number of sheets yourself, based on the number of pages of the future album.
- A two-centimeter indent should be made from the edge of each sheet. Then mark this line with a pencil - this will be the fold.
- Punch holes along the cardboard edges, indenting about 1 centimeter. To do this, use a hole punch or a special device for installing eyelets.
- Make exactly the same holes in the 2 cm cardboard inserts.
- Then it is necessary to make holes in the required number of sheets of tracing paper, which is pre-cut to the size of the cardboard sheets.
- It is necessary to glue all the sheets and inserts that make up the album, in order: insert, tracing paper, sheet of cardboard.
- Fasten the glued workpiece with clamps.
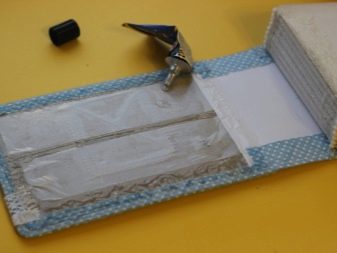
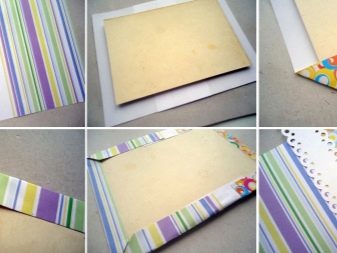
- After the blank is created, you can design the cover.Make the first and last pages separately, but always start from the first. To do this, it is necessary to paste over the cardboard with scrap paper of the required print, cut to the size of the cardboard sheet. Remember to make holes in both covers. The reverse side of the cover is made using the same algorithm.
- Then you should start creating a spine, for which you need a cardboard corrugation. The width of the spine should be within 5 or 6 cm, in addition, you need to indent one centimeter from each edge.
- Indents are covered with double-sided tape, on which the front and back of the cover are glued.
- After that, the album is assembled in parts, starting with the front cover and placing the cardboard pages in turn, ending with the back cover.
- Thread the satin ribbon through one hole, through the others and form a bow.
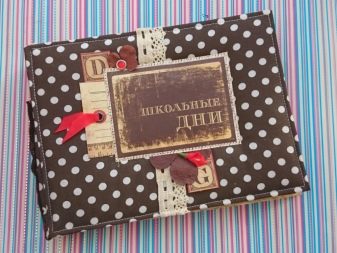
- You can start with the design, which starts with the first cover. It is decorated with themed inscriptions, objects, photographs, any decorative elements to taste and desire.
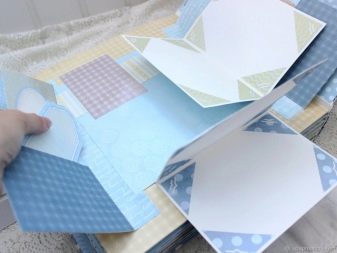
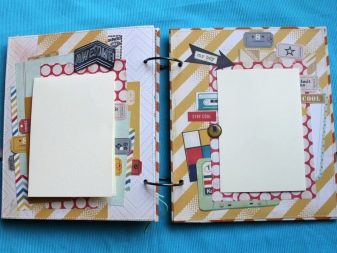
- Then the inner filling is formed, for which they use children's photos, scrap paper, acrylic paints, flat decor and curly scissors. It is pasted into the album.
- It is better to complete the design with the necessary inscriptions on each page. They can be printed in a beautiful font, printed on scrap paper and pasted.
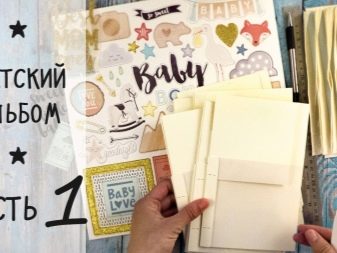
Album filling
First of all, decide on the age category, depending on this, the theme and the corresponding design style are selected. Albums are very popular "The first year of life" which are a kind of chronicle of the beginning of a newborn's life.
For a newborn
First of all, you need to decide on the color scheme, for boys it is traditionally blue, for girls - pink. But you don't have to stick to these established forms. Any shade looks spectacular in a delicate pastel palette - milk, cream, mint, turquoise, fawn, lemon, gray. For boys, as a rule, they use more brutal decor - cars, pirates, for girls, more delicate ones - princesses, dolls, bears. Inside, the album is formed according to the months of the child's life, this allows you to systematize information.
Besides the photo, be sure to write down your personal emotions and impressions, later it will be very interesting to reread it for both you and your child. And from the photo you can see how your baby has changed over this period of time. Such an album ends, as a rule, with a photo from the celebration of the first celebration.
Include in the album the cute nicknames you used for your child, any fun events, not just height, weight, and acquired skills.
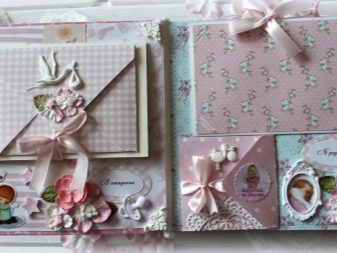
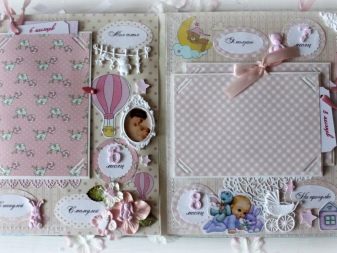
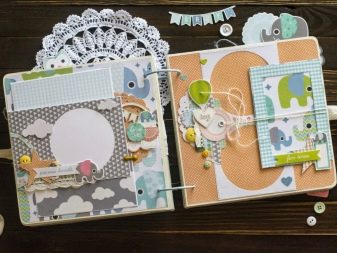
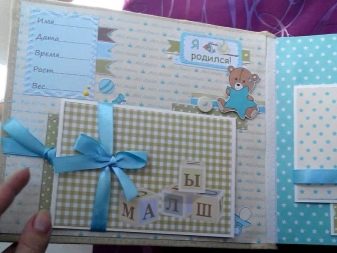
You can not limit the album to the first year of life, but keep it from birth to three years.
For preschooler
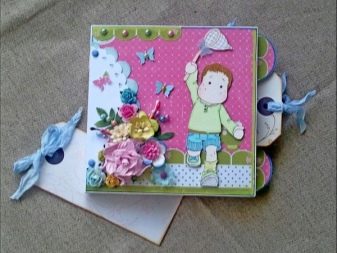
After three years, the child, as a rule, is actively involved in social life - goes to kindergarten, enrolls in different sections, development schools, and so on. Albums for preschoolers most often reflect this particular part of a child's life. Therefore, they contain photos from the nursery, the middle group, the older, by which you can track the growing up of the baby. You can make a graduation album when the child leaves the preschool educational institution.
Include in it the first poems told by the child, the first interesting phrases, words, interesting events, the first successes in any field: children's drawings, photos of crafts.
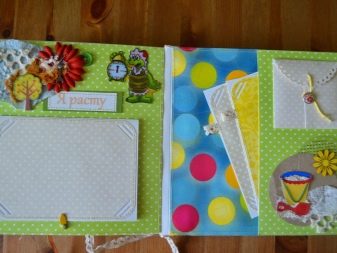
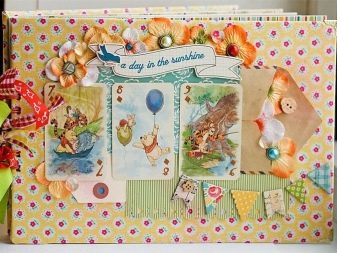
At this age, children already have stable interests - favorite characters from cartoons and fairy tales, movie characters, animals. When designing an album, it is necessary to take this into account and stylize the products taking into account the preferences of the daughter or son.
How to make a photo album for a student?
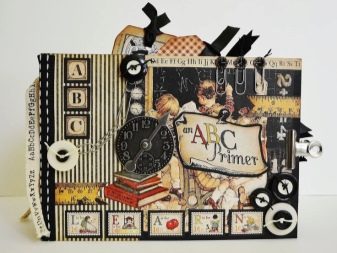
The school album is a more mature story, most often created at the graduation of elementary or high school. The design of a scrapbook for a first grader and for a teenager, as a rule, is radically different.But in any case, in the school period, a child is an independent person, whose interests must be taken into account when creating an album. It is better not to include any controversial stories that embarrass the child. Most often they contain photos from school life, vacation trips and, of course, the child's achievements.
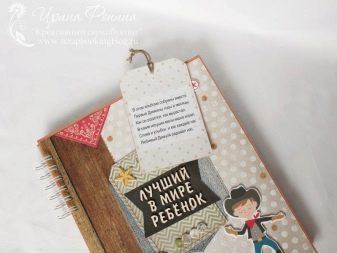
The spheres of interests of grown-up children are completely different. Someone is fond of sports, someone - drawing or music, someone sings. Hobby definitely needs to be given a place in the album. Girls at a certain age really like princess-style albums, boys - in the spirit of superheroes.
For teenage children, it is better to do "adult design" and maximum adult content. Personalized scrapbooks for any age look very impressive.
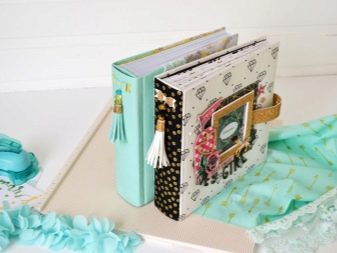
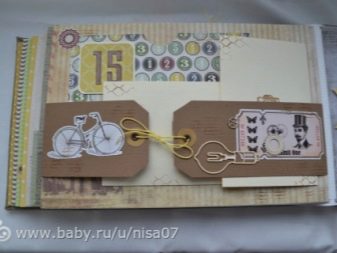
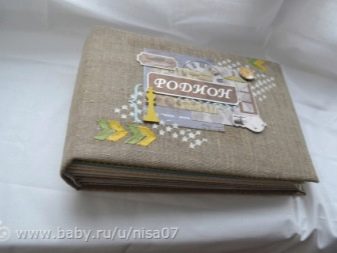
Interesting ideas for inspiration
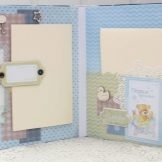
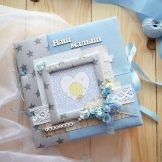
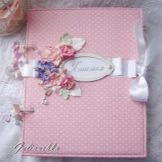
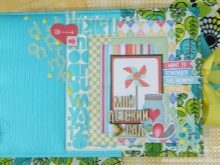
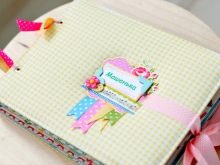
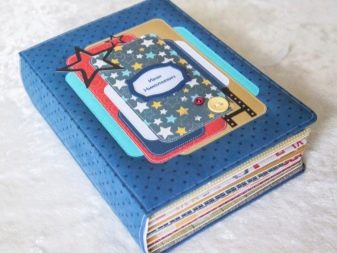
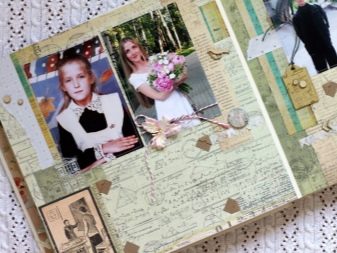
Creating a scrapbook for a child in any style requires inspiration and a beautiful idea. In order for the pages of your album to be varied and interesting, we suggest studying the most beautiful scrapbook compositions.
- for babies;
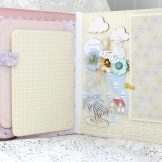
- for preschoolers;
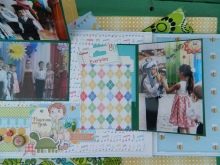
- For teenagers.
For information on how to make a scrapbooking album for children, see the next video.


