How to make an envelope for money using scrapbooking technique?
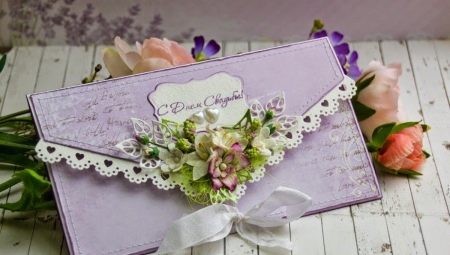
Every person undoubtedly needs money, and it is always pleasant to receive it, including as a gift. There will always be a suitable use for any amount, therefore, donating money has become increasingly popular lately and is the most win-win option. Giving money also means the recipient's freedom to choose a gift at his own discretion. A person can choose the necessary present himself or spend on other needs.
Thus, the cash amount will always be a relevant gift at any celebration, be it a wedding, the birth of a baby, anniversary of family members or something else.
How to give money?
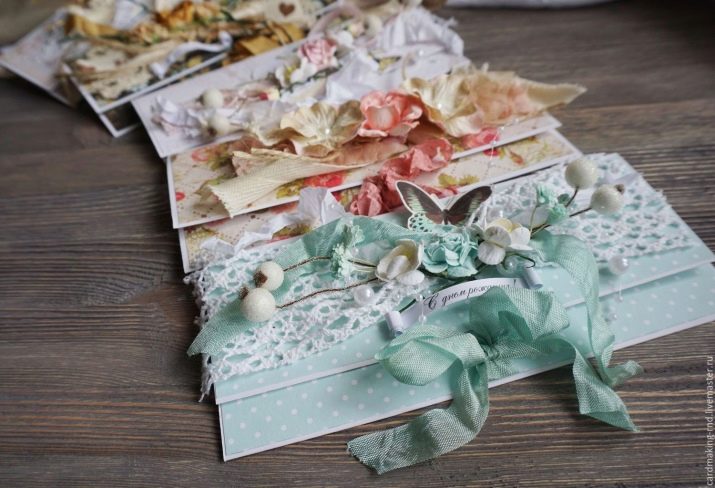
It is embarrassing to give banknotes without any decoration, so most often people buy envelopes in the form of small postcards, which are widely presented in the gift market, or they try to approach this issue with greater originality. You can hide the bills in an accompanying souvenir, a bouquet, or you can arrange a money envelope with your own hands in a creative scrapbooking style. This is a magnificent art - using all kinds of ribbons, coins, boxes, stickers and frames, turn even the most ordinary present into a bright masterpiece, which will be remembered for its spectacularity.
There are many different ideas for making money scrapbooking envelopes that will decorate your gift banknotes in the most original and stylish way. Scrapbooking master classes are very easy to perform, they enthrall the process of any performer, from beginner to professional. Let's consider some variations of this technique.
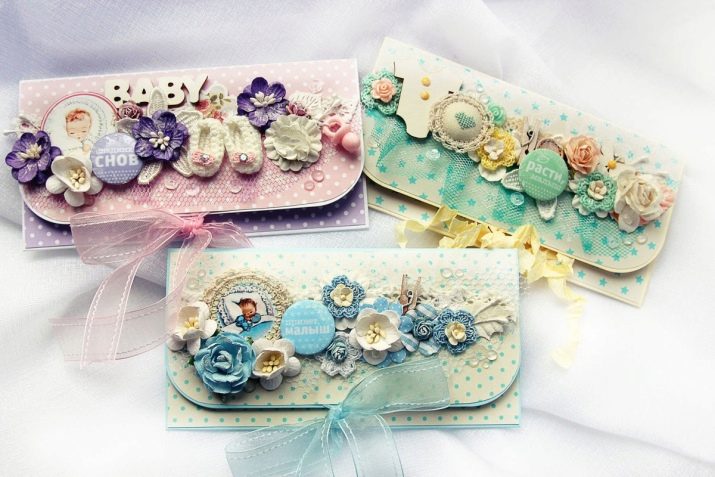
Creation of an envelope for any celebration
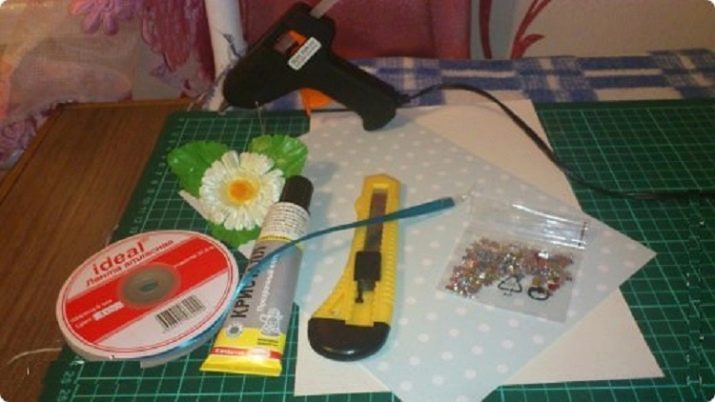
In order to make a money envelope for any holiday, we will need:
- lace ribbons for scrapbooking, ribbons;
- watercolor paper;
- rhinestones;
- beads and buttons of different colors and sizes;
- thermal gun;
- curly scissors;
- stickers with the words of congratulations;
- felt-tip pens and colored pencils;
- glue (preferably "Moment");
- ruler;
- simple pencil;
- eraser;
- special paper for scrapbooking (it is called scrap paper, design according to your taste);
- decorative flowers.
Work instructions
- If you already have a purchased money envelope somewhere at home, you can simply circle it along the contour. If not, then on the Internet you can find templates and choose from a variety of options the one you like best (or use the one we proposed below).
- After the contours are outlined, you need to use the ruler to outline the fold lines and bend the paper along the contours. Make all the notes with a simple pencil so that later you can easily erase them with an eraser.
- The envelope can now be decorated. On its outer part, glue the selected scrap paper, you can walk along the edges with a hole punch or make tiny holes with a sewing needle - then just do what your fantasy tells you.
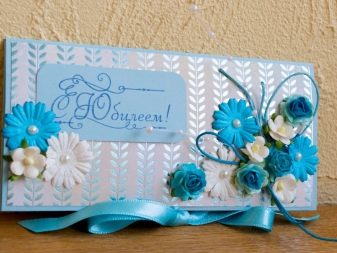
- Now, from all the details for decoration, you can add an original composition: again, everything is arbitrary, according to your taste. Put an inscription of congratulations, determine where you want to see the stickers and beads, lace and buttons will look very impressive along the edges. The most beautiful element will be one or more decorative flowers, which can be tied with a ribbon or satin ribbon. Or you can tie the whole envelope with a ribbon - so it will be tighter packed.
- Glue all the details with glue, not forgetting to put the money in the envelope after that.
It is the originality of the idea and imagination that is welcomed - and then your birthday person or newlyweds will certainly be impressed.
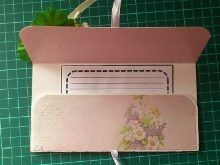
Envelope shaker
A very original product will be a shaker envelope (from English to shake - to shake).
Start by preparing all the necessary materials:
- very thick cardboard;
- scrap paper on the theme of the celebration;
- a picture, pre-printed, clippings of flowers, hearts;
- cardboard frame;
- stamps with congratulatory inscriptions;
- beads, buttons;
- satin ribbons for binding envelopes;
- lace doily.
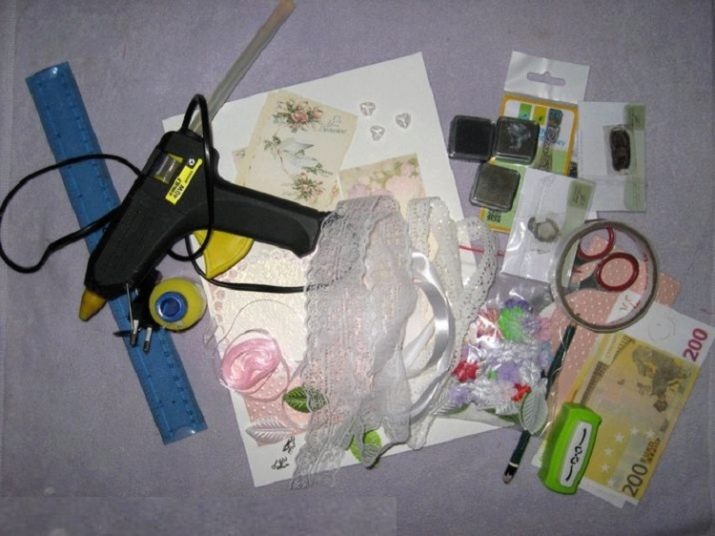
Now you can get to work. But first, sketch out the entire composition.
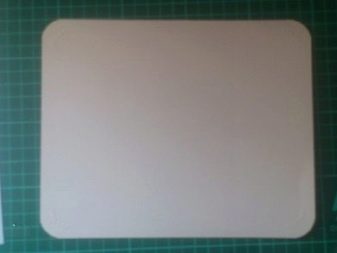
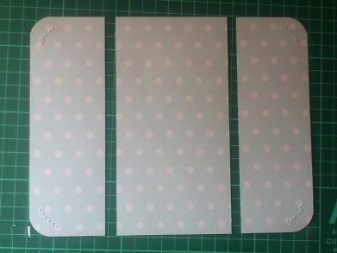
- On a piece of cardboard, make an envelope template to size, cut off any excess and use a ruler to fold the paper along the fold lines.
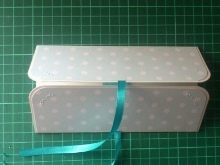
- Frame the envelope with scrap paper, from the inside out, outline the blanks for the back and front sides of the envelope. Then secure the tape and glue the paper. If you wish, you can walk around the edges of the envelope with a sewing machine and stitch them. This will add more originality.
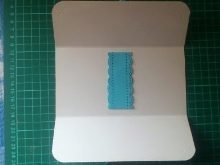
- Decorate the place for money with a lace napkin, put a picture with congratulations and wishes of happiness. The inner pocket can also be stitched.
- Next, we continue to decorate. Take the printed picture and glue it into a cardboard frame. On a separate sheet, stamp the congratulatory inscriptions. If you have a hole punch, then walk around the edges - this will make the paper look more elegant.
- Put the whole composition together to see the result. First there is a picture in a frame, on the sides there are inscriptions. And everywhere beads and buttons.
- Now determine where you will glue the cuttings of hearts and flowers, and also think about how you will decorate your envelope with a ribbon.
- Glue all the elements of the composition and enjoy the result.
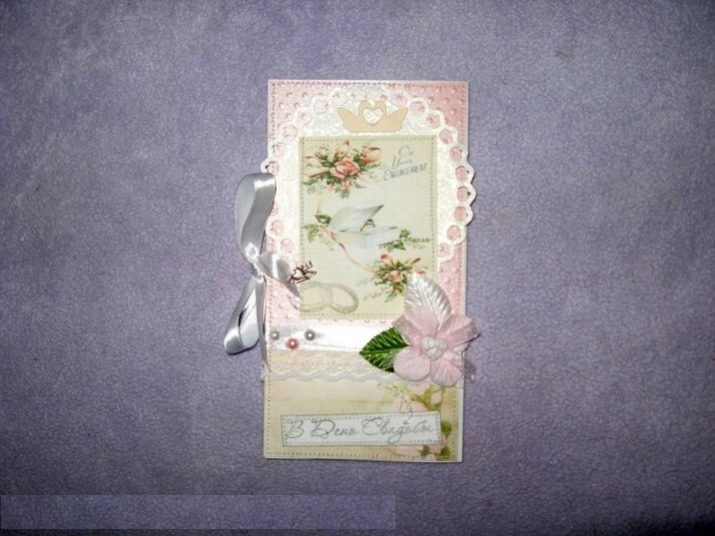
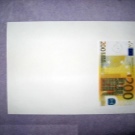
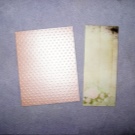
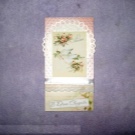
It turns out that your gift and greeting card are two-in-one.
Wedding envelope with money
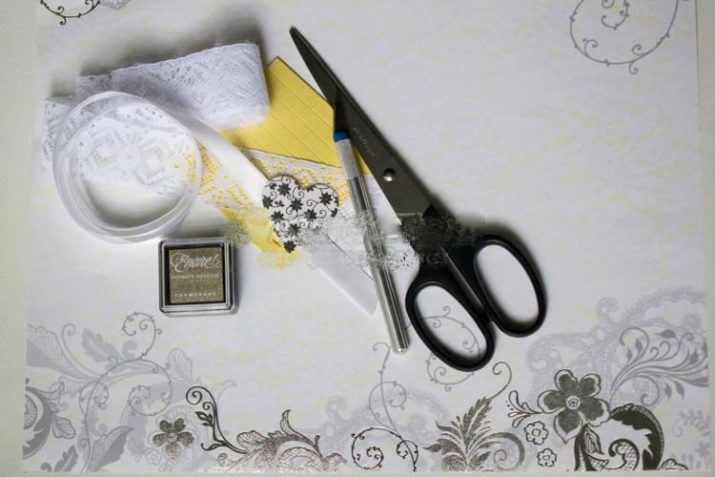
Almost all the guests at the wedding consider it necessary to give the newlyweds at least some amount of money - this has already become a tradition. In order for a monetary present to correspond to a solemn atmosphere, it is necessary to arrange it accordingly. To make such an exclusive craft, we need:
- watercolor paper;
- scrap paper on a wedding theme;
- stamps with congratulations;
- details for decoration - half beads, buttons, ribbons, stickers.
Manufacturing process
Cut out a blank for an envelope from cardboard, mark the fold lines with a ruler, taking into account the correct dimensions. You need to draw 3 lines at distances of 8, 17 and 24 cm. Bend the first two lines inward, and the last one outward.
- If you have a hole punch, process the edges with it for decoration, make a corner on the edge of the envelope so that the lace edge is inside.
- Now you need to form an envelope. Use double-sided tape to glue the edges. You can use colored pencils to go over the places you like for shading.
- Make a template out of scrap paper and glue it to the back, painting over the edges with a dark marker. Inside, go through the stamps with wishes everywhere, but try not to put too many of them so that the product does not look cheap.
- On the sides, decorate your money envelope with satin ribbons or tie in the original manner in the center so that the contents do not fall out.
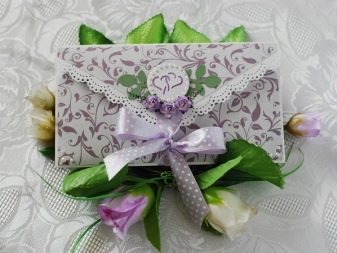
- Now you need to decorate the front side. Decorate the edges with lace ribbons, various artificial flowers, wooden patterns in the form of hearts or angels. Add any semi-beads and rhinestones. If there is glitter, run it around the edges or surfaces of hearts and flowers.
You can stick sequins all over the place.
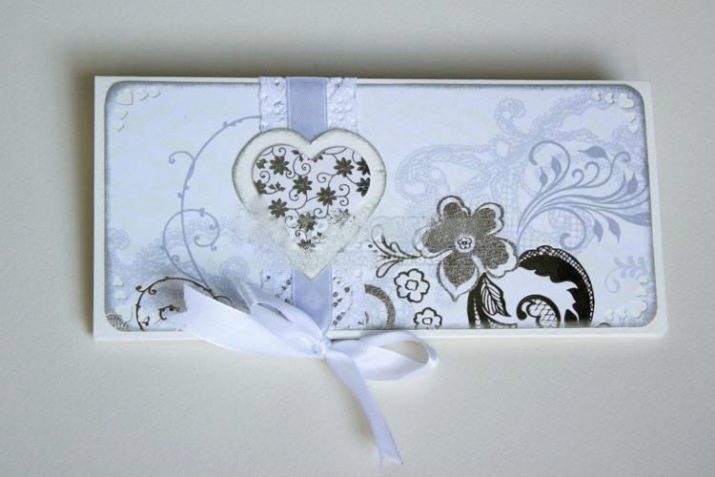

Experiment with ideas, compare multiple envelope compositions, try several types of scrap paper and see which looks more luxurious and more expensive. When you have assembled the most successful composition, glue the details, tie the ribbons - your envelope is ready. You can invest money and run to congratulate your newly-made husband and wife.
Scrapbooking has no rules and boundaries, it encourages a flight of imagination and this is different from other types of needlework. After all, there is nothing better than a gift in which you put your soul, imagination and all your creative ideas.
A beautifully designed do-it-yourself money envelope is an original and unique present both in itself and in addition to the main gift.
For information on how to make an envelope for money with your own hands, see the next video.


