How to make a passport cover using the scrapbooking technique?
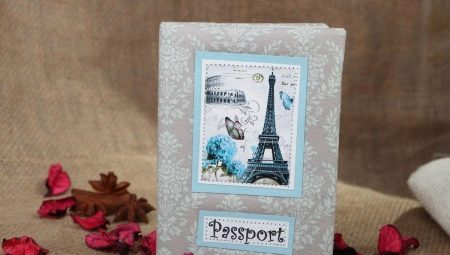
Scrapbooking is an interesting form of creativity. If you love to create, then this format is for you. Once you decorate something in this style, you will no longer be able to stop. This option is good because you can combine and group completely different decorations, color combinations, any fabric material.
Modern girls do not want to be like others, prefer to stand out, and therefore carefully select their wardrobe and all accessories. Take the same passport that should always be in your purse. And in order to keep it in good condition, you just need to wear it in a cover.
Peculiarities
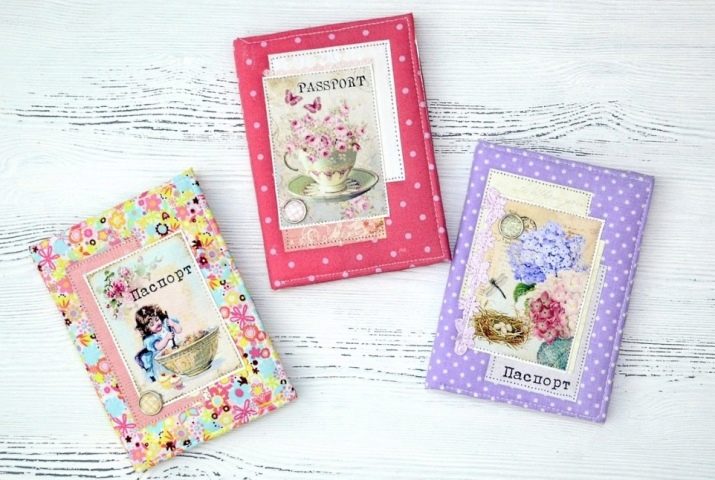
In the modern world, a fairly large assortment of passport covers is produced, but still it is to some extent monotonous. And girls want to stand out with every little thing, and this is a great way to add another unique piece to their assortment.
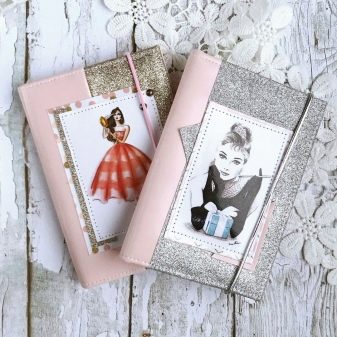
To do this, you should use the scrapbooking technique and make yourself a great cover that will delight you, and no one else will have one. This method is very often used by modern needlewomen. You can make a cover not only for a Russian passport, but also for a foreign one.
What materials will you need?
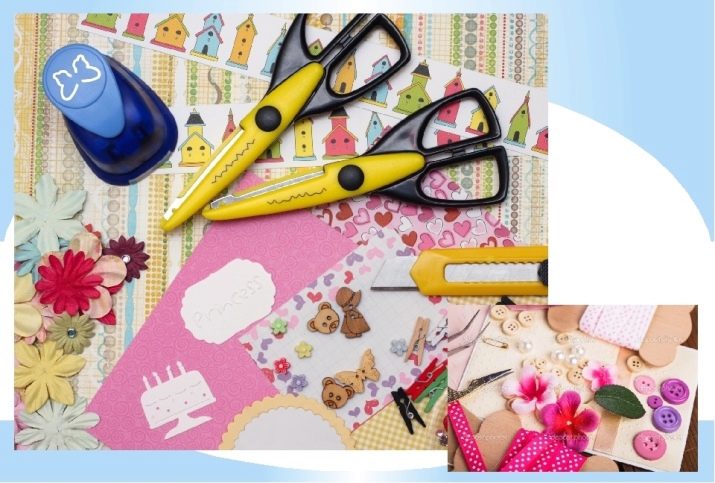
To get a perfect and original piece, it is worth choosing the right tool. To get started, we acquire quality scissorsso that they can handle different textures and you feel comfortable working with them. Then you need colorful and simple pencils and iron ruler... You will also definitely need good glue, better transparent, to glue on various parts. And one of the main things is scrap paper.
If you do not have free finances, then ordinary wallpaper will do.
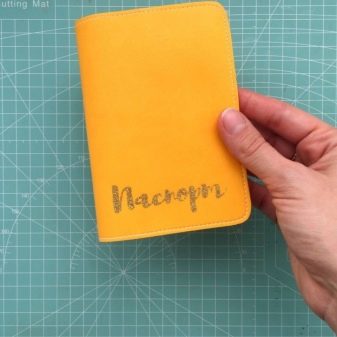
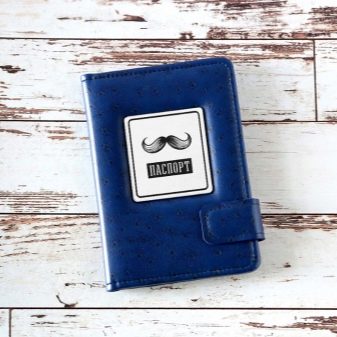
Leatherette passport cover
When you are already tired of the same type of covers, and you want something new, then you should make them yourself using the scrapbooking technique. You can make not only yourself, but also your loved ones as a gift.
What you need:
- leatherette 20x27 cm;
- rug (to cut on it);
- stationery knife;
- ruler;
- scissors;
- glue;
- needle with thread;
- thermal label;
- iron;
- sewing machine;
- hole punch (round corners).
So, having mastered this master class, you will learn how to make a passport cover with your own hands. We take leatherette, measure the dimensions with a ruler and cut out a rectangle measuring 13.5x19 cm on the rug using a knife.Repeat the procedure, only this time rectangles of other sizes: 13.5x7 cm (2 pcs.) And 13.5x5 cm (1 pc.).
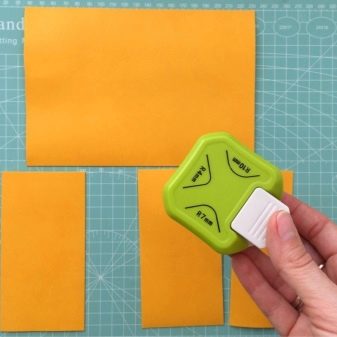
Next, we take a hole punch and round off the corners on the large rectangle - these are all corners, and the small ones have two corners. Then we take the glue, it is better to be transparent, and apply it to the sides where the pockets will be located. First we glue the pockets measuring 13.5x7 cm. We repeat the same on the other side. Then we take a smaller pocket and stick it on the first one.
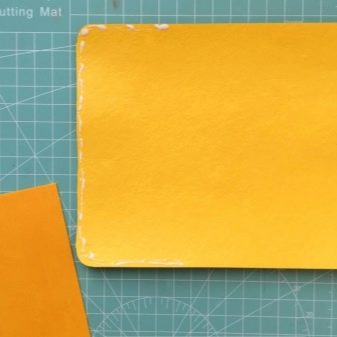
Now we turn to the sewing machine and sew them on it. We start stitching from the beginning of the pocket. Stitch width - 3 mm. We retreat 2-3 mm from the edge. We finish sewing in the same place where we started. Next, we take out the threads inside out and make a knot.
We take a needle, thread it through the hole that remains from the machine, and drag it between the layers. Cut off the remaining threads and hide them. The cover is almost ready, all that remains is to decorate.
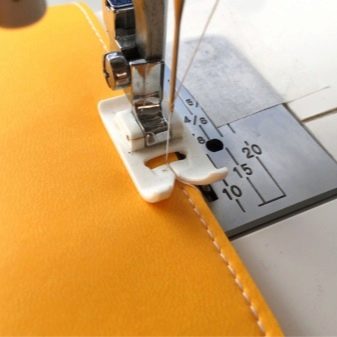
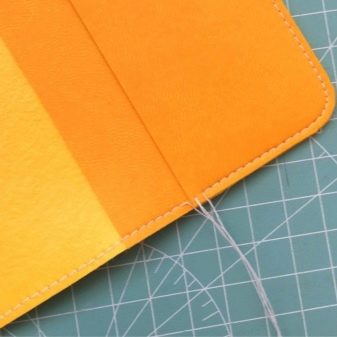
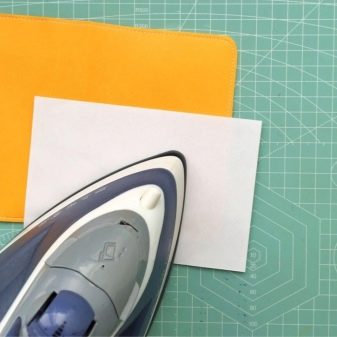
Let's start decorating. We take the prepared inscription, put it on the cover and glue it with an iron. The regime should be small. And so that it does not remain on the iron and the cover does not deteriorate, we do it through paper. Now it remains to "dress" the passport in a new cover.
To keep it in perfect condition, it is worth making a transparent cover over it.
Cloth cover
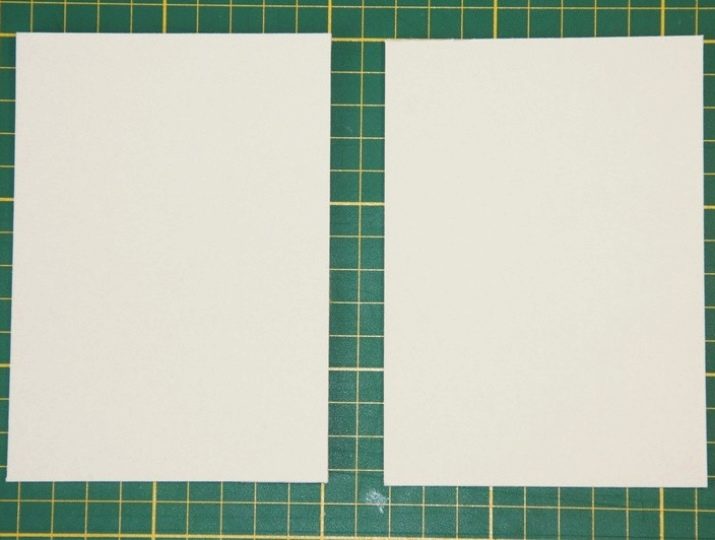
We take cardboard as a basis. We cut it so that the halves are 14x9.5 cm in size. We also cut out a small rectangle measuring 14x3 cm. We bend this small rectangle in half, cut off the corners. Then we glue the large halves to it.
We made the foundation. Now let's start designing it. You will need fabric, synthetic winterizer or felt. As a fabric, you can take self-adhesive or any other that you like.
But in the first case, it will be easier to work with it, and it is also quite dense and pleasant to the touch.
If you chose self-adhesive fabric, then the steps are as follows.
- We take double-sided tape and glue it to the outside. Lay on the same side on a synthetic winterizer or felt. We cut off the unnecessary.
- Then glue it to the fabric with the same side.
- Next, we wrap it with a cloth and sew it on a typewriter. We retreat a couple of millimeters from the edge.
- To close the middle, cut out a small rectangle and sew it in the same way.
If you chose regular fabric, the steps are not very different. And the difference is that before you start flashing, you will need to glue everything.
Before moving on to the design inside, you should first arrange the front side. You can add an elastic band there, which will close the passport itself. You can add beads or some kind of pendant to it. And in order for it to hold, you need to make holes with a hole punch and insert eyelets.
Next, we thread it on the front side, and on the other we glue it on the glue. And other decorations can be added as well. It's up to you.
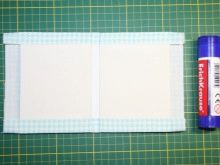
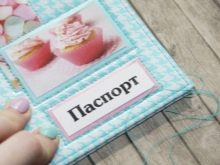
And only now we proceed to the interior design.
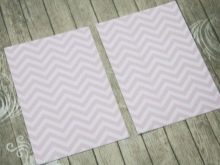
- For this we take scrap paper. Cut it out a couple of millimeters less than the base.
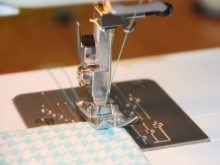
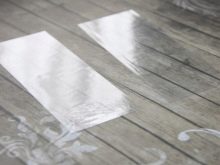
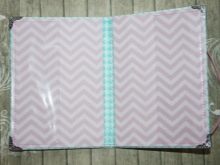
- You will also need two transparent rectangles 5 cm wide. We will install the passport itself in them. We will sew them to scrap paper.
- Then we glue this structure to the base with transparent glue or double-sided tape. And in order for the glue to hold together better, it is worth fixing everything with clamps for a while.
After everything is dry, we put on the cover for the passport. And in order for your cover to serve you longer, you should also put on a regular, transparent cover on top.
Advice
Each area has its own little things and secrets. Therefore, before starting work, it is worth studying the topic in detail.
- to give the cover softness and volume, you should add fleece and synthetic winterizer there;
- if you want the cover to close, then you can glue magnets on both sides or a string;
- in the event that you are using a regular fabric, then it is worth starching it first in order to keep the shape well;
- and of course, the most important rule, not only in scrapbooking, but in creativity in general, is accuracy, since sloppiness is simply unacceptable in this matter, everything should be as neat as possible;
- and what is important is the desire, because something is worth doing only if you want it.
In conclusion, we suggest you watch a video on creating a stylish passport cover with flamingos.


