How to make a postcard for February 23 using scrapbooking technique?
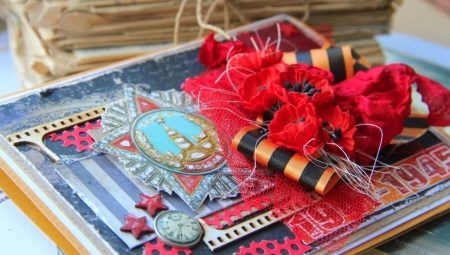
The holiday on February 23 has long gone beyond the "only for the military". Today, on this day, it is customary to congratulate both potential defenders of the Fatherland, and real ones. On such a day, I would like to present presents to dads, grandfathers, brothers, sons, colleagues. Postcards for February 23 are a very common form of congratulation, however, mass production is gradually giving way to creativity.
Scrapbooking postcards make it possible to make a unique, effective and at the same time inexpensive gift from the bottom of your heart. You can do them yourself using any step-by-step master class. No special skills are required, just an interesting idea and desire.
What is scrapbooking?
The word "scrapbooking" actually means "scrapbook", but this technique has become so popular that it has provided many great ideas for decorating different types of gifts.
Experts recommend those who are just interested in this area to start by decorating postcards.
This is the simplest solution, requiring absolutely no special skills and abilities. Be prepared for the fact that this hobby will draw you in and acquire the status of a permanent hobby. Many scrapbooking masters, leading master classes, say that they came to their life's work from the design of the simplest postcard.
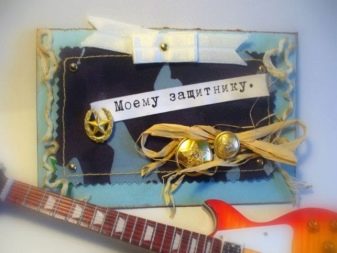
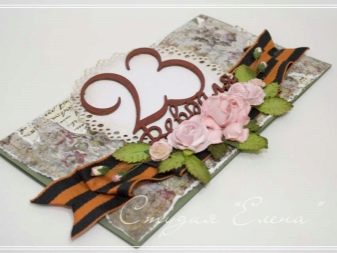
Scrapbooking has several technical capabilities, which are most often combined with each other to create an effective and unusual composition:
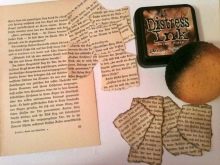
- distressing - visual aging of paper material, looks like scratches, torn edges, scuffs;
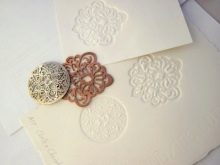
- embossing - the ability to form images of volumetric type using a stencil or special powder;
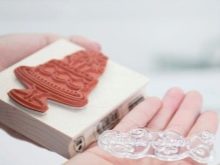
- stamping - the easiest method to use, allows you to form small drawings, images with silicone stamps.
When creating a postcard using the scrapbooking technique, remember that this method is perfectly combined with other decoration options: quilling, pergaman, origami, and journaling.
The latter is very often used when decorating greeting cards, since it can be used to include text, inscriptions, congratulations in the composition.
Recommendations of the masters
For a positive first experience, follow the following guidelines for postcards:
- form a rough diagram that will give you the opportunity to get an idea of the composition directly on paper, lay out the decor, move it, choosing the best options;
- be sure to think over the compositional construction before you start cutting and gluing anything;
- do not be afraid to use ready-made templates, ready-made ideas, sketches;
- start with the central figure of the future composition, in any image there should be a semantic middle around which you will place everything else;
- decide on the style, the military theme is not too diverse, mainly the image of military equipment, camouflage, weapons;
- the color scheme should be matched harmoniously, basically these are strict shades: green, brown, black, gray, blue, bright elements can be present in the form of yellow, red, orange;
- be sure to experiment, even if you are making a postcard based on a ready-made master class.
Materials and tools
If you are taking your first steps in scrapbooking, you need to purchase the minimum tools and materials for decoration. This can be done by ordering products from an online store or purchasing from creative stores. To make a postcard using this technique, you will need:
- scrap paper, a set with a suitable theme and color scheme, it is best to choose different prints, size and structure, then the composition will be more effective;
- a stationery set consisting of a ruler, a simple pencil, an eraser;
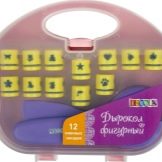
- a curly-type hole punch will come in handy if you want to create small paper images; stars will be especially relevant in this topic;
- scissors with the possibility of curly cutting will allow you to form beautiful edges on the paper surface;
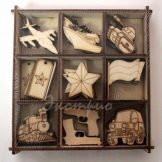
- various decor: buckles, buttons, braid, St. George ribbon;
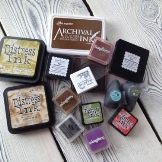
- stamp pads;
- stencils.
Master classes
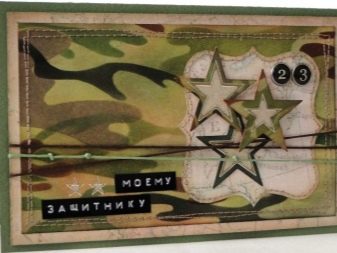
Camouflage background postcard idea
You will need in addition to everything:
- Whatman or drawing paper;
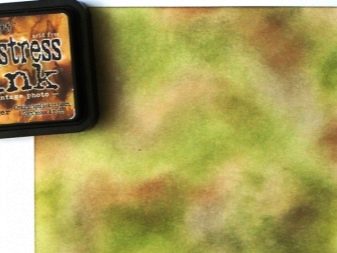
- tint ink in green, brown, gray, black and beige;
- office knife.
Tones can be changed in accordance with the type of troops to which the gifted person belongs, for example, blue.
Algorithm of action:
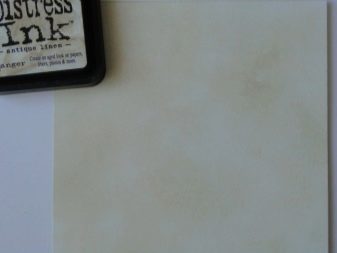
- starting tint, do it with the lightest shade - beige, gray;
- use the stamp pads to apply ink in circles, semicircles, ellipses;
- do the same with darker tones, filling all the white space;
- after beige and gray, go to green;
- try to keep the colored areas stretched out in shape;
- make out the gaps between it in black, brown;
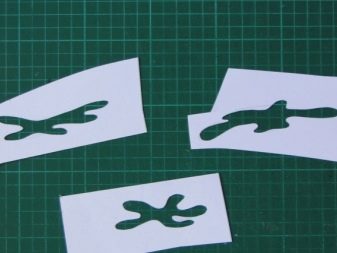
- create the necessary blot stencils, cut them out of paper;
- apply brighter solid colors over stencils;
- after the background is ready, you can start decorating, that is, applying decorative elements;
- you can use pieces of real fabric with a camouflage print, buckles, epaulettes.
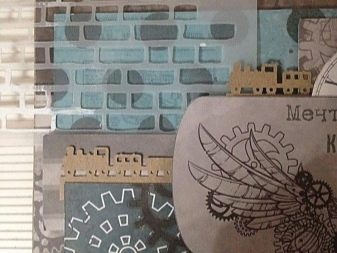
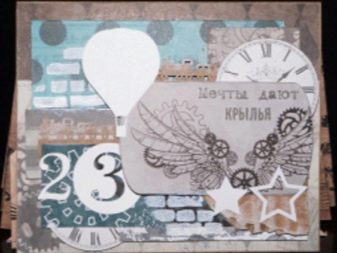
Spectacular men's postcard with volumetric elements
For manufacturing you will need:
- thick kraft paper;
- scrap paper;
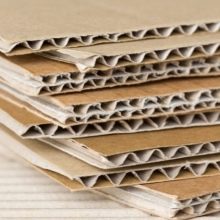
- corrugated cardboard;
- acrylic paste;
- twine;
- metal pendant;
- cuttings in the shape of a star, necessary numbers, balloons;
- glue, ruler, scissors, pencil, palette knife;
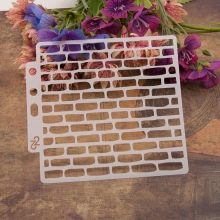
- stencil for laying bricks, awl, foam sponge.
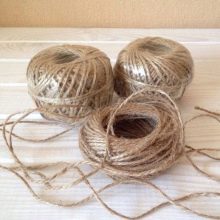
Algorithm of actions:
- cut out the base for a postcard of the desired size from craft paper, make a fold and fold in the center;
- determine the sheets of scrap paper, cut out the necessary details of the composition;
- cut sheets of different sizes from other scrap sheets;
- create a composition from all the details;
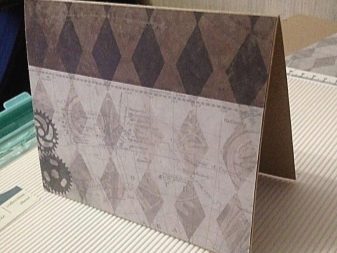
- paste them on the front of the postcard, add pieces of corrugated cardboard to make the postcard three-dimensional;
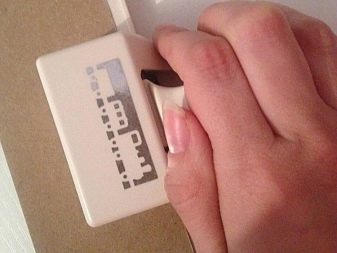
- with a curly-type hole punch, create the necessary figures, for example, a steam locomotive from kraft paper;
- create notches of balls, stars and numbers;
- form from all the details a single aesthetically harmonious ensemble;
- decorate any selected area with a brick stencil, acrylic paste, sponge and palette knife;
- let the paste dry;
- some details of the postcard can be painted with the same paint;
- Hang a pendant on a piece of string and attach it to the card with glue.
Take care of the filling of the postcard - congratulations can be printed and pasted inside.
Beautiful ideas
Postcard with camouflage background.
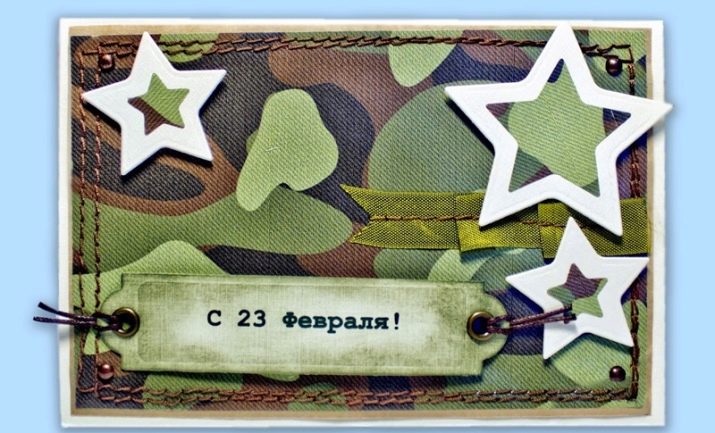
Simple yet very effective star design.
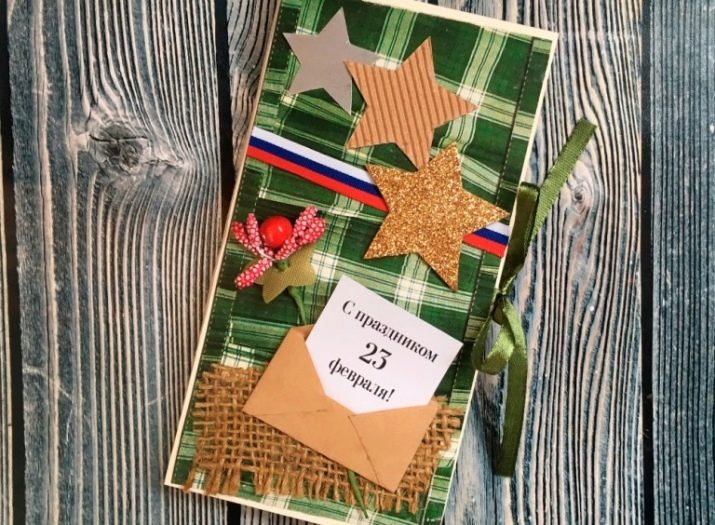
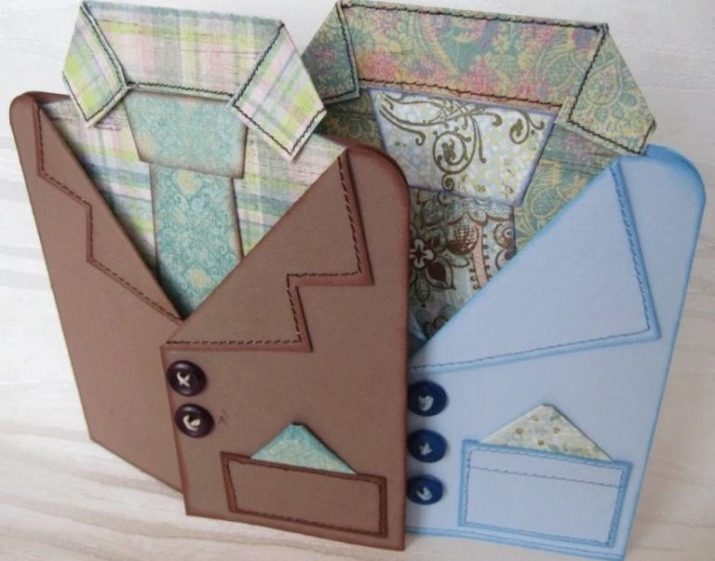
You don't have to use a military theme.
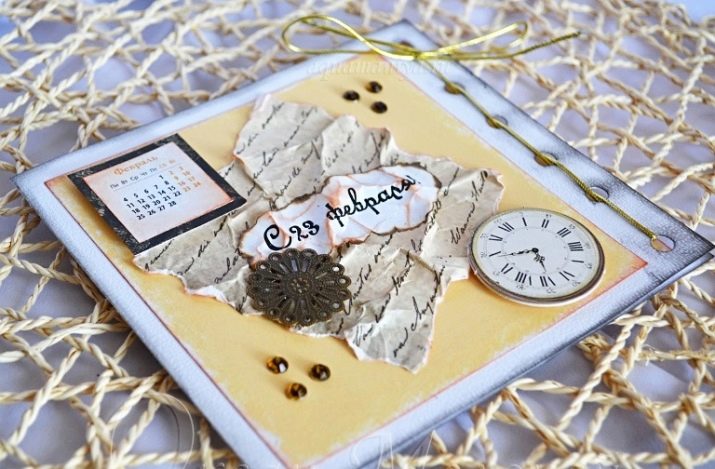
The volumetric details look very interesting.
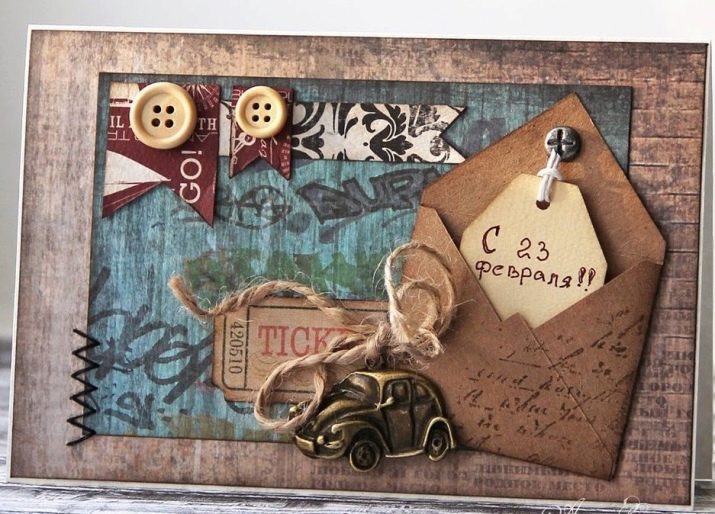
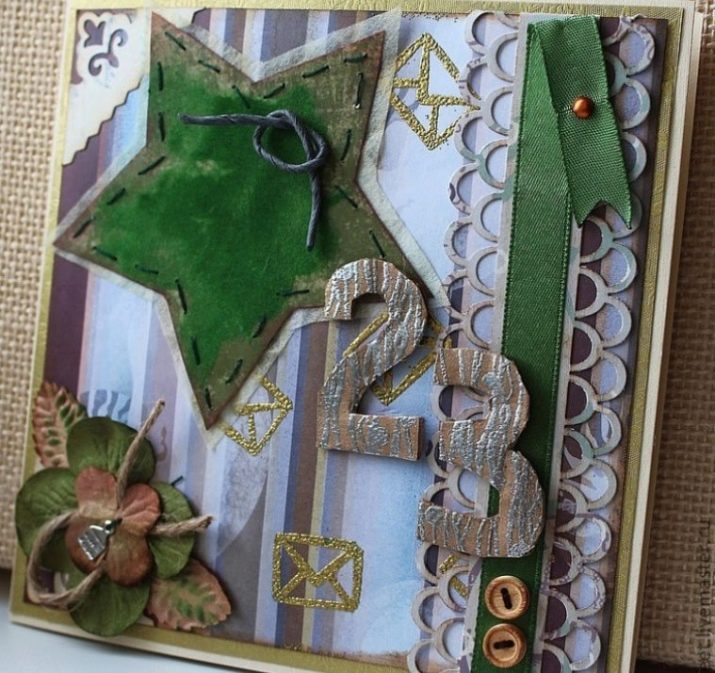
Actively use improvised decor - ribbons, buttons to match the composition.
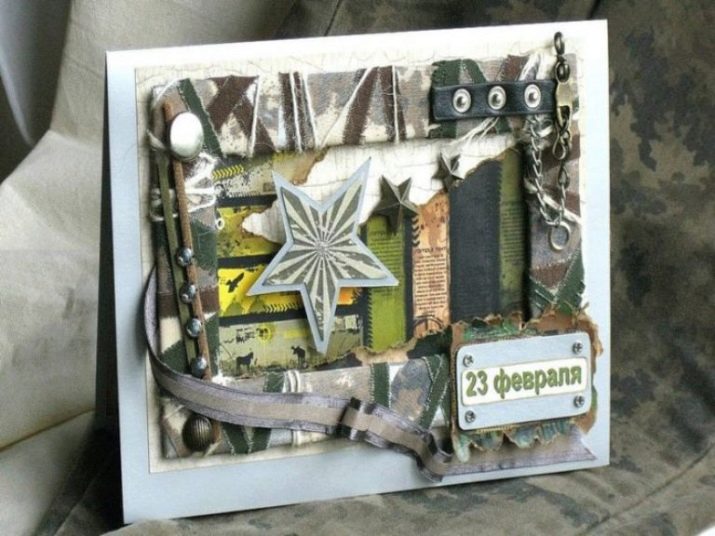
Volume can be easily created using corrugated cardboard.
See the video below for a master class on creating a postcard.


