How to make a folder for documents using the scrapbooking technique?
Documents are necessary papers in our life, the storage of which we sometimes approach quite thoughtlessly. It would be a good idea to create a folder for storing documents using the scrapbooking technique that is popular today. This thing will bring not only practical benefits, but also look stylish and original.

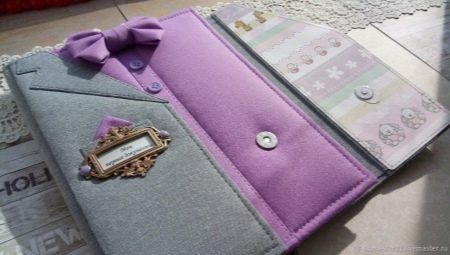
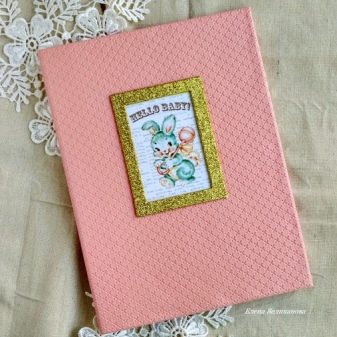
For baby papers
This folder is suitable for storing a variety of documents of the child. On the front side it will be possible to indicate that inside, for example, there are a birth certificate, hospital certificates, certificates, certificates, diplomas and other documents about the child's achievements.
It is very easy to design a folder for a boy and a girl, changing the design and color schemes.
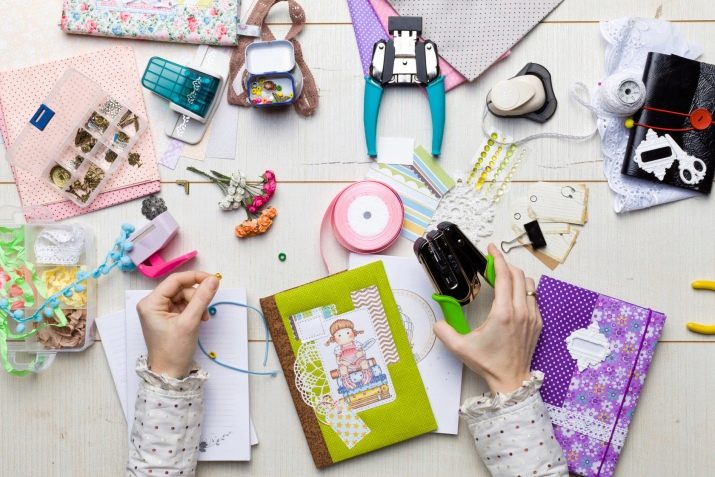
In order to make such a folder yourself, you may need:
- a couple of cardboard sheets;
- colored fabric;
- synthetic winterizer;
- cotton fabric;
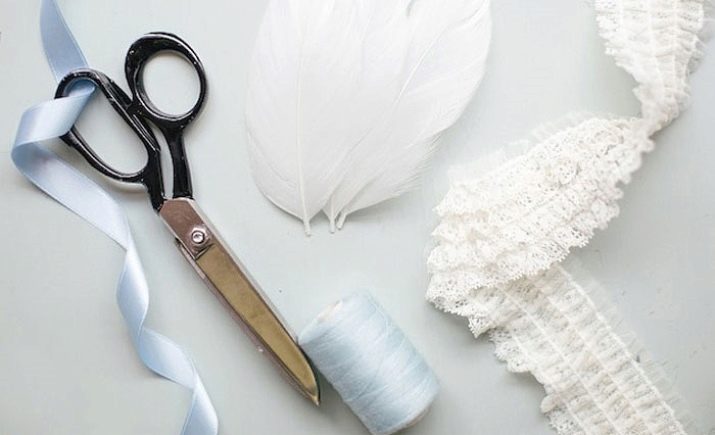
- bow (optional);
- lace ribbon or lace doily (optional);
- elastic;
- scrap paper for children, a pair of sheets 30 * 30 cm;
- felling;
- brads and half-beads, buttons and any other decorations to taste;
- ink pad;
- files;
- glue and scissors;
- hole puncher.
All work consists of several stages. First you need to understand the fabric and its design. There are two options - initially purchase colored material so that there is no need for self-dyeing, or use special multi-colored sprays for fabric and paint for batik, completing the decoration with your own hands. Of course, this is a matter of taste, but if you choose the second option, make sure that the ink element has a rich color so that the result does not look dull.
When self-painting, the technique can be absolutely any: free splashes and streaks, dot or line application, or you can use a stencil and apply intricate designs - it all depends on your imagination. After the fabric is dyed, flatten it and lay it flat to dry. And when the fabric is completely dry, smooth it well with an iron.
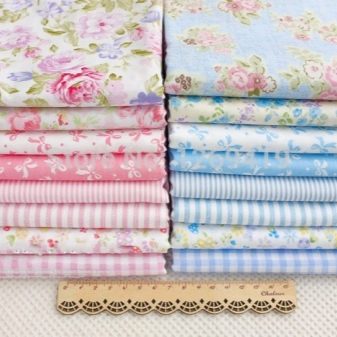
Ready-made colored fabrics are presented today in a wide range. You can choose from plain color or printed material.
It is permissible to use leather. Such a product will be even more practical.
We will make a pink folder for a girl from eco-leather.
Now let's start working on the folder.
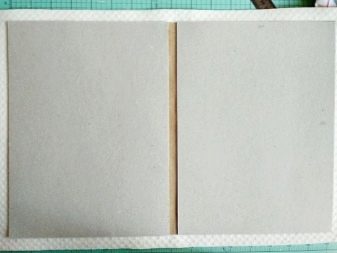
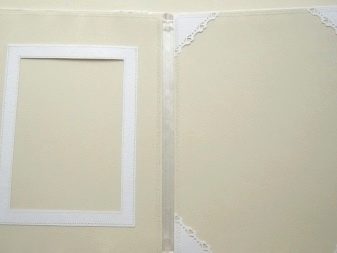
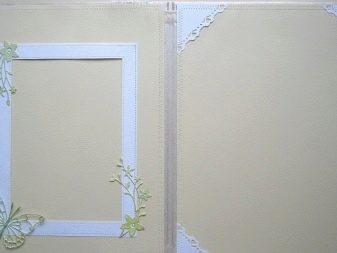
- First, let's make a template out of cardboard. Take 2 cardboard sheets and scrap paper 6 * 30 cm.
- Divide the paper from the side where it is smaller into 3 pieces measuring 3 * 1 * 3 cm. Draw 2 fold lines along the length, glue this blank between the parts of the binding, joining them together in a similar way.
- When you stick, you will see that there is a gap of a few millimeters - this is how it should be.
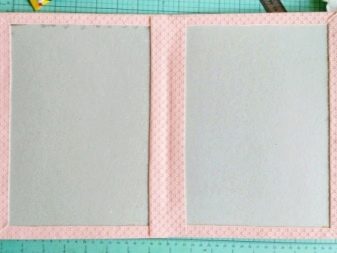
- For the entire size of the cover, now you need to cut out a synthetic winterizer and glue it.
- Measure the fabric by the size of the folder plus a few cm extra. Now try on the fabric on the cover, fold the edges of the folds.
- Glue the fabric to the cover, not forgetting the edges.
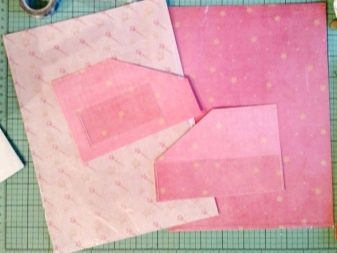
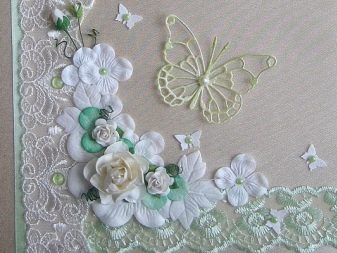
- Now let's start decorating the front side. Place your jewelry in the composition to your liking, not forgetting the lace. If you like the format of the frame, glue the details on the outside of the folder. Design everything first on a separate sheet to visually evaluate the result, and then transfer everything to a folder and glue the details one by one.
- Write down which documents the folder is intended for. This can be done with scrapbooking pieces or brightly colored thick markers.
- If the folder is for a boy, you can use the traditional blue shade, and pink or lilac are suitable for a girl. Decorate the entire folder with rhinestones and details you have, beads and ribbons, attach flowers for a girl or wooden cars for a boy.
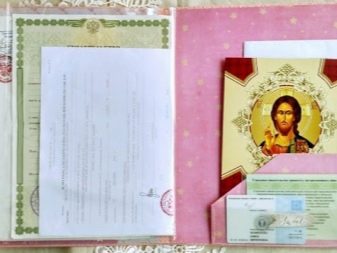
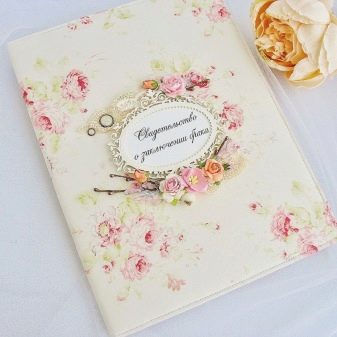
Wedding option
To make a holiday folder for a marriage certificate (in the future, it will be useful for storing other important documents), you need to prepare:
- a pair of cardboard plates measuring 23 * 30 cm;
- pencils;
- elements for decoration;
- glue, scissors, ruler, cutter or knife;
- synthetic winterizer;
- fabric of any color that suits the wedding theme.
A do-it-yourself folder creation master class is as follows.
- Take a synthetic winterizer and cut out a couple of 23 * 30 cm pieces according to the template of the required cardboard blank. Glue the synthetic winterizer to the cardboard, spreading it gently over the entire surface.
- On the inside of the cardboard, glue a strip of thick paper strictly in the center, the size of the strip should be the height of the cardboard and 3.5 cm in width. Press down well on the strip and make sure that it cannot move anywhere from its place. Fold the cardboard in half - this strip will serve as both a retainer and a separator.
- Prepare the fabric, smooth out any irregularities with an iron, if any. Lay the fabric with the cover down, glue the cardboard on top so that the synthetic winterizer is on the bottom. Try not to wrinkle. Arrange the corners so that they do not stick out, cut all sides at an angle and join neatly together. Every corner should be evenly decorated. Make sure there are no rough spots on the fabric.
- Now we need to cut out a piece of fabric slightly larger than our cardboard template. Fold over the edges and glue the fabric. Fold the cardboard several times to help shape the fold.
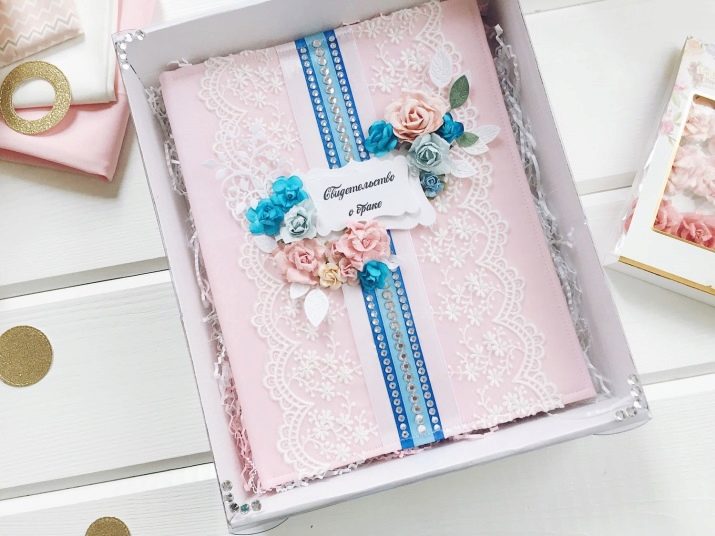
- After that, you can start decorating the folder. Use whatever scrapbooking parts you have. Make your file folder as solemn and elegant as possible, decorate with rhinestones and sequins, satin ribbons and all kinds of lace. White lace and satin ribbons will look very impressive. The solemn folder is ready to be presented to the newlyweds!

Any elements can be used to decorate the product. Having mastered the technique of performance, you can create masterpieces not only for yourself, but also for your friends. The folder packed in a beautiful box can be a wonderful gift for your wedding day.
If you still have questions, watch the video, which demonstrates step by step a master class on making a folder for children's documents.


