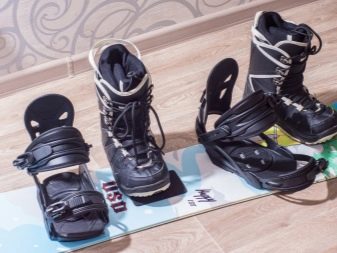
Installing snowboard bindings
Snowboard bindings are installed when a new sports equipment is purchased, edges are sharpened or otherwise prepared for the start of the ski season. Neglect of the rules for installing bindings on a snowboard leads to inconvenience when using it.
Fundamental rules
When installing the mounts, the concept of "silent installation" is adhered to. Beginners want to go skiing as soon as possible, and seasoned snowboarders simply do not want to drag out the process of mounting bindings in order to also go on the ski track as soon as possible and set their new record. First of all, snowboarders will carefully monitor so that the mounts do not fly off when descending a slope, regardless of how they are held on the projectile.
Nevertheless, with a hasty and not entirely justified installation of these devices, athletes experience pain in the knees, muscles stiffen from improper posture and excessive overexertion, and as soon as they move from one edge to another, the discomfort becomes almost unbearable. Despite the widespread belief that sport is a deliberate and voluntarily chosen hardship and deprivation, you need to install the mounts on the projectile in such a way that the training does not turn into hard labor.
Muscles should not be overstrained. The knees should normally bend straight and not look like half an X.
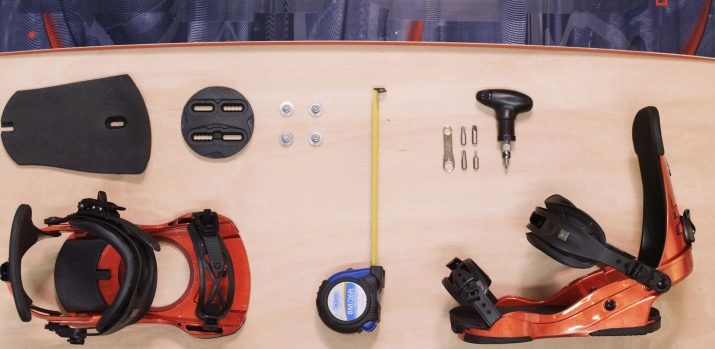
You can customize the bindings installed on the snowboard without a specialist, for which you need:
- assume which leg will be in front when descending;
- get a curly screwdriver (for Phillips screws);
- remove snow and water from the snowboard and bindings;
- take the shoes of the person for whom the projectile was purchased (for exposing the toe and heel).
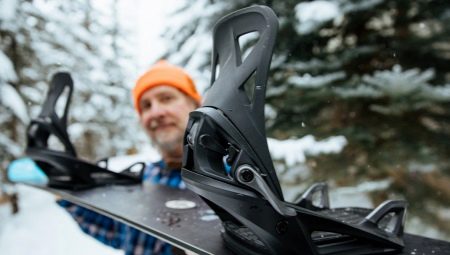
Before following specific advice, figure out what type of mounts you are purchasing.
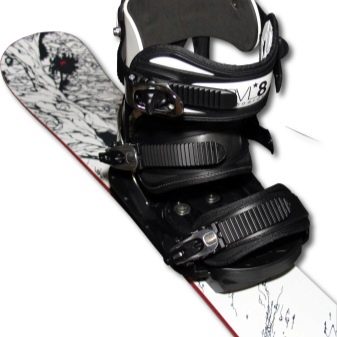
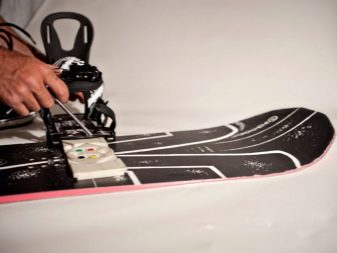
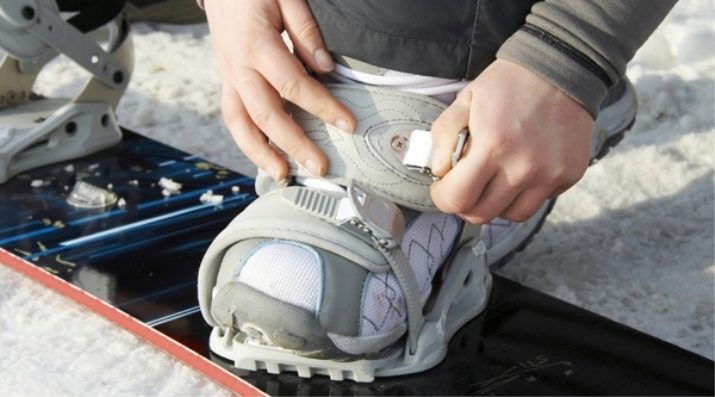
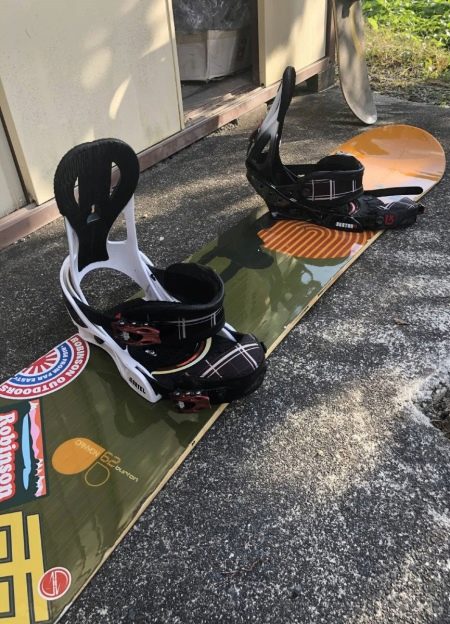
- The interlaced belt is easy to use, safe and manageable. It became the standard many years ago. Insert your foot into the boot and tighten the strap. The rear entryway features a more durable highback and a single toe strap. Open the highback, put your foot in the boot and close.
- The Burton Step On Bindings accessory helps you develop faster downhill speeds. Slide your foot into the shoe and immobilize the heel. This mount comes in 3 sizes: Small (S), Medium (M) and Large (L / XL). Find the size that suits you best. The measurement is made by placing the boot in the binding: the belts should not sag, excessively loosen or overtighten the leg. Adjust the straps with the guy wires. The boot can bend, but it should not wiggle so as not to come off on descent. Make sure there is no play in the legs fixed to the snowboard.
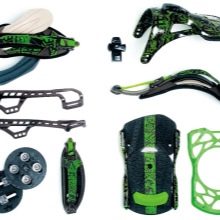
The purchased snowboard is characterized by a whole list of parts. It is necessary to choose the right stance width, rollback and attachment angles that are appropriate for your physiology and riding style, which are suitable for your physiology and complexion. For each athlete, the ideal stance adjustment is identified for him: the width of the latter will serve as a guarantee of good controllability of the projectile on the track.
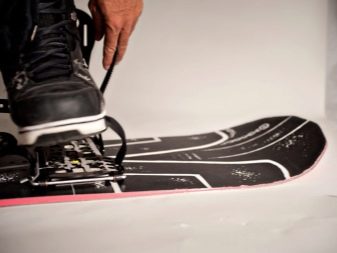
Wear zip ties to adjust the bindings. Setting the correct position begins with the toe. First, the leg is installed and the belts are fastened. Center the lines from the clip. Make sure the highback is close to the boots. Also check that the shoe is back to back or has minimal clearance in the binding. The highback setting is negligible. The belt tension is adjusted using individual screws in the structure. Make them easy to fasten. Shoes up to size 47 are characterized by a slight protrusion of the toe.
Beginners often place their front foot at a 15-degree angle to the projectile. The back one is exposed at zero angle.... Downward motion involves turning the foot forward. When skating on other surfaces, the socks are positioned apart. Compliance with these rules will help maintain a high level of safety on the descent.
If a shell of increased rigidity is used, then the shoes are selected about the same. This will allow you to make sharp turns, pivot and brake, even when accelerating downhill. Tuning starts from the back, with the toe extending slightly over the edge of the board. The heels are positioned above the rear edge to distribute the load for improved aerodynamics. The hind leg can be positioned at an angle of up to 8 degrees: this landmark is perfect for beginners.
As you gain experience, the degree of position of the hind leg will change. For descent in the style of carving and slalom, you will need hard shoes, like the apparatus itself.
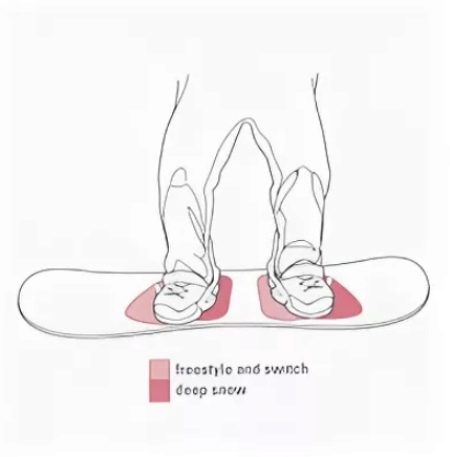
If the boots are not rigid, then the athlete adjusts to his own comfort. Despite the rigid fixation of the legs, the athlete should feel relative comfort during the descent. High rigidity is suitable only for experienced, but beginners, and also for women, it must be reduced, since less requirements are imposed on them... For freestyle skiing, soft shoes are also chosen: there should not be any constraint in movement. It is necessary to fix the legs on the apparatus, proceeding from the basic parameters.
Further practice allows you to change the slope by no more than a few degrees.... As they gain experience, the athlete will determine for himself the optimal rotation of the leg relative to the board. Belt fasteners must be flexible enough. To determine "your" angle, you need to stand behind the board and jump in place: upon landing, the legs will independently be set according to their physiological degree of orientation, which must be fixed.
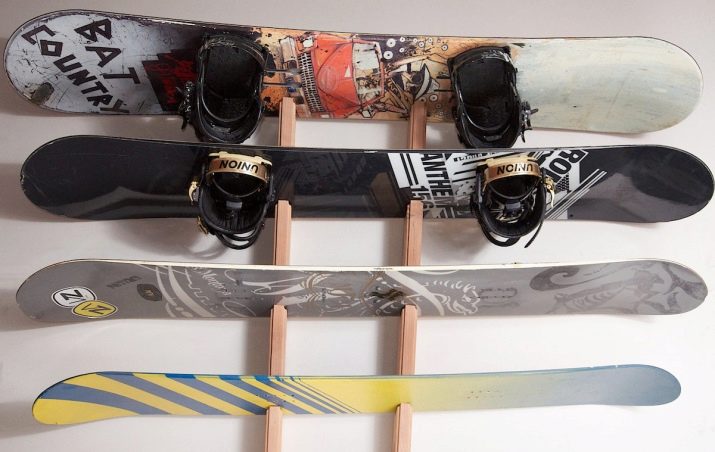
Definition of nose and tail
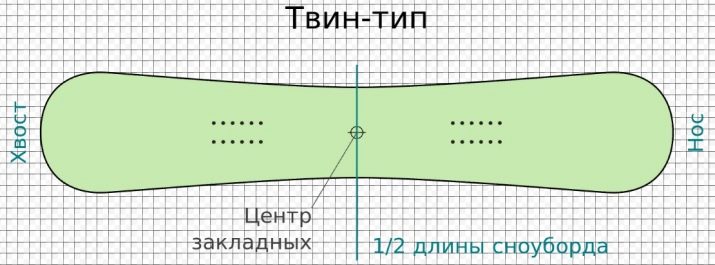
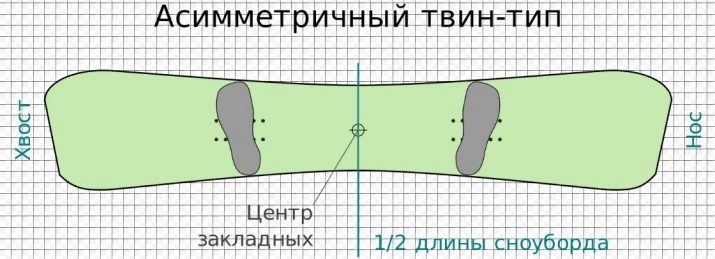
Before installing the mounts, determine the tail and nose of the projectile. Place the projectile upright. The manufacturer's logo and lettering should be positioned correctly, not upside down: this is where the nose is at the top. If the manufacturer's badge is upside down, then turn the snowboard upside down as well. Symmetrical snowboards do not need to define the nose and tail.
In a snowboard with a specific direction of movement (forward or backward), the tail section will be shorter than the nose, which immediately becomes noticeable.
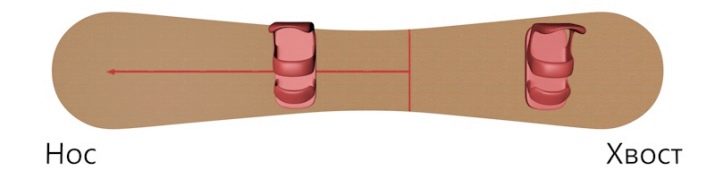
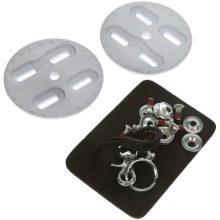
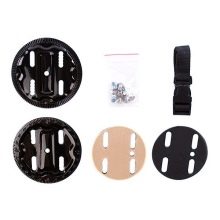
Place the projectile on a slippery surface. Holes or technological gaps, to which the fasteners are screwed, will become visible. If there are rusty marks, dust and other foreign particles inside, then remove them. The slippery edge will remain inside the projectile during use, and will not fall off. These gaps are called embeds. In each specific case, models are used that are equally distant from the center of the projectile. On symmetrical projectiles, the holes and gaps are equidistant from the center, while on directed projectiles they are closer to the tail section.
These differences are applied to balance the stiffness of the nose and tail. Here, the bow is more flexible than its opposite.
How to install correctly?
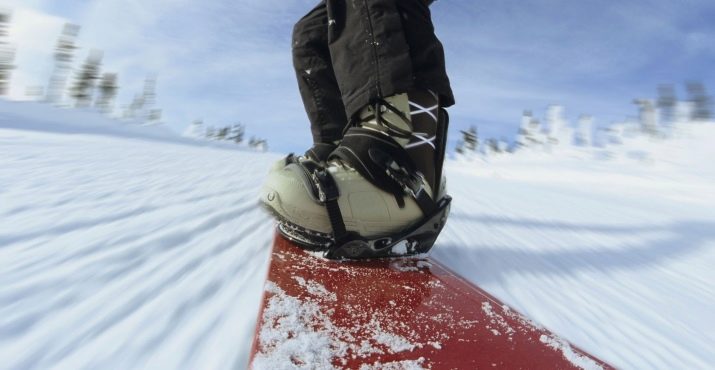
Accurate and correct installation of the rider's feet, shod in sports boots, requires correct centering of the bindings, choosing the correct angle of the feet and using the projectile of the optimal width.
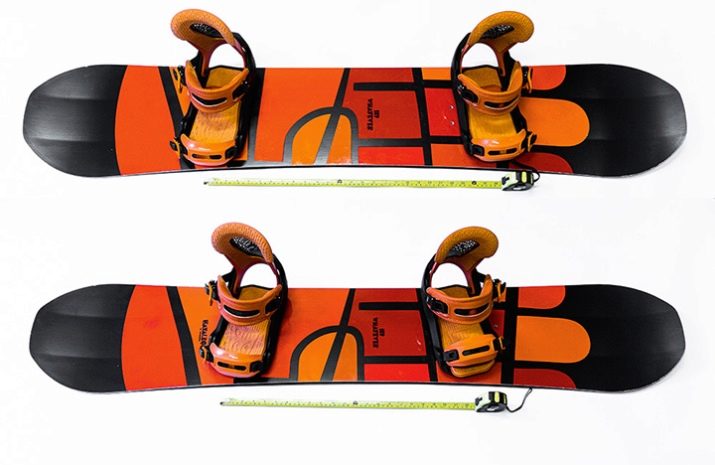
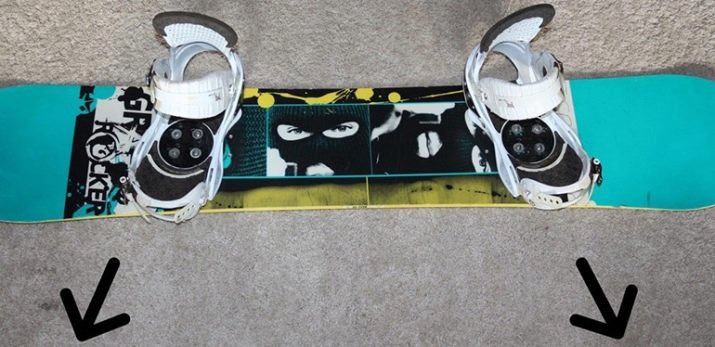
Centering
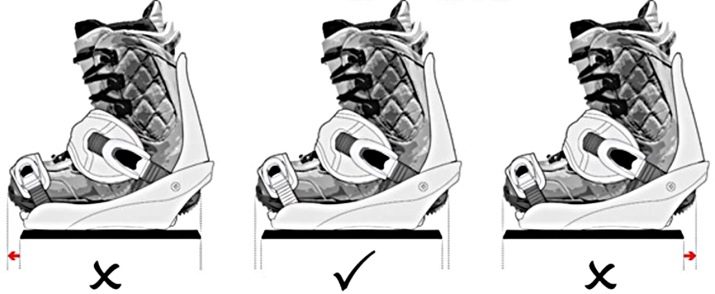
Center the mount in the transverse axis... To do this, place the discs horizontally and screw them onto the projectile without tightening too much. Clamp your boots securely and see how far the toes or heels protrude beyond the edge. If there is no overhang or when positioned symmetrically to the board, leave the disc horizontally positioned. In the event that any of the parts does protrude, turn the disc over and re-center the bindings with the boots fastened again.
In this case, the central point of the foot is normally located in the center of the projectile. Ignoring this rule will lead to the protruding part of the leg catching on the snow cover. On the opposite edge this wastes extra effort when cornering. The leverage (force arm) will decrease in length. To flip over, more energy is required (due to the too small shoulder of the applied force).
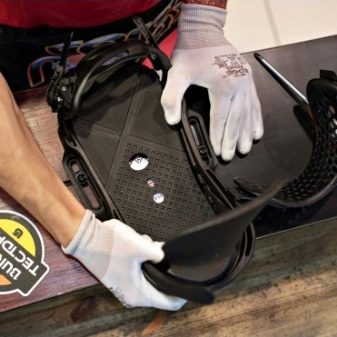
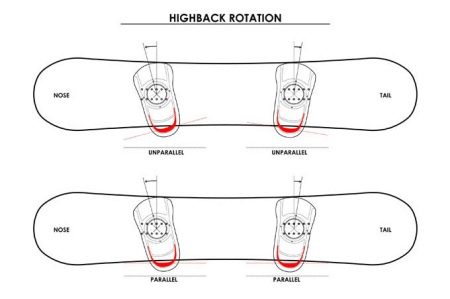
The back bow on some bindings can spontaneously move forward or backward. Experienced athletes use this effect instead of turning the discs. Do not forget that there are right and left mountings. At first glance, it is not easy to distinguish them. At the same time, the manufacturer may not apply any identification marks on the mounts. If so, then take a look at the straps. Thin comb-type belts are fixed to the outside of the mount itself. Latches on thick belts are secured from the inside.
If you confuse their location, then it will be difficult to fix the boot on the projectile. Due to this imbalance, some of the models of shells transfer the load to the board worse, since they differ in shape and location.
Corners
After centering the bindings, set the angle of their location standard for a particular riding style. Each of the mounts has mounting discs that set the angle of the mounts in three-degree increments. It can be adjusted if the bolts are not tight enough to ride.
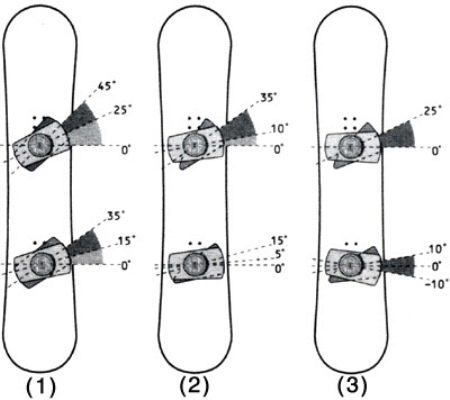
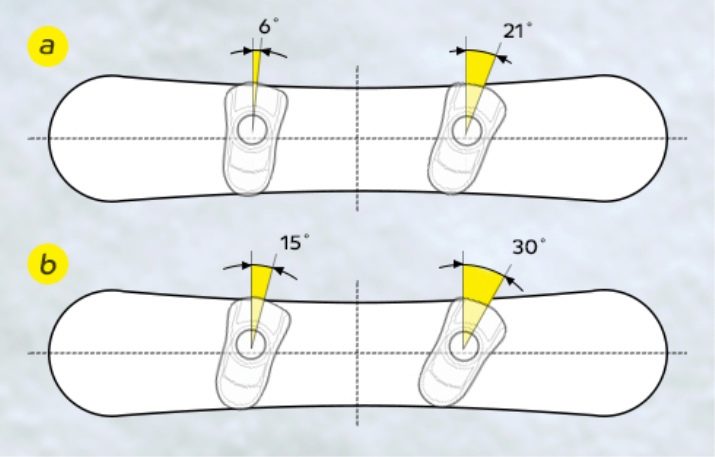
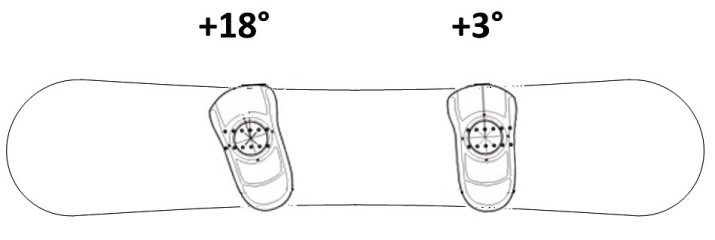
Zero angle denotes their perpendicularity to the projectile. If it is positive, then the toes are turned towards the nose of the projectile, negative - shifted towards the shank. For example, +21 and +6 mean the rotation of the front and back legs, respectively. The final setting of this angle depends on the model of the projectile and the comfort of the athlete. Beginners often choose exactly this setting of the angles of the mounts.

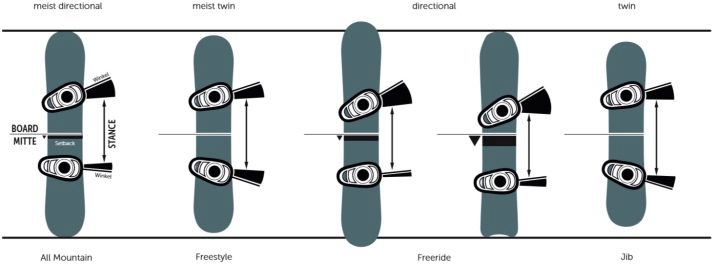
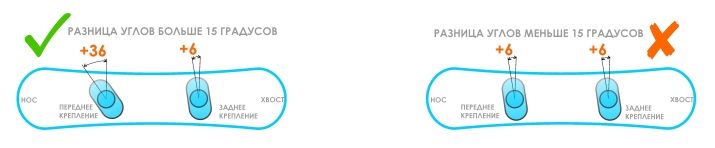
The front pillar has bindings tilted forward. The front mount is located at an angle of 12-30 degrees, the rear - at an angle of 0-30, while the designations are positive. This position is appreciated by beginners. The difference between the front and rear attachments is set to greater than 21 degrees.
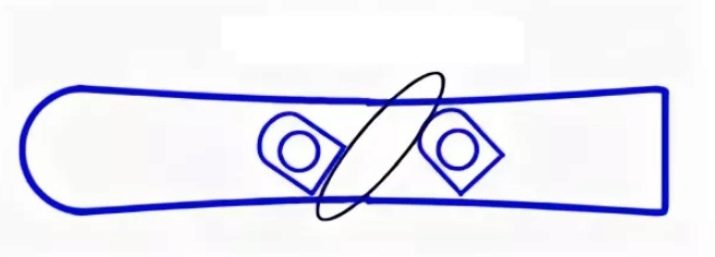
For duck-foot racks, the front mount is oriented towards the nose of the projectile, the rear - towards the tail... This stance has found recognition among freestyle snowboarders. But the vast majority of riders did not find it comfortable to use. Its distinctive feature is movement in both directions, which is important for free skiing.
In this case, the front mount is placed at an angle of 0-30 degrees, and the rear mount is from -20 to almost zero.
If both mounts are located at opposite angles of 15 degrees, then the rack belongs to the mirror variety. This stance is used by beginners when skating in a free style. In this case, the projectile moves equally forward and backward. The beginner will choose which leg to use as the lead. A significant number of snowboarders have found that zero degrees on both feet are preferable to duck stance. The flaw in the duck stance is the high workload of the knees. The hind leg pivots when entering the wrong angle.
The carving stance is typical for projectiles with increased rigidity, for example, when descending in this style or on races.... Mounts are installed on the projectile at a high angle. Both mounts are set at an angle of minus 70 degrees, which makes it possible to turn and turn sharply.
The general rule of thumb for newbies is that the difference between the angles of the mountings must be at least 150 degrees... If you choose a smaller angle, then the dynamics are disturbed, which is why the knees are brought to each other inward. For the first time, install the mounts at an angle of 150 degrees and do not change their position. Having started to master the movement on a snowboard, you will move to the right and left along the mountain on one edge, and then the second will be involved.
But such a zigzag cannot be considered a trajectory in which full-fledged turns are present. In the latter, the heels and socks alternate with each other, and not one leg replaces the other.
Having mastered the first serious descent technique, readjust the attachment angles and ride again... If this does not increase convenience or the projectile's travel becomes less controllable, then return the original angles of the mounts. Changing the angle of the bindings by at least three degrees should become a habit. The general rule of thumb for table values is +30 to -12 degrees for the front and back legs, respectively.
Width selection
The distance between the feet is determined so that the legs on the apparatus are set slightly wider than the extreme marks of the shoulders, for example, plus an additional two centimeters. The ultimate comfort is set by the athlete himself.
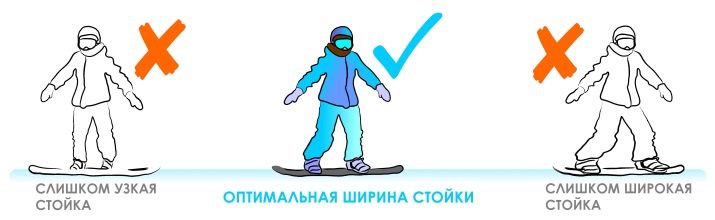
So, Free style is primarily a wide stance that maintains balance upon landing. But in the freeride style, a narrowed stand is chosen.... There are two other formulas: the width of the stance is equal to the distance from the elbow to the fingertips, or from the surface of the snow cover to the middle of the knee. In general, a small width means difficulty with balance, an overestimated width means quick fatigue. Find this fine line and stick to it.