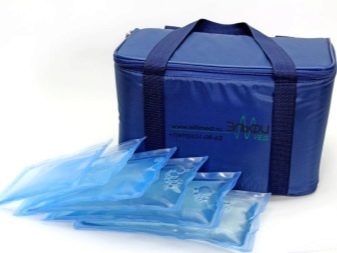
DIY cooler bag and thermos bag
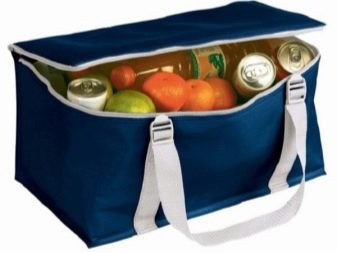
Summer is a great time when many people go out into nature with their families or friends. Many are faced with one problem: how to preserve food. A thermos bag, cooler bag can easily cope with such a task.
Summer residents are not used to leaving all their salaries in stores. Many things in a suburban area are done by hand. So you can make a refrigerator bag yourself. However, first you need to understand what a miracle refrigerator is, which can help many vacationers.

What it is?
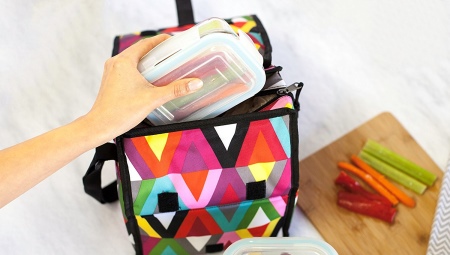
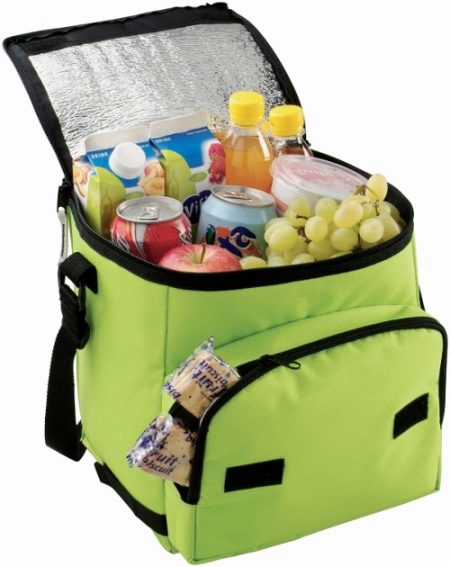
A refrigerator bag is an item that will help keep food fresh for 12 hours. Outwardly, the bag is no different from its other "brothers". However, this product still has a little trick.
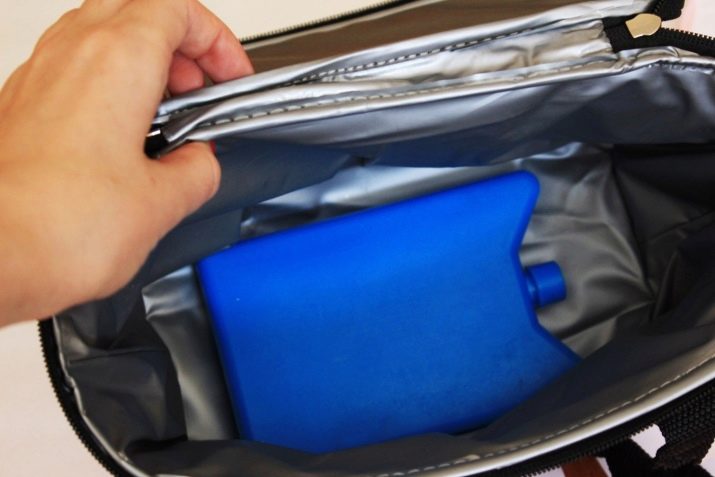
Cold accumulator
For many people, at the mere mention of the phrase "cold accumulator" one picture appears in their heads: they need a special device that will perform the function of generating frost.
However, a cold accumulator can be made from scrap materials that are present in all homes.
Ice bags
To get it, you need to pour water into ice molds and put them in the freezer. Once the water has solidified, you can start making ice packs.
Put ice cubes in a bag with a latch, close the bag. The second bag will protect against leaks, so the first bag will have to be put in another one.

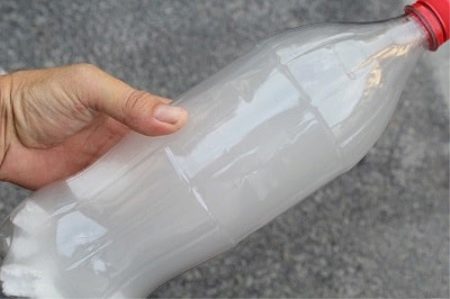
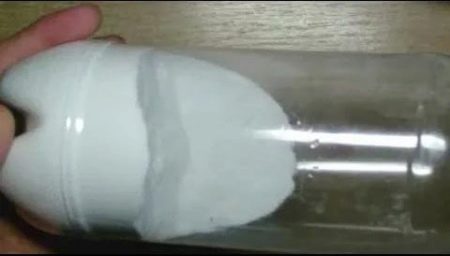
Ice bottles
To make them you will need the following:
- empty containerwhere there were carbonated drinks;
- water (the amount of liquid depends on the size of the bottle);
- salt (6 tablespoons per liter of water).
You need to make a strong solution with salt. The salt must be dissolved in water, after which the resulting solution should be frozen. The salt will keep the ice from melting quickly. This means that the bag will keep the cold in itself much longer.
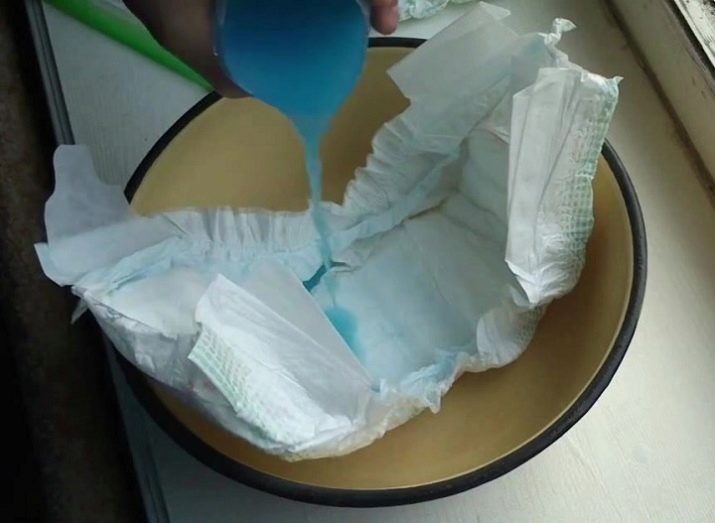
Pampers and battery
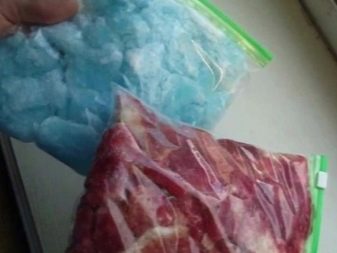
This method of setting up a refrigeration unit is recommended for families with small children. Pour water into the inside of the diaper. Wait until the liquid is well absorbed into the diaper itself. The baby hygiene product will need to be cut open. The gel mass should be placed in a plastic bag with a fastener and placed in a second bag. After that, send the finished package for freezing.
Gel battery
Created on the basis of a saline solution. The solution must be concentrated, which will subsequently increase its volume to 3 liters. Add wallpaper glue or gelatin to the diluted 3-liter liquid. Place the gel mass in a prepared container and put it in the freezer. The gel battery melts much longer than regular ice.
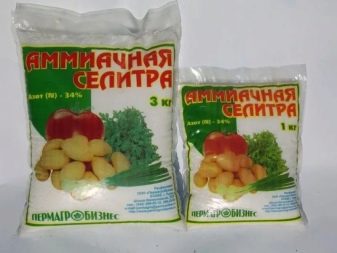
Based on ammonium nitrate
Knowledgeable summer residents in their suburban areas use such a tool as a fertilizer. It is easy to get a high-quality cooling element from such an assistant in the country.
From nitrate, the air temperature can drop by twenty-three degrees.
The two ingredients (water and ammonium nitrate) are taken in equal proportions. Pour fertilizer into the prepared bottle and dilute with water. The cold storage is ready.
There is also a second option for creating this cooling element. Saltpeter is added to frozen water. The cooling effect of the accumulator on the fertilizer will thus increase several times over time.
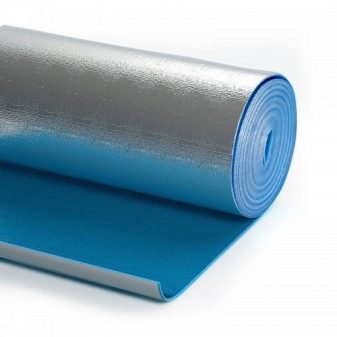
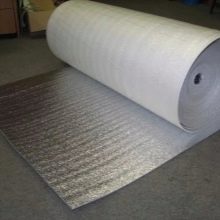
Foamed polyethylene
Chilled food will not warm up in a foil bag, and hot snacks will not cool down. Any building materials store always has it in its assortment.
Aluminum or metallized foil and keeps the temperature in the bag. Such polyethylene is available with one-sided or double-sided coating. Double-sided foil-clad polyethylene has the best characteristics.
On the basis of the listed refrigeration tools, a portable refrigeration chamber can be made.
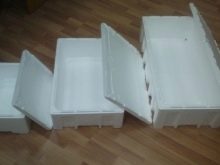
How to make it yourself from Styrofoam?
The thermal insulation properties of foam allow many craftsmen to use it to create a portable refrigerator. Polyfoam is produced in different types, so some characteristics are different. DTo create a thermal container, ordinary foam, consisting of pressed small granules, is suitable.
It will not replace foil-clad polyethylene due to its thickness and lack of plasticity, but it is quite possible to make a food container that can fit in the trunk of a car.
So, you need to prepare the following:
- Styrofoam;
- plywood;
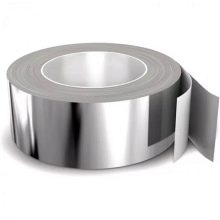
- aluminum tape;
- furniture hinges for the lid;
- necessary locksmith tools.
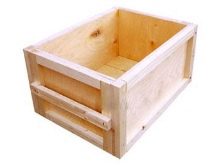
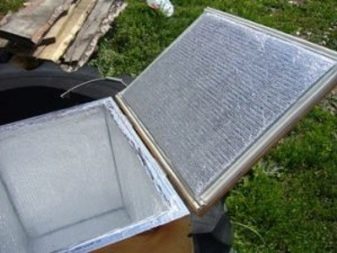
First you need to make a plywood box. What size and shape the box will be - it is up to the master himself. You will need to attach the lid to the box with hinges. The corners and ends of the resulting box are places that must be treated with aluminum tape.
Styrofoam is cut to fit the size of the future container. You will need to insert the finished part inside the box and glue it. Cover the box with foil and secure with tape.

Apply styrofoam to the box lid and glue it. The dimensions of the finishing material for the lid should be determined taking into account the walls of an already almost finished box.
Window insulation tape will make the product airtight if it is laid around the perimeter of the lid.
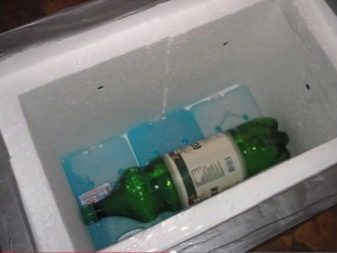
At the bottom of the finished box, you need to put cold accumulators (which were already mentioned above).
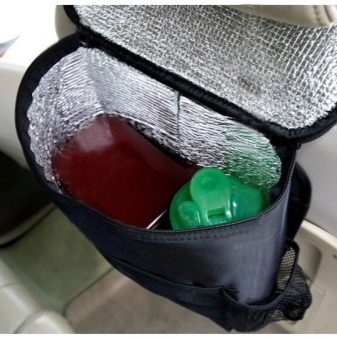
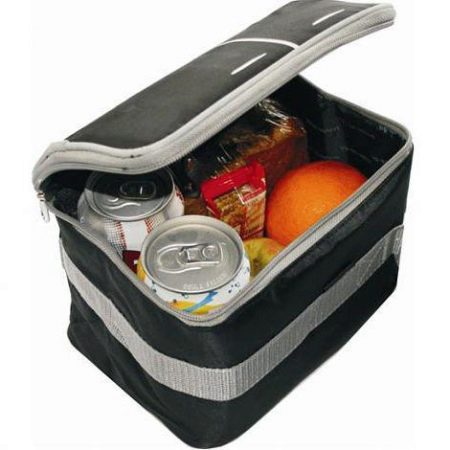
In the car
A personal car has long been considered not a luxury, but a convenient means of transportation. If the summer cottage is not very far from the city or the family is small, then they do not make large supplies of food for the country house.It is more difficult for those families who have children, elderly parents, if the rest in the country is planned for a certain period.
There is only one way out - to make a convenient refrigerator for the car. It can be made portable or in the form of a box, which will always be in the trunk of a car.
How to make a refrigerator box, you can learn from the previous part. It is worth dwelling in more detail on the portable refrigeration device.
You need to prepare:
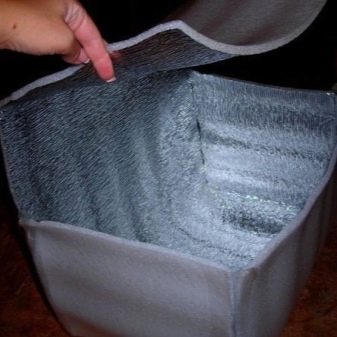
- foil-clad polyethylene;
- aluminum tape;
- sports bag.
A sports bag is usually rectangular in shape.
There are two ways to cut out details from foil:
- Make one blank according to the size of the bag (if the size of the polyethylene allows).
- Take the dimensions of all the sides of the bag separately and cut them out of foil.
The pattern of the refrigerator cover should be smaller than the bag. This will allow you to easily insert the cover into your bag.
In the first version of making a refrigerator, you need to fold the finished parts - like a designer. You need to take regular or special tape and strengthen the corners of the foil cover.
The second version of the cut out parts is folded in parts. Adhesive tape is applied to the side seams inside and outside.
The walls of the container must be firmly in contact with each other, otherwise the "thermos" will not hold the created microclimate.
If the foil does not bend well, then the cover can be made separately. You need to cut it off from the base and attach it to the top of the bag with tape.

We increase efficiency
Considering the recommendations, you can make a cooler bag at home without any problems.
However, few people know how to multiply the efficiency of a portable refrigerator:
- The first tip is useful for those who travel a lot by car. The blanket will be a great helper in keeping the right temperature in the bag. Just wrap your portable refrigerator in it.
- The direct rays of the sun will degrade the effectiveness of the bag. It should be kept out of direct sunlight.
- The best place for batteries is at the bottom of the bag. If, with this position of the batteries, the products do not fit into the bag, then there is a fallback: you can put them on the products.
- It's great if the products are chilled.
- The tighter the food is to each other, the slower the temperature inside the refrigerator will rise. Any empty space in your bag should be filled with any container of water or a rolled blanket.
- Before arriving at the resting place, it is better not to open the bag often (if this is not possible, then this should be done as rarely as possible).
Master Class
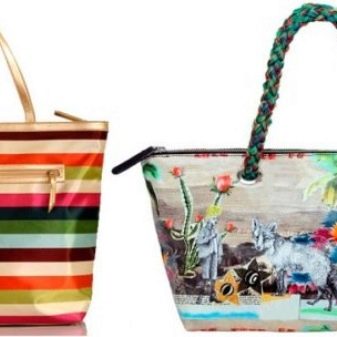
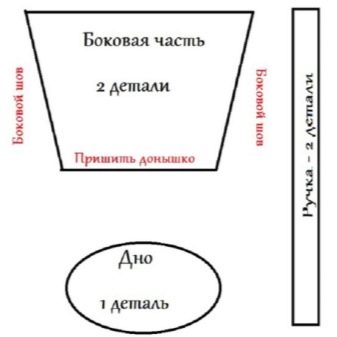
A bag designed to create a small refrigerator should be chosen first. The beach option is also suitable. Only then purchase material for the refrigerator cover from the store. Decide on the amount of thermal foil. Cutting out the parts will need to be done without cutting out the handles.
After cutting it will turn out:
- walls - 2 parts;
- bottom - 1 piece.
If the bag does not have a large round bottom, then the foil walls can be joined using a sewing machine (if the thickness of the finishing material allows). In other cases, you need to use scotch tape.
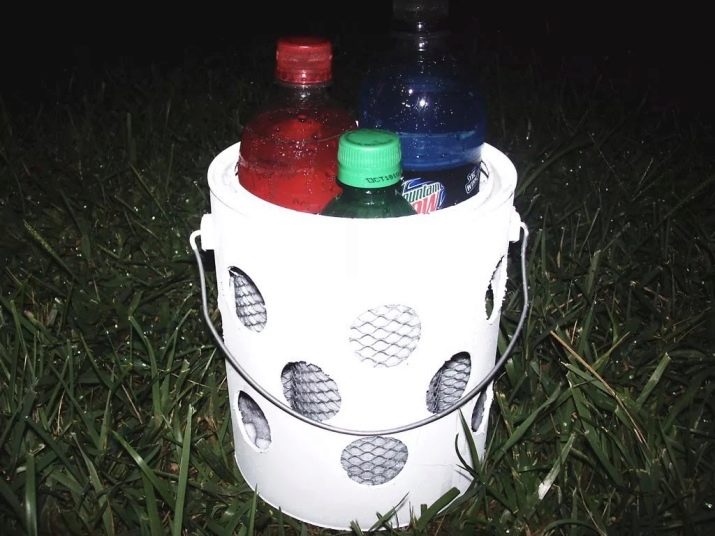
An equally interesting version of the refrigerator, where you can chill drinks, will be obtained from the following materials:
- The bucket where the paint was (from any material).
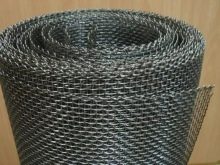
- Metal mesh (calculate yourself).
- Small cable ties (about 30 pieces).
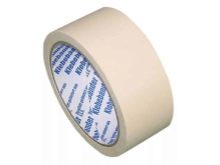
- Masking tape.
The sequence of all works:
- Dispose of the old paint in a bucket and spray it white with a spray can.
- Draw three rows of circles with a diameter of 3-3.5 cm on the body of the container; you need to place them at a certain distance from each other.
- Using a hole saw, drill the holes along the marked circle lines.
- Now you need to prepare the compartments for drinks. Wrap a regular bottle (jar) 2-3 times with a fine mesh, but not very tightly. The layers must be fastened with ties. Outwardly, the mesh should resemble a cylinder - the size of the bottle.
- Place a terry cloth napkin in the cylinder. Place a piece of foam rubber or absorbent cloth on the bottom.
- Multiple cells can be placed in a bucket. This will be the parameter by which you can determine how many bottles will be cooled. If you are going to use the bucket for cooling, you need to moisten it with water.
The white paint on the sides of the bucket will reflect the sun's rays, so the temperature inside the dishes will not rise. The water will evaporate through the holes, thereby maintaining the desired microclimate.
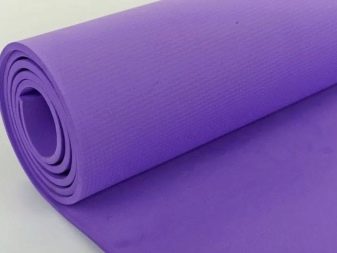
Product made of karemat
Most of all, people who often go hiking know about karemat. The mat resembles a rug with good thermal insulation. It is used as bedding in a sleeping bag.
First, you need to prepare a mixture consisting of water and ammonium nitrate. The latter can be taken dry with you on a hike. The cap in the bottle must be carefully tightened.
Karemat will act as a heat insulator. It needs to be rolled into a pipe. Place drinks and a cold accumulator inside. The holes in the pipe should be plugged with clothing (this will keep the temperature in the inside of the refrigerator).
Careful handling of ammonium nitrate will prevent fires and explosions. Ingestion of edible supplies can cause severe poisoning.
When using this method of creating a refrigerator, contact with food must be excluded. After preparing the solution, wash your hands thoroughly.
An outdoor picnic is an event that will relieve work fatigue in adults. Children will play enough in the fresh air and taste the delicious supplies made by mom and dad. And a refrigerator, made with your own hands from improvised means, will fulfill its functions and save the family's budget.
How all the working moments for making the refrigerator bag itself look in fact can be seen in the attached video.
Cold accumulators are a necessary item for a refrigerator bag. And what does the usual diaper have to do with it? All answers in the video tutorial.
The styrofoam drawer comes in handy anywhere. How to do it - you can see everything with your own eyes.


Thank you, I liked the article, very useful.
Easy, accessible and understandable. Saving money. Thanks.
The article is super! Thanks.