DIY beach bag

Every modern fashionista prepares for the beach season. It is important to think over the whole image, not forgetting about the little things. To have all the necessary items where to put it, you need a spacious bag. You can buy it in a boutique, but it is better to make it yourself, then the accessory will be unique in its kind. How to make a beach bag with your own hands and is it that difficult?

It can be sewn from textiles, knitted from yarn, and even woven. However, not everyone is good at crocheting and knitting, but sewing a beach bag, following the instructions of skilled craftswomen, is within the power of every woman who has a sewing machine.

What fabric to make?
Today, the choice of material for the bag is so diverse that it will satisfy the most demanding preferences:
- When choosing textiles for a beach model, it is better to give preference to ecological materials. It is important that the textiles are dense, quick-drying, sand-proof and moisture-retaining. This will keep it in shape.
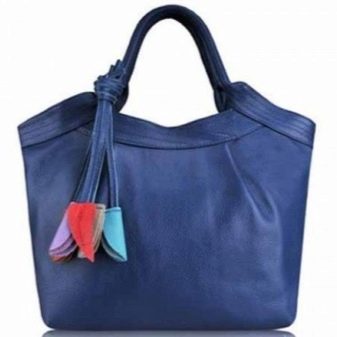
- Let leather accessories wait for another occasion: lightness and absolute ease are needed here
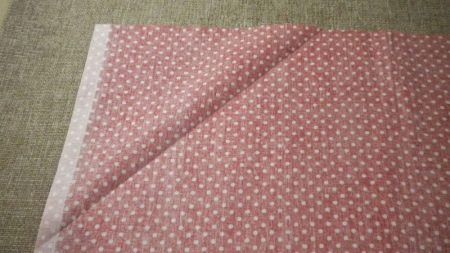
- Ideally, the best textiles are those with a rough texture, but you can use linen, denim, calico.
In addition, it is good if the finished product can be machine washed.
Features of sewing
The beach bag is the lightest accessory to make. It won't take much time to create it, and the result will delight you with its beauty. Despite the seeming complexity in execution, when sewing a product, temporary manual stitches are not needed, fitting at intermediate stages is excluded.
If you are not sure of the correct creation of a pattern, you can use a ready-made one: this will reduce the time for sewing and increase the accuracy of the cut details.
For a bag to look like it’s from a boutique, every step must be done flawlessly. When working, it is necessary to use sewing pins, aligning the seams, excluding the influx of fabric. Do not expect that all defects can be straightened with an iron: this is not the case.
All unnecessary needs to be cut off.


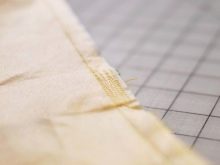
If the fabric is new, before starting work, it is better to perform decating (iron the material with steam) in order to exclude shrinkage in the future. Otherwise, after washing, the finished product may deform, which will affect its appearance.

So that the product does not deform after washing, it is important to observe the side and cross sides when cutting: new fabric almost always shrinks in length. It is not difficult to correctly determine the direction: the textiles stretch somewhat in width.
Do not create a cardboard frame: the beach bag can get wet, which will lead to sagging of the paper. It is better to reinforce the bottom with a double layer of fabric.
Patterns
In cases where an interesting style is conceived, it is better to use a ready-made pattern. This will make it easier to calculate the material consumption and make the work more accurate. Any pattern depends on the design idea.
It can be simple, or model, with a lot of decorative details.
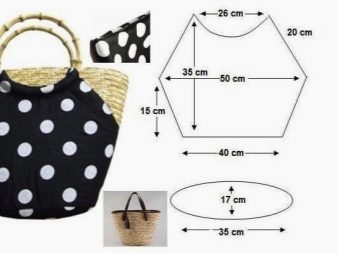
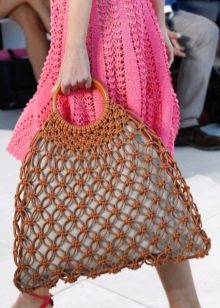
Depending on the option chosen, it differs in shape (in the form of a rectangle, semicircle, trapezoid, square, with a ring, in the boho style, in the form of a T-shirt, bag-bag).
In addition, models can be flat or three-dimensional, hard or soft.
When choosing a pattern, you need to take into account textiles: soft fabric does not hold its shape, even if it is duplicated with glue.

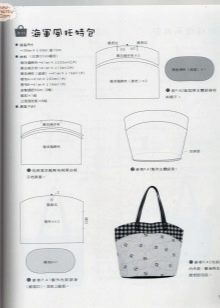
The shape of the accessories is very diverse, and thanks to the professional approach of the needlewomen, the pattern box is constantly updated. However, it is not at all necessary to use a ready-made template: you can come up with your own design by making some adjustments to the approximate sketch.
How to sew for the beach?
When choosing a fashionable style, you need to take into account a number of nuances. A beach bag can be a standalone accessory or several functions at once. In the first case, it will hold all the necessary accessories, in the second it will become an accessory over the shoulder, freeing up your hands when walking to the beach.
These styles are comfortable to wear.


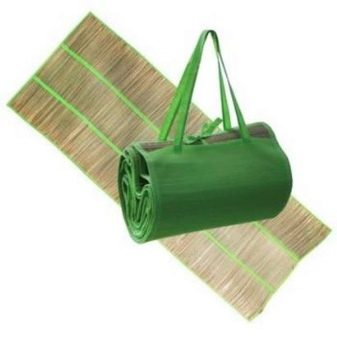
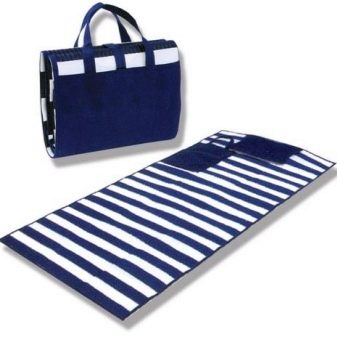
It can be a transformable model made of fabric, umbrella or other material. An interesting option for a beach bag is a rug bag or a plaid bag, which, if necessary, can be transformed into a lounger.
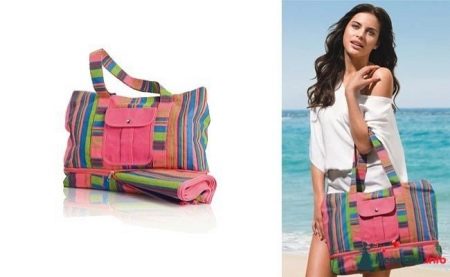
When folded, it will look neat and take up less space than a rug in a bag. The sewing of the model depends on the intended functionality.
How to decorate?
The design of the beach bag is carried out taking into account the chosen style and taste of the woman. Depending on the type of material and color, sometimes a minimum of decor is needed. For example, if the model is monochromatic and sewn quite simply, you can decorate it with an interesting pattern using special paints.
So it will look fashionable and bright.
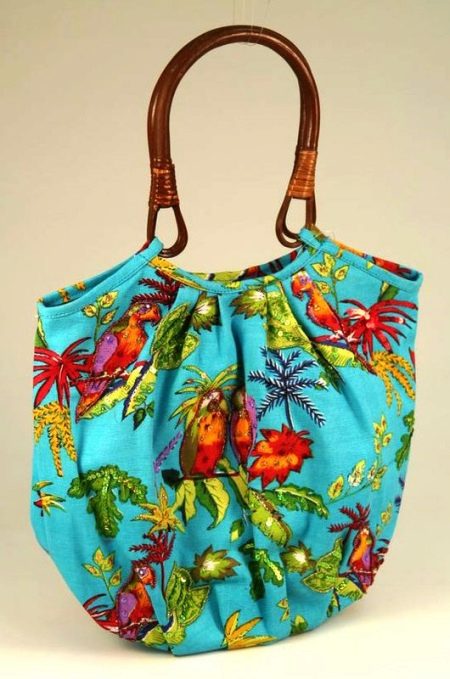
There are no restrictions in the choice of theme. It can be a simple classic (strip, check) or an abstract, geometric motif, floral and urban sketches. It all depends on the creative abilities of the author.
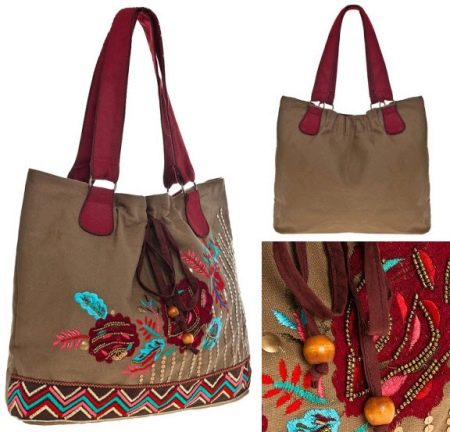
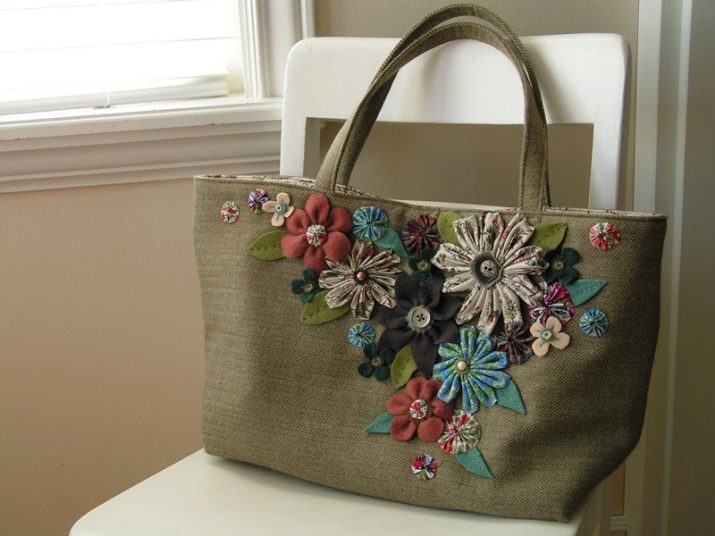
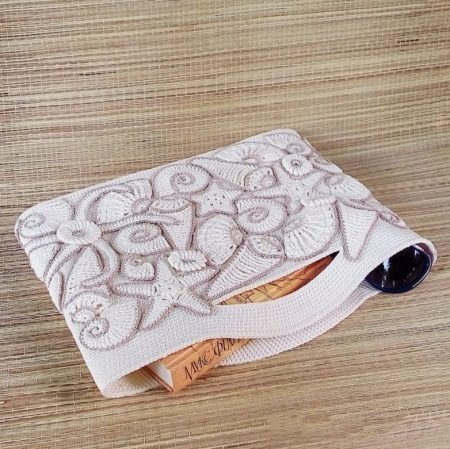
Whoever doesn't like designs on fabric can decorate the product during sewing with applique, embroidery or a combination of several decorative elements. Compositions with flowers, marine paraphernalia will look beautiful. Crocheted blanks that are sewn to the front of the bag also look interesting. In this case, it is important to choose the right material and finish so that they are combined with each other.
Ideas for creating
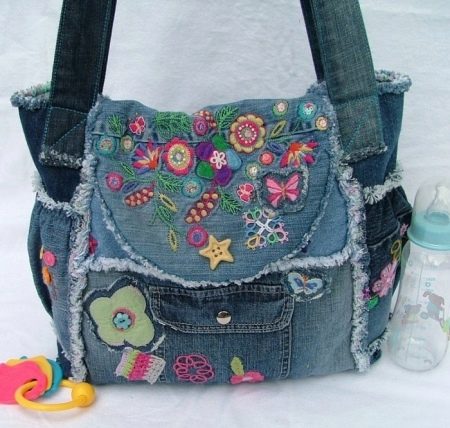
If you don't want to buy fabric, you can use forgotten things that you will probably find in your wardrobe. Old jeans - why not? Sometimes it is enough to cut the legs, sew up the bottom, add handles - and the bag is ready.
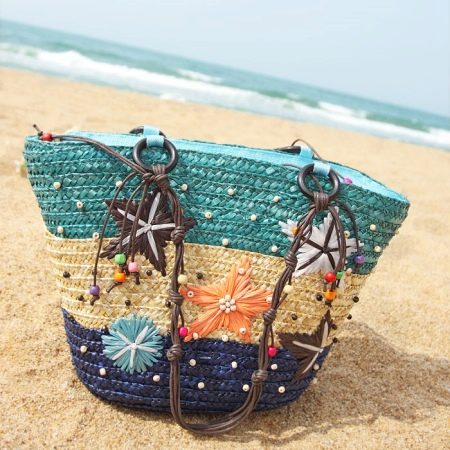
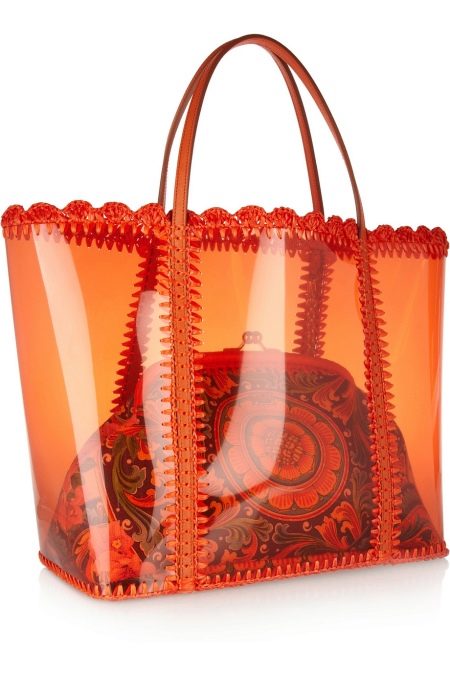
For a creative look, you can bring to life the version a la Dolce and Gabbana: a transparent roomy bag, made in the style of minimalism and decorated with modest decorative braid and reliable handles.
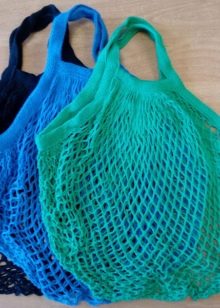
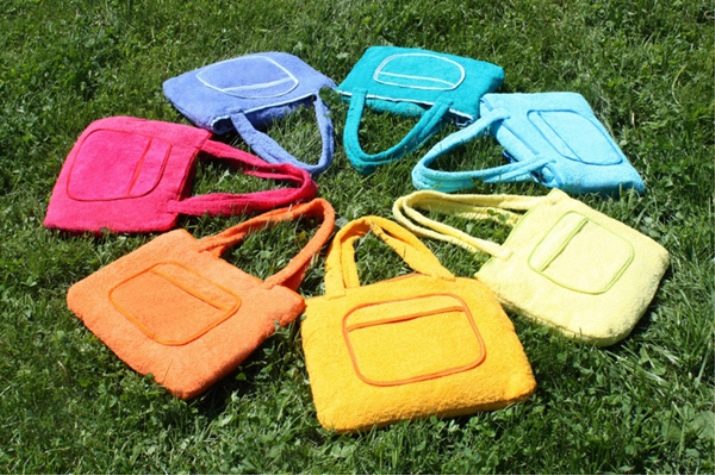
A bit similar, but in a sporty way: a bag made of colored mesh, decorated with strong braid and complemented by a pocket. An excellent "breathable" accessory in which the towel will dry faster, and everything is always in sight.

Needlewomen always have scraps and leftovers of material that can be put into action by choosing colors to match the pattern of the swimsuit. This can create a real beach ensemble.
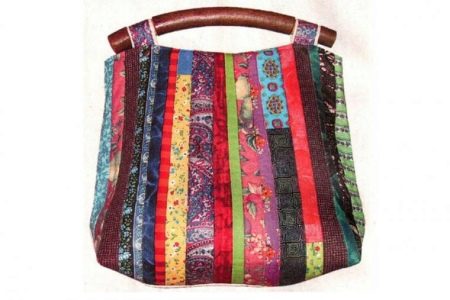
For those who are not satisfied with the combination of two shades, the patchwork technique is suitable. Patchwork is exciting and bright. This bag will appeal to many women, it is always unique and distinctive.
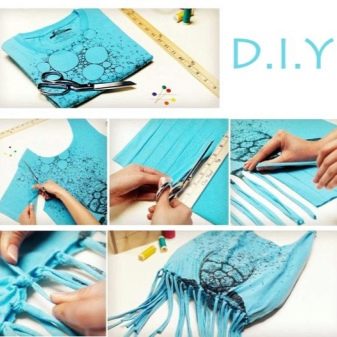
Creative fashionistas will love the idea of sewing a fashionable bag from a T-shirt with a print: fast and original.
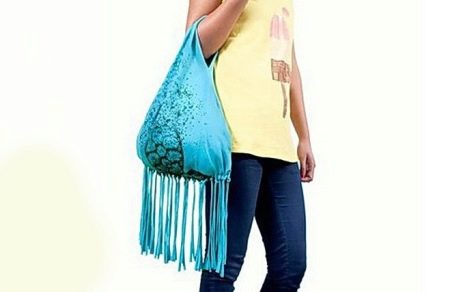
For greater effect, you can cut the bottom of the product into a fringe, tying it in knots. However, there is a nuance: for a bag you need a model made of thick knitwear, otherwise the accessory will not look beautiful.
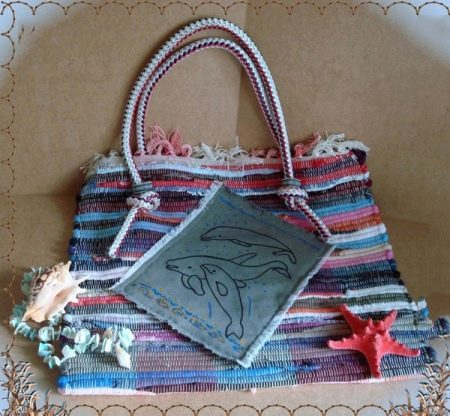
Do you have a doormat and a thick, rough cord? Only two seams, but the product will look just super! Flat model, roomy enough and comfortable. This bag will hold all the necessary beach accessories.
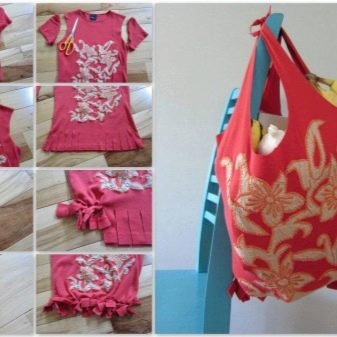
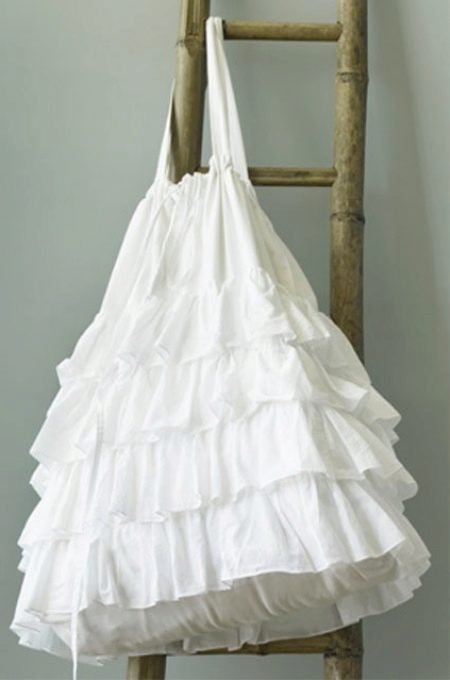
If there is an old skirt with frills in the wardrobe, it is even more interesting: by combining the bottom of the penultimate frill and sewing on the handles, you will get a delicate model that romantic natures will definitely like.
A universal option is a bath towel model. Why not? And stylish, and always useful if you need to dry off after swimming in the sea.
Master Class
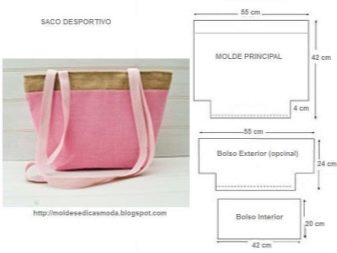
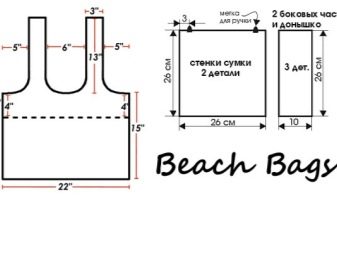
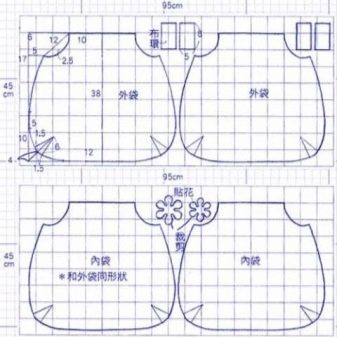
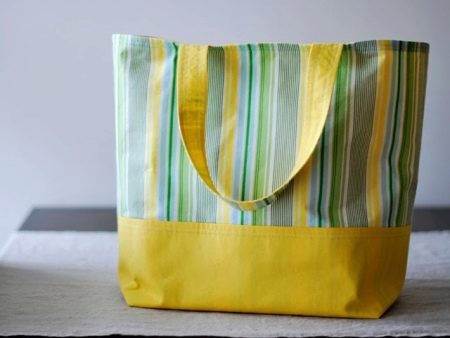
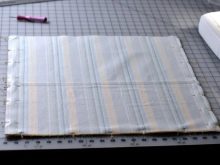
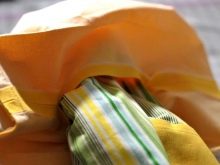
Sewing a beach bag yourself is not as difficult as it seems at first glance. To complete the accessory, you will need a top material measuring 1.10 m long and 1.35 m wide and the same amount of finishing material (made of natural fabric). Too thin and soft textiles do not hold their shape; it is better to use a coarse material. The glue will take at least 4 meters, since almost all the details will have to be glued. Threads are needed to match (for sewing) and contrast (for stitching).
For this sewing, a pattern is not needed: you can fold the fabric in half in width and trim the edges to symmetry: when folded, you get a square with a side of 55 cm. Mark 5 cm from the length and cut the resulting strip. Then each part is cut along the fold: two parts are obtained, 0.5 m (height) x 0.55 m (the width of the future bag) and 5 cm x 55 cm.
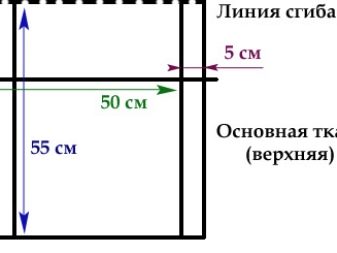
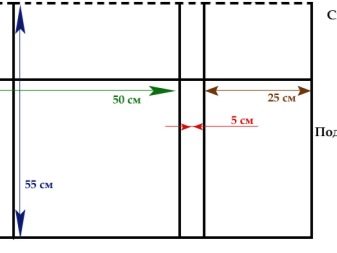
The decoration is cut out according to the same principle, but in addition to two large and two small parts, two more blanks measuring 25 x 55 cm are cut out (this will be the decor of the sides).
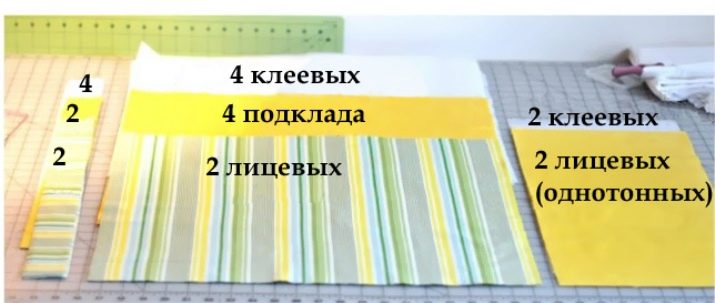
The glue is cut separately for each detail, with the exception of the decor details, otherwise the thickness of the textiles will be uneven. It should make 4 parts 50 x 55 cm and four 5 x 55 cm.
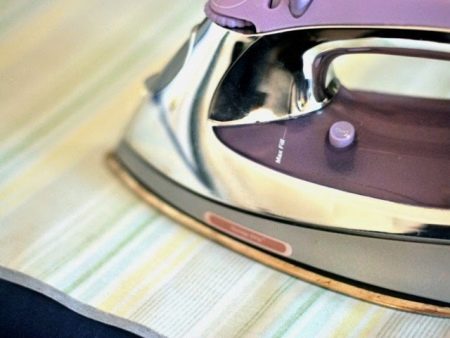
After all the blanks are cut out, non-woven (glue) is glued to them from the seamy side. If there is a surplus, the glue is trimmed.
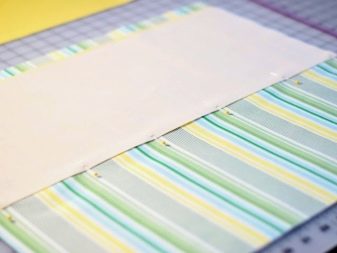
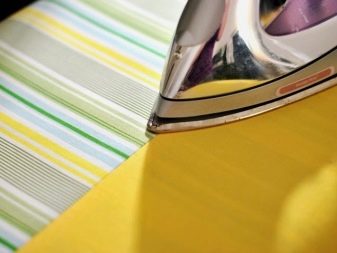
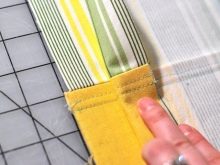
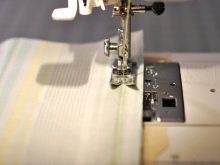
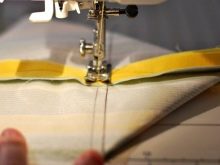
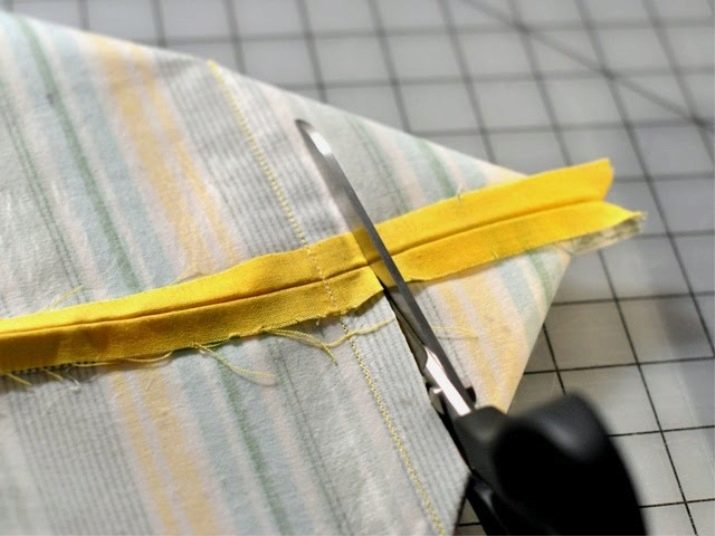
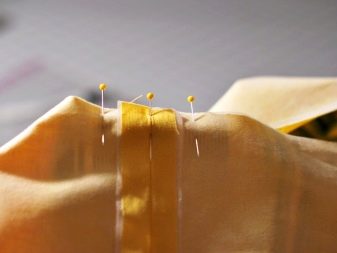
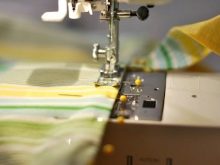
A decorative insert from the finish measuring 25 x 55 cm is applied to the base part at a distance of 22 cm from the bottom with the wrong side and stitched at a distance of 1 cm from the edge. Then the trim is folded over the face, ironed and the finishing line is laid with contrasting threads. If double finishing stitches are conceived by design, it is advisable to observe this technique in the entire decoration.
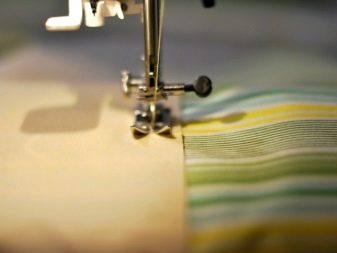
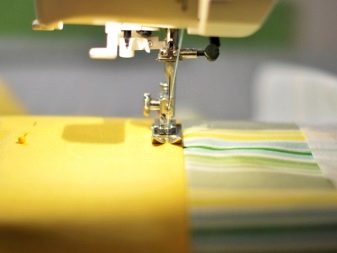
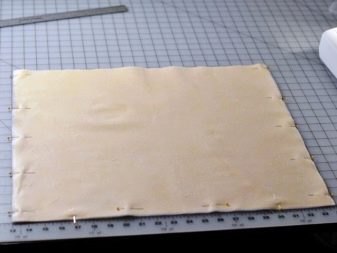
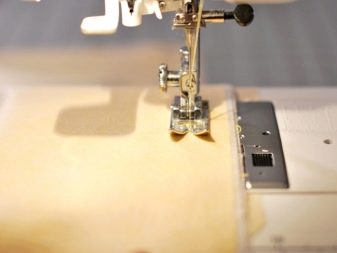
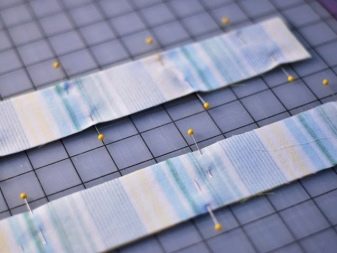
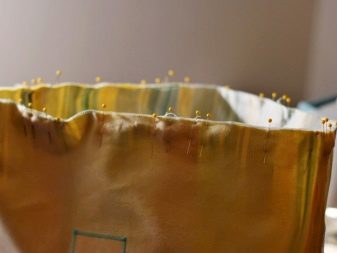
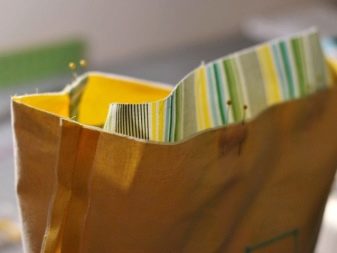
The work must be done carefully so that the overall appearance is not damaged. After sewing on the finishing details, they are checked for symmetry, after which they are folded with the front sides inward, pinned with pins on the sides and bottom and stitched on a sewing machine. The seam width is 0.8 - 1 cm. You can use the presser foot as your guide. For greater reliability, the seam is made double.
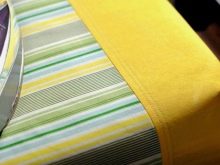
The same is true for the fabric lining. However, here the seam width should be larger. It is important that the trim details are 2 - 3 mm less than the base material: this is necessary so that the inside of the bag does not look out onto the "face" in the turned-out state. So, there will be no excess material inside, and the edging in the upper part will more easily wrap in the desired direction.
Having made the lines, the seams of the base and lining are ironed out.Then give the product the desired shape. To do this, the fabric at the bottom at the junction of the parts is folded with an angle, while the seams must match. Perpendicular to the seam, draw a line about 16-18 cm long from one edge to the other.

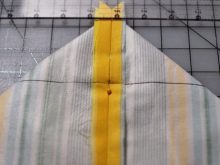
The lower this figure, the flatter the bag will be. A line is laid along the drawn line, then an allowance of 1 cm is left and all excess is cut off. They also make the corners of the lining of the accessory, not forgetting that the indent from the edge is always greater, otherwise the lining will be larger than the base.
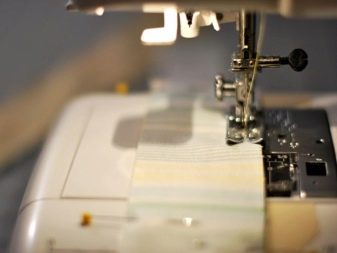
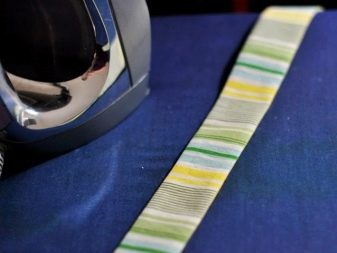
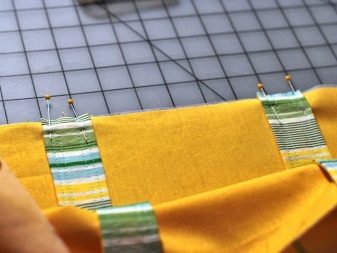
Handle blanks are folded with finishing, sewn, turned inside out and ironed out. Repeating the decor elements, a double line is laid along the length. The finished parts are pinned to the top of the base at a distance of 15 cm from the side edges, combining the allowance of the top and the handle.
The lining is turned right side out, put into the base blank and pinned on top, then sewn, matching the seams and not forgetting to leave a small area unsewn. It is needed in order to turn out the product.
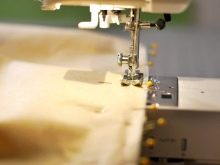
The top can be stitched twice for durability.
After turning out the bag, it remains to align the top, wrap the edging inside out, sew up the hole for turning out and fix the upper part with a double finishing stitch. Do-it-yourself beach bag is ready!

In more detail about how to quickly sew a beach bag, the following video will tell:


