DIY wedding cake: popular recipes and decorating rules
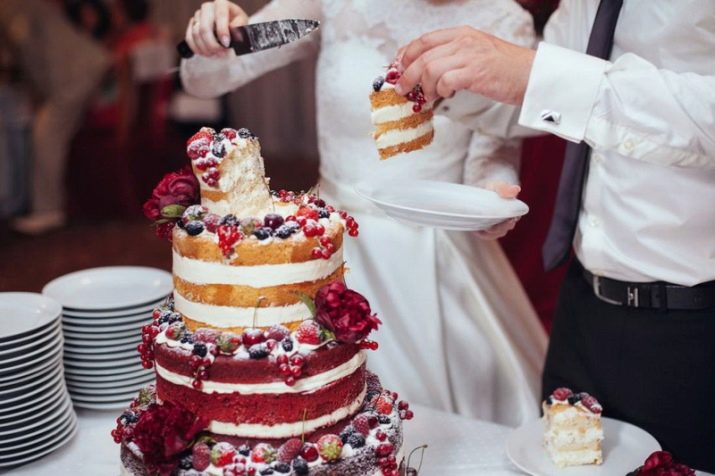
The main decoration of any wedding celebration, of course, is the cake. Today, there are many options for decorating this festive delicacy. Many brides decide to do it themselves. You will learn how to prepare the basis for a wedding cake, what decor options can be used, how to independently assemble a multi-tiered structure, you will learn from this article.
Pros and cons of making a cake at home
If you have an idea to make your own wedding cake, then you will benefit a lot from it. First of all, you will save a decent amount of money set aside for your wedding. If you have basic knowledge and skills in the field of cooking, you can clearly demonstrate your talent. It is no secret that various sweeteners and preservatives that are harmful to the human body are often used in confectionery products. You will be sure that all ingredients used in the production of the wedding cake have only useful properties and good quality. Plus, homemade dessert dishes are always tastier than store-bought ones.
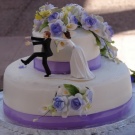
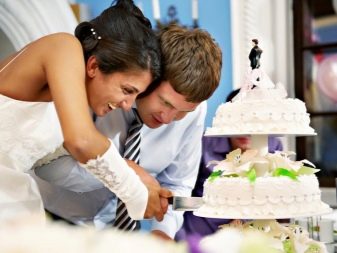
Choosing a homemade wedding cake opens up the opportunity for you to create a unique and inimitable treat. It can be a tiered cake with classic lovers on top, or delicious cupcakes on the shelf for every guest to grab one of them easily.
The only drawback that you may encounter when choosing to make your own wedding cake is the lack of necessary products in your city or region. Good pastry shops are not uncommon in metropolitan areas, but a real luxury for small towns and villages. But in any case, do not despair, because you can always opt for a simpler recipe that does not require "exotic" ingredients. In addition, if you have the Internet, you can order the necessary confectionery components online.
Size and weight
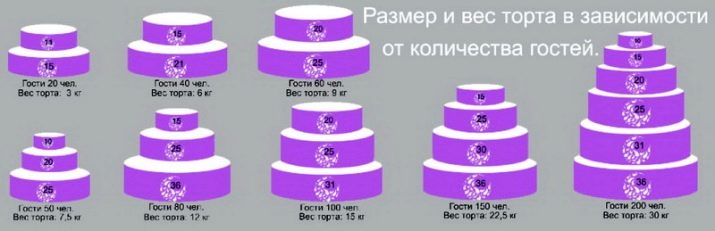
You need to think about such parameters as size and weight in one case - if you want to see a multi-tiered cake at your celebration. Most likely, you have already decided on the number of guests at your wedding, which means you can roughly calculate the required amount of servings. The appetite of your guests plays a big role. As a rule, some guests willingly gobble up all the offered dishes, while others eat only one or two spoons "out of decency". The cake should be crafted with a small margin. When calculating for one serving, take one hundred and fifty grams. Multiply this number by the number of guests and add two to three servings to the result.
The shape of the future wedding treat depends on its weight. Therefore, it is very important to calculate it in advance. If the calculation results in a result equal to three kilograms, then you are very lucky. You can afford to make a classic bunk cake. Such a dessert has good stability, and the likelihood that it collapses during transport is reduced to zero.
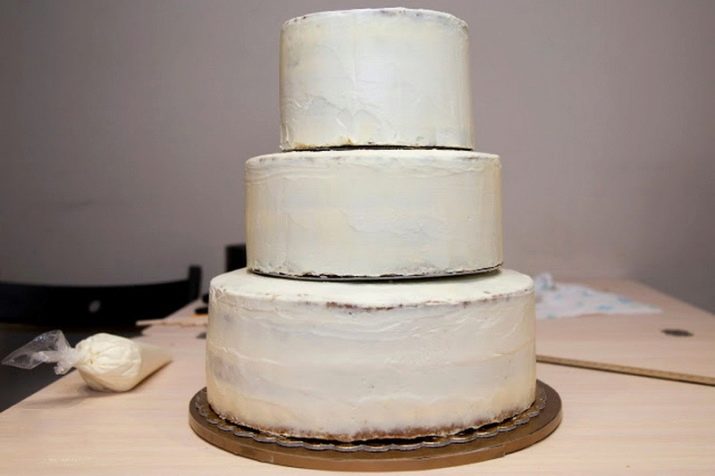
If calculations show that the future cake will weigh five or more kilograms, then it is imperative to make another tier. Three-tiered wedding cakes are characterized by elegance and grace.
It is worth noting that with independent home production, it is permissible to make a maximum of five tiers. When trying to make a taller cake, there is a great risk of collapse of the entire confectionery structure. Such a delicacy requires not only more time and more products to prepare it, but also deep culinary knowledge and skills. Do not forget that the bottom tier should be the strongest and densest part of the whole cake. When making the upper tiers, try to lighten each one by two to three kilograms. Thus, the uppermost tier should be the lightest and most airy in comparison with the underlying elements.
What do you need?
Separately, you should pay attention to the necessary tools that you will definitely need when preparing a wedding cake. You will find some in your kitchen cabinet, and some will have to be purchased at the store. However, do not delay it. It is better to prepare everything in advance so that in the process, which will be quite time consuming, not to be distracted by minor chores.
You will need a variety of kitchen utensils.
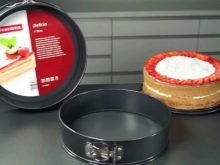
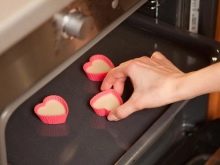
- Special form for cake layers. Depending on the number of tiers, you may need several shapes of different sizes at once. If you have opted for cupcakes, then go for silicone molds. For biscuits, the culinary detachable tray is the best choice.
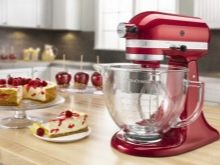
- You will definitely need a mixer. Unfortunately, a manual whisk simply cannot cope with such a volume of work. Take the device from a friend or make yourself a present by purchasing a quality model. In any case, it will be useful to you more than once.
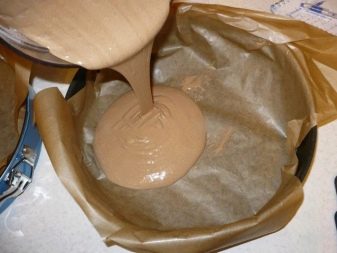
- You will need special baking paper to prevent your cakes or muffins from sticking to the baking sheet. In stores, it is called baking paper.
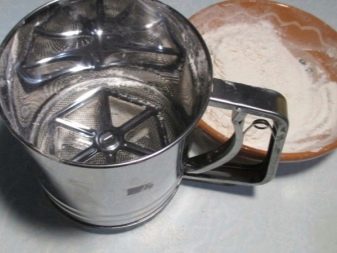
- You probably have a sifter for sifting flour.
- It is recommended that you prepare several deep-bottomed bowls in advance, in which it would be convenient to mix all the ingredients.
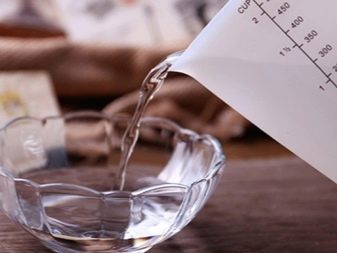
- A measuring cup is required. In the confectionery business, it is extremely important to strictly follow the proportions.
- Silicone spatula.
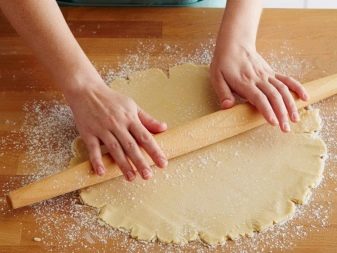
- Nice wooden rolling pin and butchering board.

- Several well-sharpened knives.
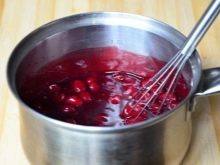
- Saucepan with a deep, thick bottom, for preparing various syrups.
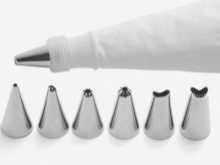
- For decorating, you will definitely need culinary bags with a nozzle.

Recipes
There is a classic recipe for making a cake, which is often used specifically for weddings. The recipe may vary depending on your taste preferences. Therefore, feel free to turn on your imagination and do not be afraid to experiment. The following is the traditional way to prepare the base.
First, separate the twelve chicken yolks from the whites. Mix all the yolks thoroughly with 0.5 kg of flour and 0.5 kg of granulated sugar. Then add one teaspoon of nutmeg, lemon zest and 0.5 kg of ground almonds. Place the separated proteins in a mixer bowl and beat well. At this stage, salt and sifted flour are added. The resulting mixture should be thoroughly mixed.
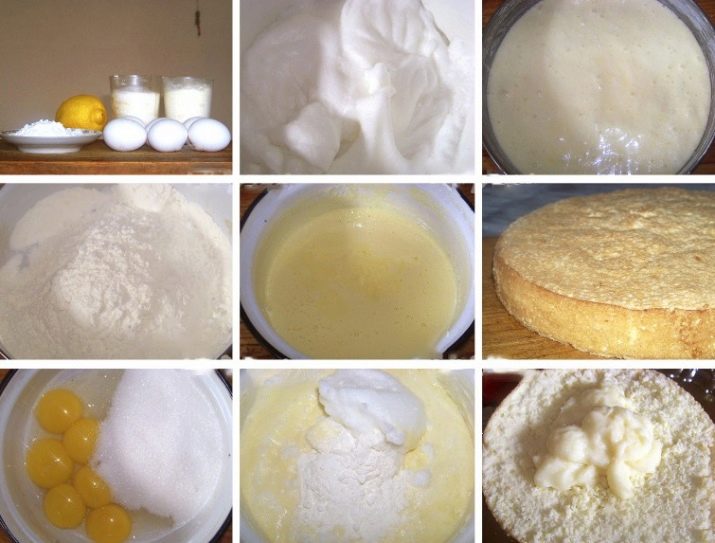
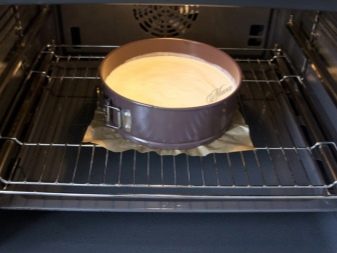
Then you need to warm up the oven to two hundred degrees. The dough must be poured into a special mold and placed in the oven. It should be baked for twenty to thirty minutes. Use a toothpick to check that the biscuit is ready periodically. The finished base will take twelve hours before you can start designing and assembling the structure.

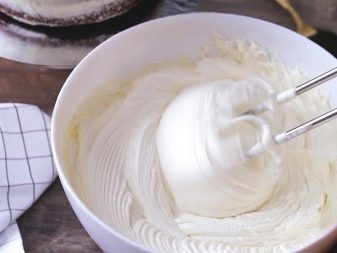
In order to prepare the cream, melt one hundred and forty grams of butter and soak ten bags of gelatin. Beat six chicken yolks, add lemon zest and juice from six lemons to them. Then the resulting mass is heated in a water bath. With constant stirring, granulated sugar is poured into it. When the latter is completely dissolved, swollen gelatin is added. The whole mass is thoroughly mixed. Do not forget that all used products must be at the same temperature. Eggs are laid out in advance from the refrigerator, and the melted briquette of butter is cooled. You can soak biscuits, cakes or muffins with the prepared cream.
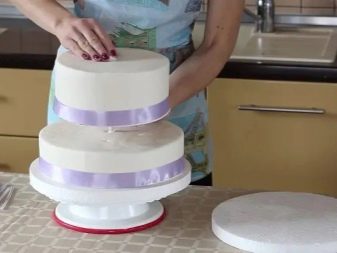
How to assemble?
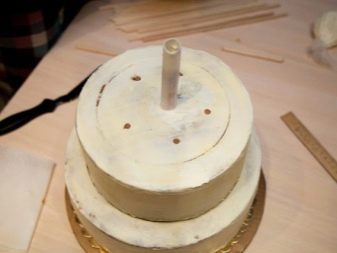
Collecting a tiered wedding cake may seem like a science at first, but you can easily master it yourself. There are several simple manipulations that will allow the upper tiers not to push through the lower ones, while maintaining the stability of the entire structure. To get started, place each tier of the cake on special paper supports. Punch a small hole in the bottom of each backing pad (in the middle). For the durability of the structure, cocktail pipes and a thin stick made of wood are used. The latter must be tightly wrapped in cling film.
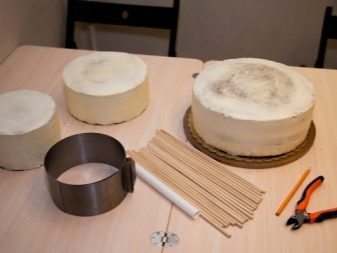
You may also need a small amount of chocolate. A pastry bag with a nozzle will also come in handy. Depending on the color of your product, the chocolate can be white or black.
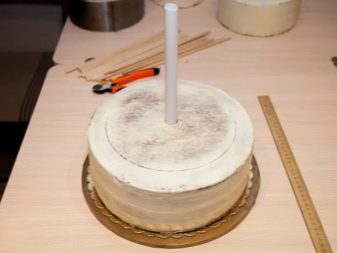
A hole is made on the upper surface of the lower tier (in the middle). For this, a wooden stick in cling film is used. From the center, measure two to three centimeters in a circle and poke a few more holes with the cocktail pipes. Carefully cut off the remaining parts of the tubes with scissors. Remove the tubes from the cake. Fill all holes with melted chocolate. It is not recommended to hesitate with this process, as the chocolate hardens after a couple of seconds.

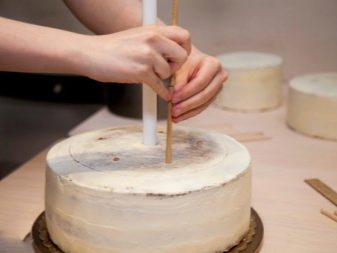
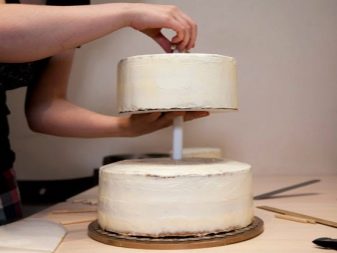
After that, promptly insert the wooden stick into the center and the tubes into the other holes. It is also necessary to pour chocolate into the voids of the tubes. This will allow you to firmly fix the base of the upper tier. Once the chocolate has hardened, set the top tier by placing it on a wooden stick. Repeat the procedure for all subsequent tiers.
How to decorate with your own hands?
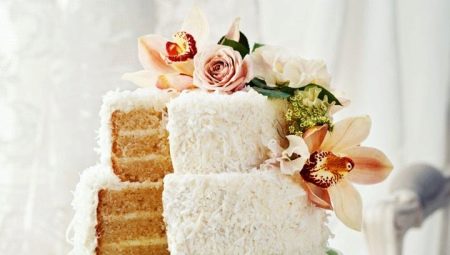
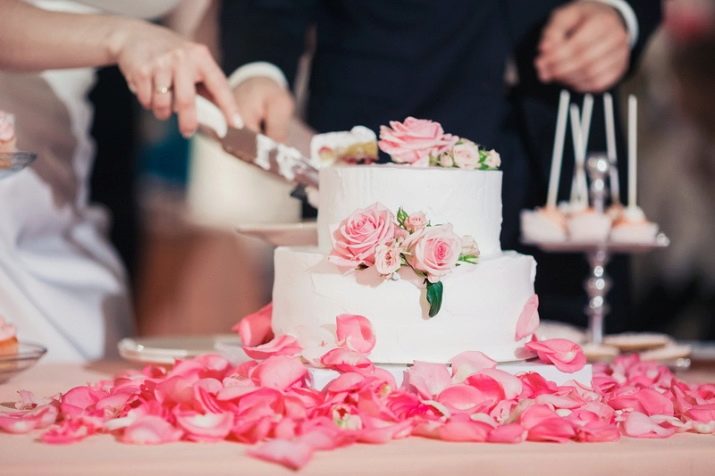
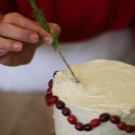
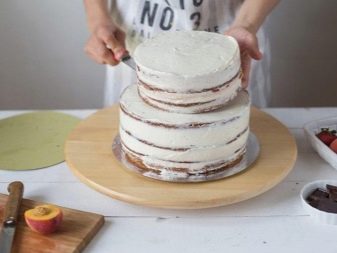
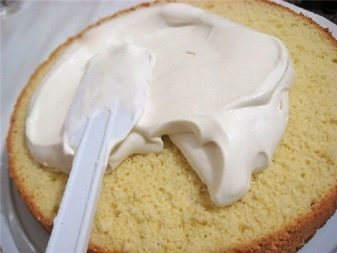
Decorating is perhaps the most fun part of home making a wedding cake. The only limit here is your imagination. Anything can be used - from coconut and frosting to marzipan, fudge or cream.Decorations don't have to be edible. There are many examples of interesting design options on the Internet. It is not recommended to use only fresh flowers as decoration. Contact of the plant with dessert, which will subsequently be eaten, may cause an allergic reaction in some of the guests.
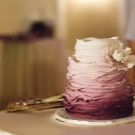
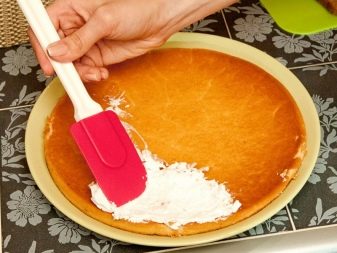
The easiest way to add elegance to the main decoration of the evening is to glaze. Everyone can handle it. Powdered sugar, briquette of butter, milk and vanillin are thoroughly mixed. The mixture is left for twenty minutes. By adding food coloring, you can give the cake the color you want.
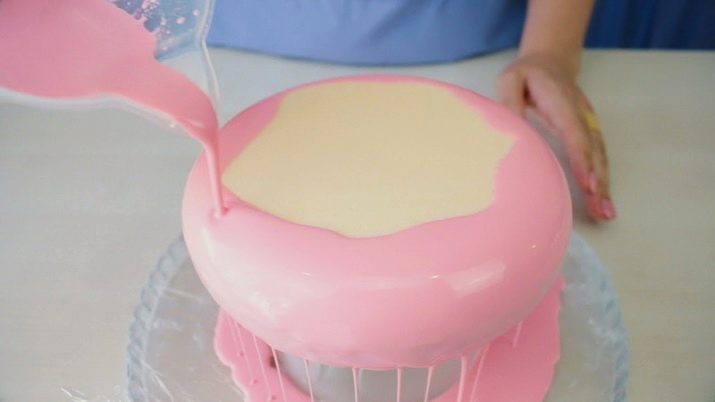
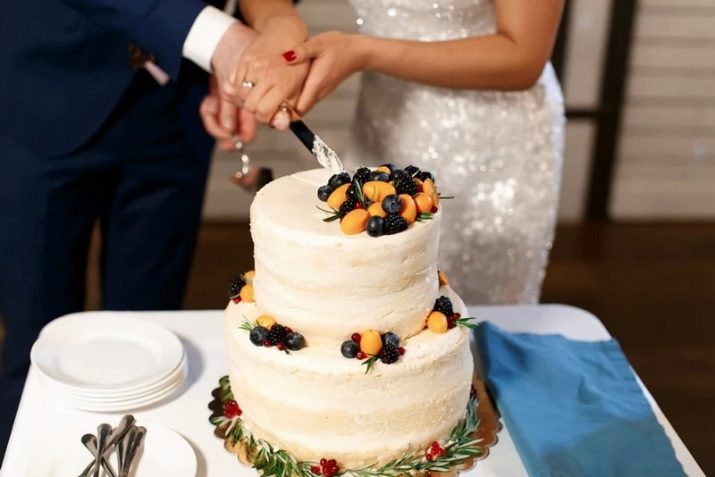
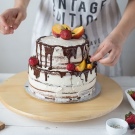
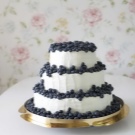
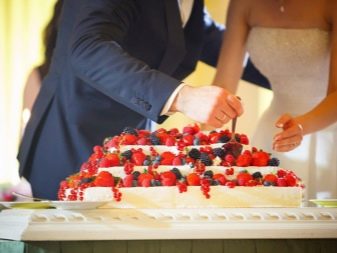
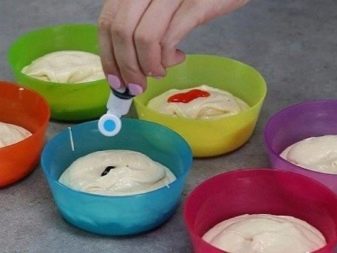
By the way, food coloring is a great way to achieve a bright and interesting dessert color. For example, melting a few bars of white chocolate and mixing it with the resulting shade can decorate the cake with spectacular chocolate drips around the edges. On top, you can put pieces of candied fruit or fresh berries.
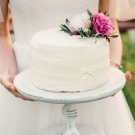
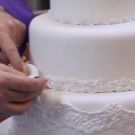
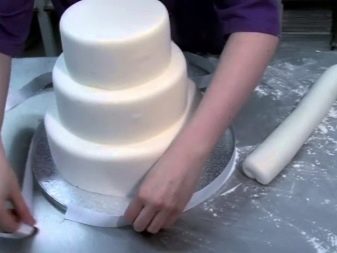
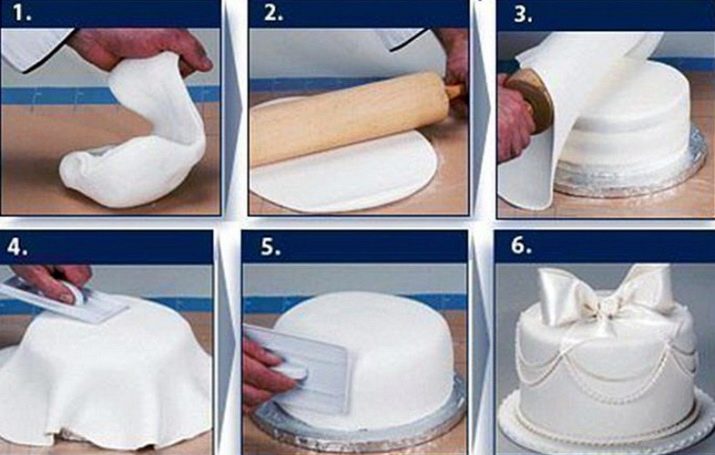
If you are a supporter of minimalism, then take note of the mastic. It has a unique structure that allows you to give it any shape. It can be laid in a continuous layer, wrapping all the cakes. This will give them a cleaner appearance. You can also decorate the cake with flowers or fancy shapes that you can sculpt from mastic.
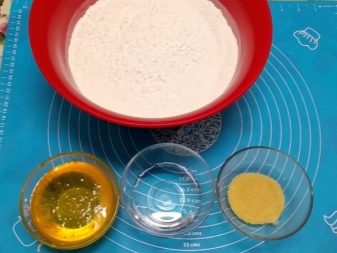
It is recommended that you purchase or make your own white mastic, since if you need to obtain any shade, you can simply add a well-known food coloring to it. For cooking, you need granulated sugar, chicken protein and gelatin. You may also come across mastic made from melted marshmallows. However, it should be noted that such a mass is much more difficult to work with.
For information on how to make a wedding cake at home, see the next video.


