How to disassemble the lid of a thermos?
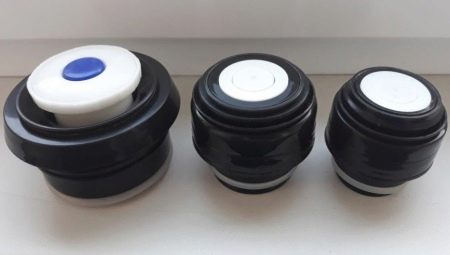
Most modern thermoses are equipped with a special stopper on which the button is located. It is designed for pouring liquid. The principle of operation is quite simple: the pressed button releases a small hole for the fluid to flow out, and if you pinch it, the lumen is blocked again. Frequent use may cause the button to break. But do not despair, as this mechanism can be repaired by yourself.
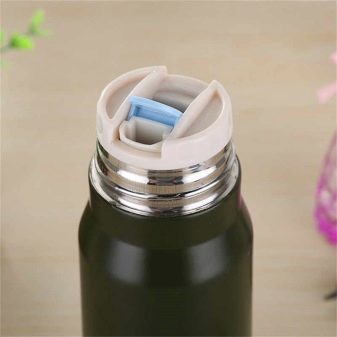
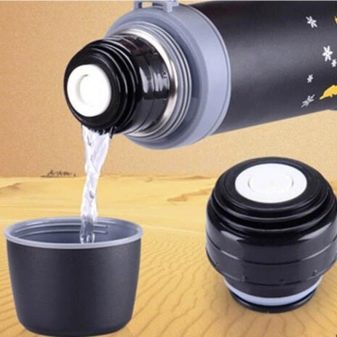
Step-by-step instruction
The simplest option is to disassemble the cork of the classic design, followed by cleaning the parts. The process consists of several stages.
-
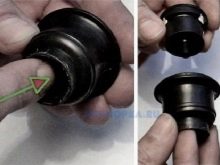
In the counterclockwise direction, carefully unscrew the pressure ring. Here it is better to do without a plumbing tool, but you will have to make some effort. If it didn't work out the first time, you can soak the cork for 5-10 minutes in hot water.
-
When it was still possible to untwist the part, it is necessary to get the valve out of the body. To proceed with the repair, the valve mechanism must be pushed out.
-
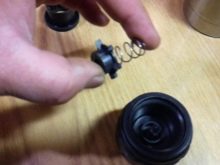
To get to the spring, you need to push the valve stem. Great care must be taken here as there is a risk of damaging the circlip.
If you carefully consider all the parts received after disassembly, then either the spring or the retaining ring can break. They can be replaced with new ones (from other similar mechanisms or purchased from a hardware store).
Now it is enough to clean each part and assemble the plug in reverse order.
Possible difficulties
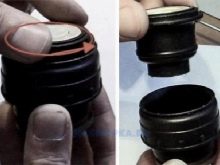
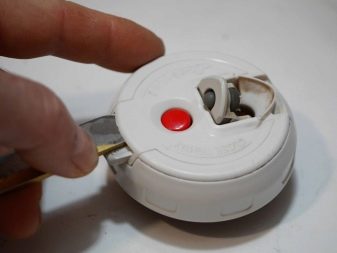
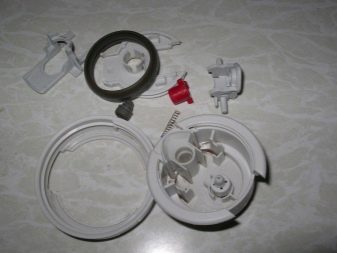
Some complications can arise with more advanced mechanisms. So, if there are 2 buttons on the lid, then during disassembly the lid must be carefully picked up with something thin and sharp, for example, a knife. Such a device, as a rule, contains hidden latches that can be accidentally damaged.
In order to avoid complications during the assembly process after cleaning, you can photograph the initial state of the button plug. After disassembly, the parts also need to be cleaned. If there are broken ones, then it is recommended to replace them.
Useful Tips
During the repair process, care must be taken not to damage the mechanism. In order for the repair to be successful, and the cork began to function like new, it is necessary to follow some recommendations.
- In order to wash off the plaque as soon as possible, it is recommended Soak all parts in hot water with the addition of baking soda.
- Before putting the plug back, it is very important to wipe all parts thoroughly with a paper towel, or dry thoroughly... Since the spring is metal, it can corrode. This will make the button work worse.
- To make it easier to remember the location of the parts, you can pre-photograph the entire circuit.
- And it is also recommended to designate the details with numbers and lay them out on pieces of paper with the appropriate name.... It is necessary to lay out in chronological order, so that later it can be assembled in reverse order.
- If, through carelessness, the hidden latches on the lid have been damaged, then this lid can be glued. The only drawback is that the structure will no longer be so reliable from constant moisture.
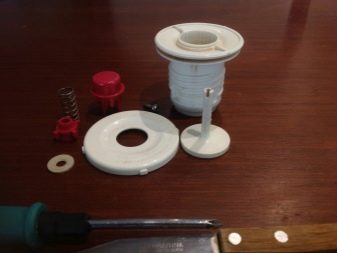
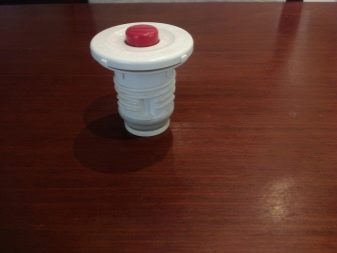
If you follow the recommendations, you can independently disassemble, and then assemble a plug of any design. The main thing is to clean all existing parts well, and, if necessary, replace them with new ones. If the plug has some kind of cardinal damage, for example, large cracks, in this case, you should think about purchasing a new plug, since repairing the old one may not be entirely rational. And in order for the cork to clog up as rarely as possible, it is important to thoroughly wash the thermos and dry it well after each use.
See the video below for tips on how to disassemble and repair the thermos lid.


