We make a thermo bag with our own hands
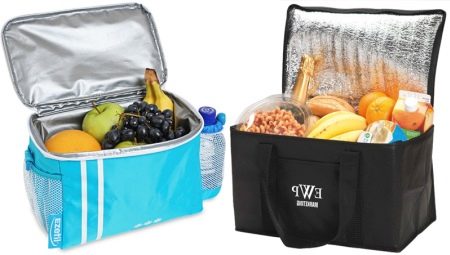
Delicious food is the key to a good rest in the country, on the beach, on a picnic, on a trip. A self-made thermo bag will keep food fresh for 1-2 days. In our article, you will learn how to make your own cooler bag using simple and affordable materials.
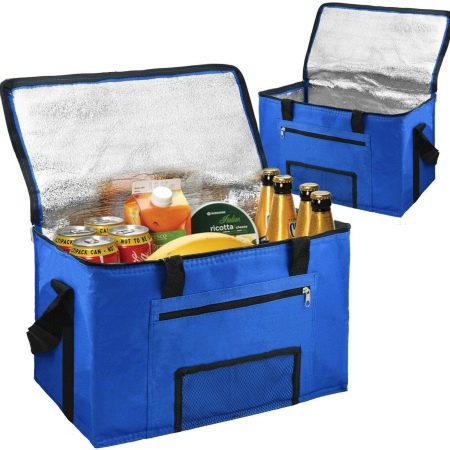
A simple version of the isolon thermal bag
It is not difficult to make a thermo bag with your own hands, it consists of only 2 parts:
- basics;
- insulating material.
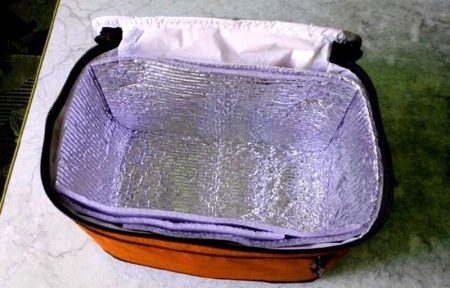
A regular sports or household bag is suitable for the base. And in order to choose it correctly, you need to take into account several points.
- The bag should be rectangular and without internal compartments. If there are partitions, they must be removed. This will make it easier to lay the insulating layer.
- Pay special attention to the zippers. They must close the lid without gaps to keep it cold. It is good if the locks are covered with fabric influx.
- We select the internal volume taking into account that part of the space will be occupied by thermal insulation.
- Colour it is better to take a light one, so there is less heat loss (and cold). But the bag gets more dirty.
- Contours must be reinforced with wire.
- When the bag is worn on the shoulder, it deforms and the insulation layer crumples. Losses occur. Therefore, it is best not to take a model with a shoulder strap.
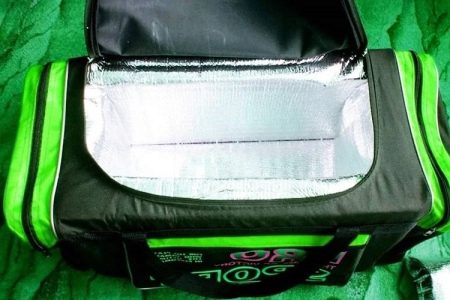
You can buy the bag or sew it yourself. The pattern will help us with this.

If you need a container for lunch, then a plastic container for food is suitable as a blank. It will keep both hot meals and cold dishes.
We prepare materials for manufacturing.
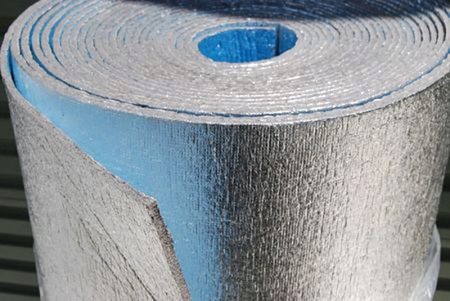
- Foil-wrapped polyethylene foam - izolon. It is sold in hardware stores and is inexpensive. The thicker the insulation, the better. Isolon 0.5-1 cm thick is suitable for a thermal bag.
- Plain, double-sided or reinforced tape. The wider the better.
- Styrofoam for the bottom.
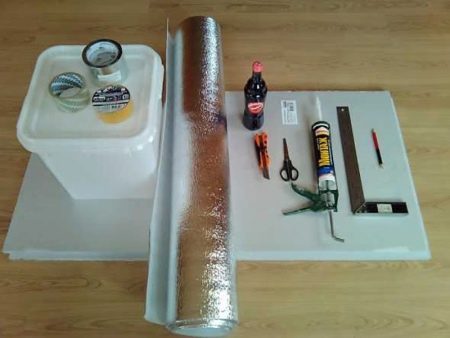
From the tools we need:
- pencil, ruler - for drawing;
- a needle with a strong thread, scissors;
- knife.
After that, we start assembling.
- First, let's make a pattern for the insulating box. The same as for a homemade bag. To do this, we carefully measure the inner size of the bag. The sides of the insulating box should be 1-2 cm less than the size of the bag. There is no need to make allowances for the seams, otherwise the insulation will not fit into the bag.
- After that, we cut out and assemble the plastic box. To make the joints stronger, they need to be stitched with harsh threads.
- We close all joints with reinforced tape.
- We install the box inside the bag and fix it with staples or tape... To improve the insulating properties, place a sheet of Styrofoam or Styrofoam on the bottom of the bag before installing the box.
- If there are gaps between the box and the bag, we fill them with foam rubber.
- We fix the cover separately. It should fit snugly against the box. If there are gaps, then they must be closed with silicone sealant.
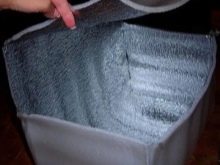
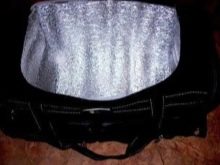
This is how you can make a thermal bag at home. And if its volume is too small, then you can assemble a thermobox and transport it in a car.
How to make a styrofoam thermos bag and car boxes?
The refrigerator box is very similar in design to an ordinary thermal bag. It can hold more food, but it is more bulky and heavy. Therefore, the base must be stronger.
We make such a container for a car in 3 stages.
Creation of the base
The base is a wooden or plywood box. It is not difficult to buy it or make it yourself.
Just consider the size of the trunk of the car. Wheel arches can interfere with the installation of the box.
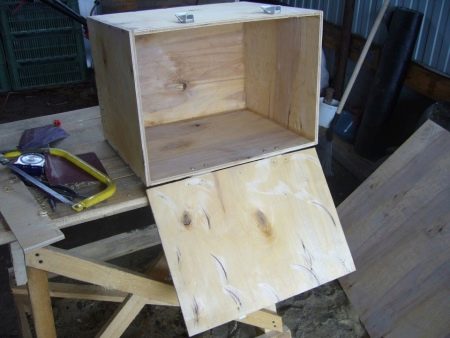
If the box will be used for fishing, we will fix the seat on the lid. Then he will replace the stool.
When the base is ready, move on to isolation.
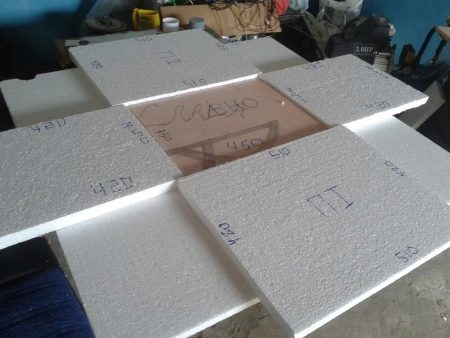
Thermal insulation layer
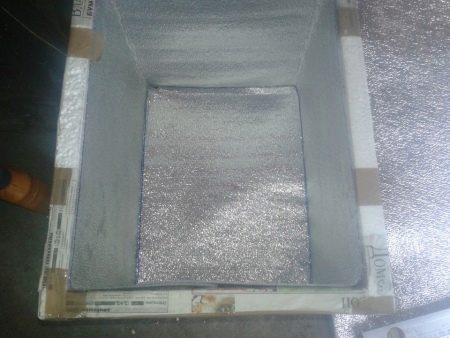
It is made from the same material as in the carry-on bag. For better protection, the bottom and walls of the box should be additionally insulated with foam or foam. And the thicker this layer, the better.
Important! Penoplex can only be glued with PVA and wallpaper glue. Superglue cannot be used, it dissolves the material.
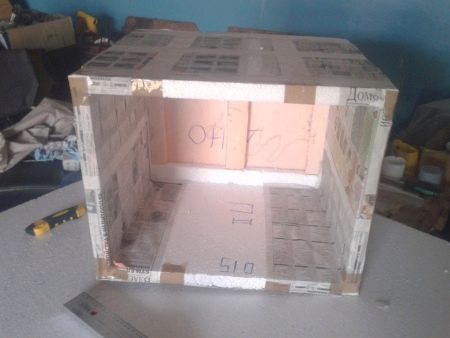
Polyfoam does not need to be glued over the entire area, but in dots in a checkerboard pattern. This will improve the insulation as the contents are heated through the glue lines.
After that, fix the foil with tape or staples.
Final assembly
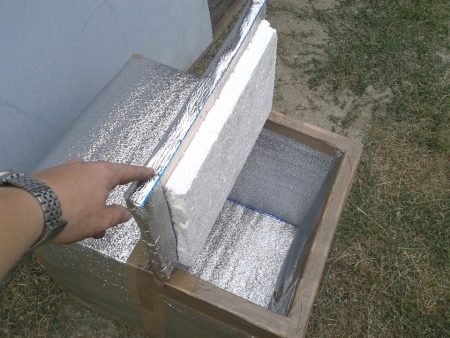
We insulate the box lid in 2 layers. The first one should completely close the lid, and the second one should go inside the box. It is desirable that the lid be hinged - it is more convenient, and the insulation is better.
And the main thing is that the lid should tightly close the case. If necessary, we use window insulation or silicone sealant.
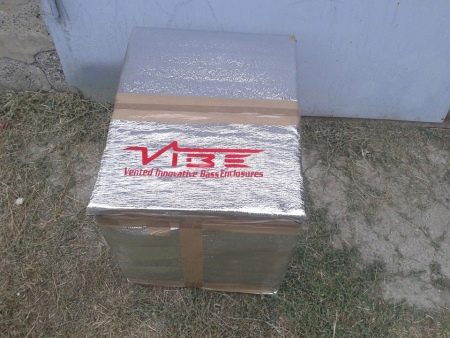
Outside, the box should be painted white with Korund-type heat-insulating paint. So it will reflect the sun's rays. The product is ready.
But these designs have a common drawback - they only keep the temperature, not generate. And to keep food cold longer, you need a cooler.
How to make a cooler for a bag from scrap materials?
Ready-made cold storage accumulators are sold in tourist shops. But you can do them yourself.
- Ice cubes are the easiest option... It is enough to pack them in a sealed bag to get a simple and cheap cooler. Disadvantage - water can seep out.
- A heating pad is not the best choice... Thick rubber walls make freezing worse.
- To make the cooler more efficient, it is better to take not pure water, but saline solution: 6 tablespoons of salt in 1 liter of water.
- Water will not leak anywhere in a plastic bottle, but takes up more space.
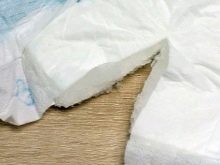
- The gel is devoid of such a disadvantage. To prepare it, fill a large baby diaper with water, then carefully cut it open and remove the swollen gel. Put it in the freezer and the cooler will be ready in half an hour or an hour.
- A similar substance can be made from wallpaper glue or gelatin. To do this, they need to be diluted in heated salt water and cooled.
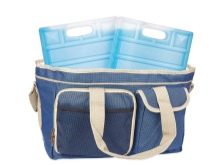

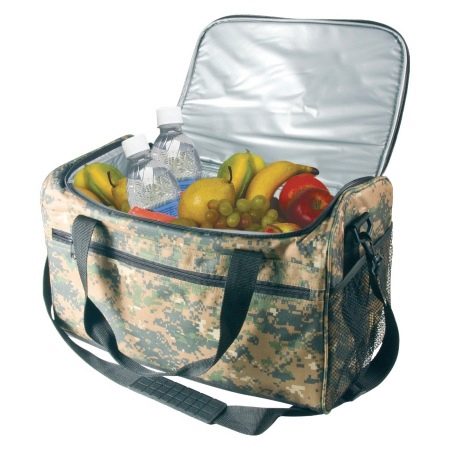
To use the thermal bag more efficiently, load it completely, leaving no empty space. And the food must first be frozen. Place cold accumulators evenly with food. Then, even in 40-degree heat, the food will remain cold for 30 hours or more.
A master class on making a thermo bag with your own hands can be found in the following video.


