We make a thermos with our own hands
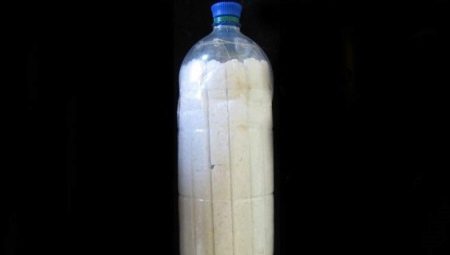
To make a thermos at home or in a garage, you don't need any exotic and hard-to-find materials. They, in principle, can be found in your closet, the main thing is to thoroughly wash and disinfect. Of course, this applies to materials that are not afraid of moisture.
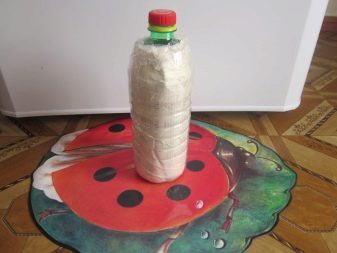
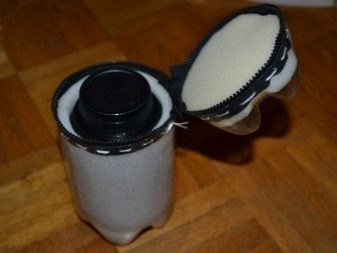
How to make a thermos from a glass bottle?
Glass bottles for making a thermos with your own hands must be chosen with a wide - from a few centimeters - neck, especially when it comes not to drinks, but food... The fact is that it is convenient to eat from the wide mouth. Choose a bottle with sufficient volume. In the simplest case - for chilled and warm drinks - ordinary glass beer or soda bottles are used. Unfortunately, the producers of these drinks are massively switching to food-grade plastic (PET), so it is preferable to find a glass bottle from a wine or champagne. As a rule, neighbors who have arranged a feast the day before, for example, on the occasion of March 8, can facilitate the search.
Producers of natural juices - pomegranate, cherry, etc. - use wide-necked glass bottles. It is not always possible to transport natural juices in a plastic container, and you can use such a container. Neck width - from 3 cm.
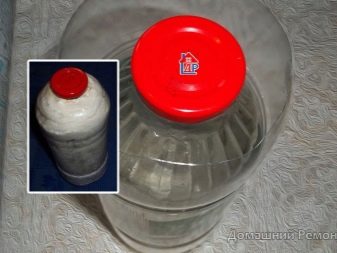
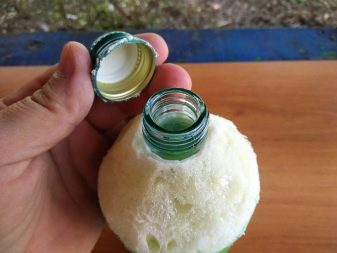
To make a thermos from it, follow the steps below.
- Find, for example, a wide-diameter eggplant. The diameter should be several centimeters wider than the size of the inner container, and the height of the inner one should also be several centimeters less than the outer one.
- Dial up advertising newspapers - more often they are delivered free of charge, for example, some "Health Bulletin".Disassemble each newspaper into pages - and roll them into balls.
- Cut off the neck and top from the eggplant - using a clerical blade.
- Place the glass bottle inside the plastic container - and fill the void with paper balls. Seal them, but observe the measure - the denser the space between the inner and outer containers, the faster the heat and heat from the drink or food will seep out. Make sure the glass bottle is sealed inside the plastic. The only thing to be careful here is that the inner bottle does not fall out of the outer one. The resulting product is insensitive to rough handling.
To test the performance of a homemade thermos that you just made with your own hands, pour slightly cooled tea or coffee into it - and close the cork from the same bottle. This product must be kept warm for at least several hours before the contents cool.
Do not pour large quantities of boiling water into the bottle at once - it may crack.
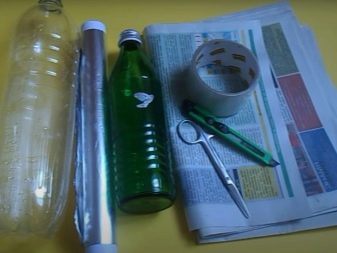
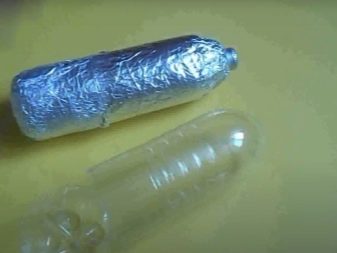
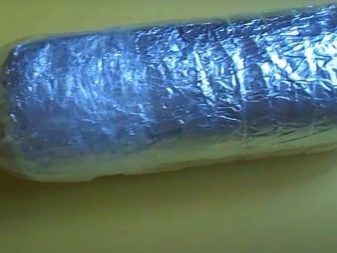
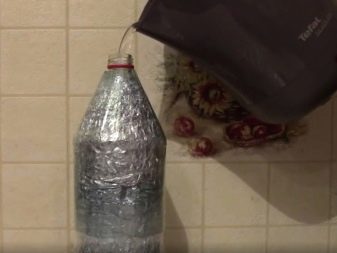
Making from a plastic container
Unlike chemically neutral and completely inert glass, plastic does not allow heating more than 60 degrees. 80 or more - this temperature will soften it. And the inner plastic container will lose its shape. The property of bodies to change their appearance when heated - and retain these changes after cooling - is called thermoplasticity, and PET (polyethylene terephthalate) has this property to the fullest. If you pour "cool" boiling water into a bottle, you will irreversibly ruin it.
In addition, PET, presented by advertisers as food grade plastic, ceases to be such - it emits volatile hydrocarbon compounds that are carcinogenic to the body, which, with long-term and constant exposure, are guaranteed to cause cancer. PET products are designed only for icy, cold and warm - not hot - food and drinks. By the way, on plastic containers and cans produced in the USSR, it was indicated that they were intended for cold food. To make a plastic thermos, follow a series of steps.
- Find two PET containers of different diameters - preferably with wide necks. As an external one, you can use a 5-liter PET can, in which completely purified drinking water is supplied. Internal - maybe, for example, from juice or condensed milk (in these they sell the same milk with milk fat substitutes). You can also use a cut 1.5L beer bottle, but then you have to make a wide cork for it.
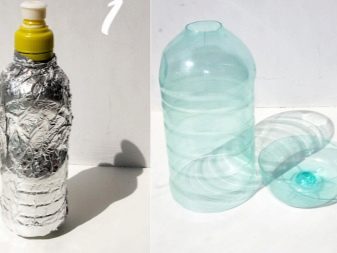
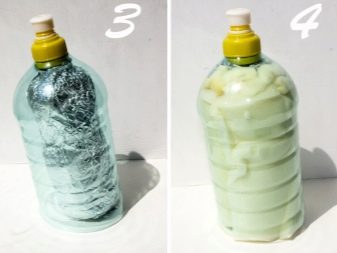
- Cut off the top of the outer bottle... Insert the inner container into it, wrapping it with foil - the metal layer reflects the heat back into the container.
- Stuff into empty space rags, paper or foam rubber.
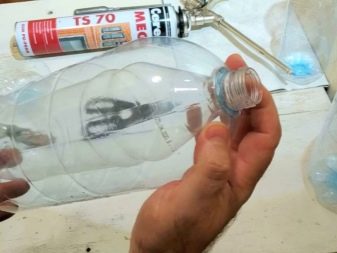
The most reliable connection of containers will give mounting foam... After assembly is complete, check how long the container holds heat - but do not overdo it with elevated food or drink temperatures. The container can be used both at home and on hikes or trips to the country, on travel. This thermos is suitable for all non-hot drinks: tea, coffee, soda, juices, warmed wine, etc.
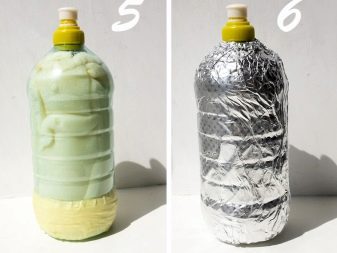
Instructions for creating a thermos from foam
It is not difficult to assemble a thermos at home, in which foam is used as a heat-retaining filler. The work is carried out in 3 stages.
- In a large plastic container, insert a smaller one - preferably glass. You can use a stainless steel pot - this option is considered ideal, since stainless steel is chemically inert and is also not afraid of salts or acids. In addition, she does not care about those temperature drops of 100 degrees, which are considered insignificant - stainless steel does not change its properties at temperatures up to 900 degrees.
- Insert the smaller container into the larger one. Find packing foam (you can from under the TV, refrigerator, microwave and other equipment). Cut it into narrow strips.
- Paste these stripes foam between the walls of the containers.
It is categorically impossible to crush the foam - it will not hold, it will spill out of a homemade thermos. The voids that remain between the stripes practically do not play any role - there are also air bubbles in the foam.
The higher the density of the insulating medium, the better it conducts heat; therefore, a pure air gap is considered a more advantageous solution in this regard.

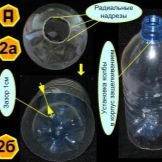
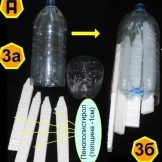
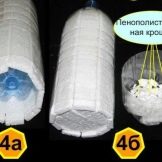
The listed solutions will help out in cases when the factory product is not at hand at the moment, it is impossible to purchase it now, and the old one has fallen into disrepair. Also, this lesson on the manufacture of heat-saving containers and compartments will be useful for a student who wants to better - and more clearly - learn physics lessons related to the structure and thermal conductivity of certain substances and environments.
Do not use too toxic adhesives and fillers such as Moment-1 glue, some hot melt adhesives, as well as plastic, such as polystyrene plastics, which emit harmful vapors (strong odor) even at room temperature. These fillers can seriously compromise your health when you eat and drink from such a thermos.
Next, see a master class on making a simple thermos with your own hands.


