Topiary of cones: features and interesting ideas
A creative hobby is not only an interesting pastime. This is an opportunity to create unique things with your own hands that can decorate a house, complement any holiday (if they are made in the appropriate theme) and which can be used as a gift for family and friends. Today we want to tell you about an unusual decorative tree - topiary - and its creation from spruce or pine cones.
Description
Topiary (or "tree of happiness") is a small decorative composition in the form of a small tree with a geometric crown. According to popular beliefs, it is capable of attracting comfort, warmth and well-being to the house.
Topiary can be made from almost any materials at hand. These can be gifts of nature (cones, coffee beans, acorns, chestnuts, nuts, dried flowers, tree leaves, twigs) or something found at home (pasta, beads, scraps of fabric). Your imagination in this case should not be limited by anything.


The classic shape of the topiary crown is a ball, but no one forbids you to create a tree with a cone-shaped or heart-shaped crown.
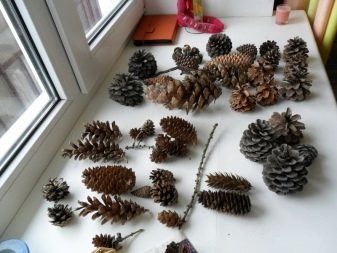
It is very easy to make topiary from cones. Firstly, this natural material is available to everyone - just go to the park where conifers grow, and you can pick up a whole bag of various cones: spruce, pine, larch and even fir. Secondly, the unique scaly structure of the cone gives the topiary a special “forest” look and turns it into a unique decoration for the home. And thirdly, the creation of a "tree of happiness" is a fun process that is not particularly difficult.

Materials (edit)
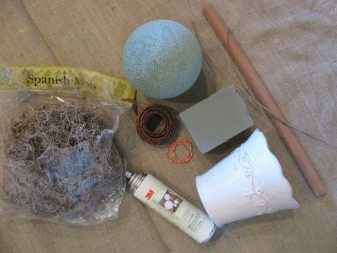
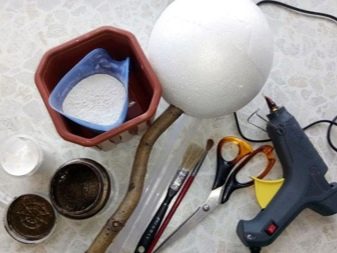
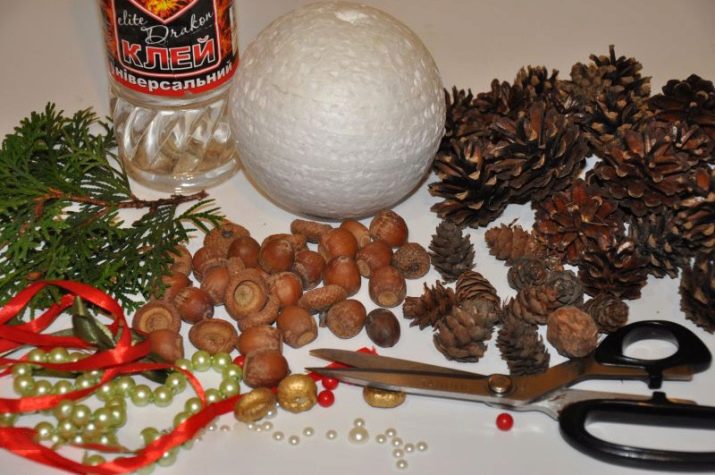
To create a classic topiary, you will have to prepare materials.
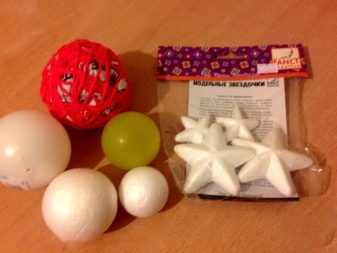
- Newspapers, styrofoam, polyurethane foam sealant. From them you will craft the base ball. By the way, in various hobby markets you can often find and purchase a ready-made plastic blank.
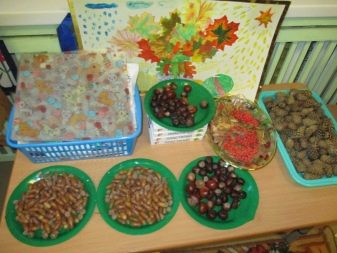
- To make a crown, you will need cones, coffee beans, acorns (both whole and just hats), Christmas balls of different colors, candies, dried flowers, dried leaves, cinnamon sticks, etc.
- To create a tree trunk, prepare a branch of a tree of suitable thickness, wire, cardboard, pencil, foil.
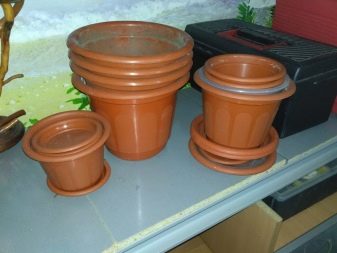
- The "tree of happiness" is usually placed in a pot. You can use a jar, vase, plastic glass, or a classic flower pot.
- Decor. You can talk about it endlessly, since its diversity is limited only by the fantasy of the master. For decorative decoration of the topiary, you can take dried red rowan berries, moss, Christmas or pine needles, beads, bows, scraps of fabric.
The final choice of decor depends on the theme of the "tree of happiness".
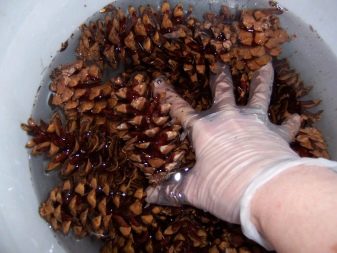
It is known that when dried, buds can dry out and lose their presentation. To prevent this from happening, heed our advice:
- pre-pour the cones several times with boiling water;
- keep them in a warm place for about 15-20 days;
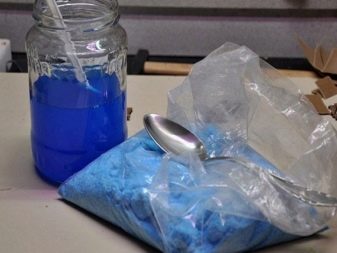
- then treat the cones with copper sulfate, sprinkling each with a spray so that the solution can penetrate under the scales.
Master classes for beginners
We suggest you consider 3 master classes on creating topiary from cones. The first one will be devoted to making the classic "tree of happiness".
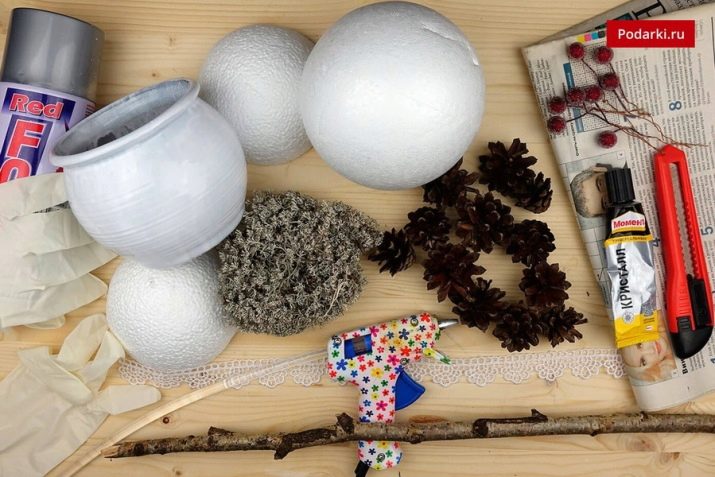
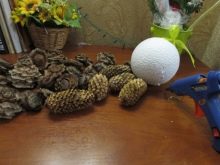
So, you need:
- cones of coniferous trees;
- base ball (you can buy a ready-made ball in the hobby market or create it yourself from newsprint);
- glue gun, special glue stick;
- gypsum or alabaster solution;
- a vessel for placing topiary: a pot, a jar, a glass;
- a strong and thick enough tree branch for the trunk, preferably slightly curved;
- spray can with gold paint.
We start manufacturing.
- Choose buds that are roughly the same size. Set them aside for now.
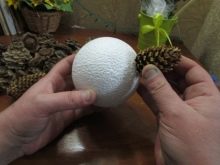
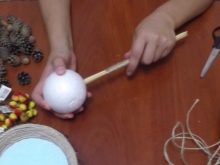
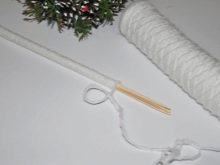
- If you bought a ready-made base ball, plant it on a tree branch and secure with glue. If there is no ready-made base, create it from newsprint: grind the pages well, fill them with boiling water mixed with laundry soap, and wait. When the paper is swollen, roll it into a ball of suitable diameter and leave to dry.
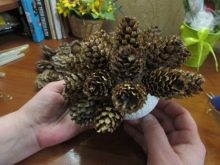
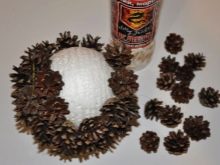
- Preheat your glue gun. Begin to alternately smear the cones with glue and attach them to the base. Do this carefully and carefully, choosing the size of the cones so that no “bald spots” remain on the crown of the topiary. Try not to use too much glue, as too much glue can look unsightly on your finished craft.
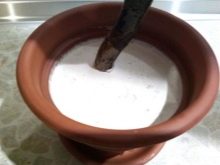
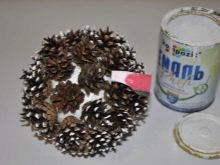
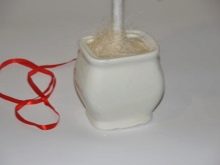
- Strengthen the tree branch in the chosen container. For this we need a gypsum solution. How to make it: pour dry building mixture with water at room temperature, bringing the density of the substance to creamy. Place the barrel strictly in the center of the pot, fill it with plaster mortar, without adding about 1 centimeter to the top.
- To compensate for the deforming stress of the hardening gypsum mixture put a piece of wire or crumpled foil into the container. After hardening, decorate the plaster with strings or other decorative elements.
- Final stage - treatment of topiary with golden paint.

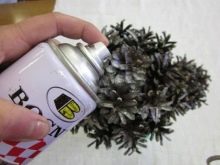
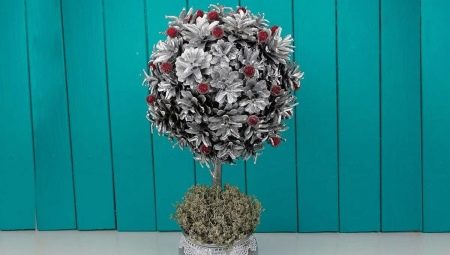
If you want to create the effect of dusting with snow, sprinkle a freshly painted tree with semolina, shake off excess grains. The classic cone topiary is ready.
For the second master class "Autumn Topiary" prepare:
- ball base;
- blank for the trunk, preferably a tree branch;
- pot;
- polyurethane foam sealant;
- pebbles;
- Pine cones;
- decorative moss;
- acorns;
- dried oak leaves;
- jute rope;
- decorations for decoration of your choice.

Process of creation.
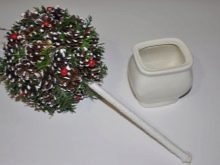
- First of all, let's prepare the pot. We lay stones on the bottom (to make the structure heavier), install the barrel, fill the container with sealant.
- We wrap the trunk with a rope so so that the bark is not visible.
- We decorate the crown: first we glue the cones, then the acorns, we try to close all the "bald spots" as much as possible. Fill the remaining voids with oak leaves. However, do not forget to leave room for fixing the barrel.
- We carry out the assembly of topiary: glue the trunk to the crown, put moss, dry leaves, small acorns in the pot.


If you want to give the tree more decorativeness, use beads, golden spray paint.
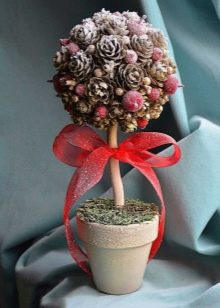
For the third master class "New Year's Topiary" you will need:
- any bumps;
- dried rowan;
- tailor's pins;
- plastic cup;
- glue;
- scissors;
- leg-split;
- threads;
- Styrofoam;
- bast sponge;
- trunk branch;
- dry leaves and flowers;
- orange and green crepe paper.
Step-by-step scheme for assembling topiary.
- First, let's create a base. Cut out the base from the foam with a diameter equal to the diameter of the plastic cup. We insert it into the prepared container.
- Wrap the base ball with orange crepe paper, securing it at the base with a thread. We do the same with the glass where our tree will be placed, only we use green paper to wrap it.
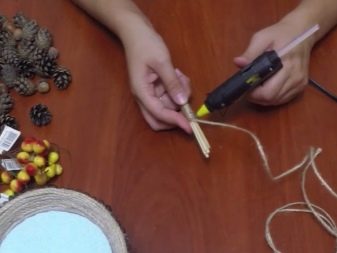
- We decorate the trunk: we wrap the twine with twine, fixing the rope at both ends with glue. We connect the trunk with the crown of the future topiary and its base.
- We fix decorative elements: using tailor's pins, attach rowan berries to the crown, moving clockwise from the center and leaving no empty gaps. After that, you need to glue cones, leaves, dried flowers and any other decor you wish.
You can also treat the finished topiary with spray paint or glitter.
Examples of original crafts
It's time to admire the beautiful pine cone topiary and get inspired to create your own “tree of happiness”.
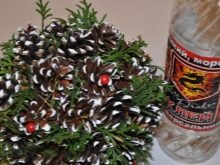
The classic topiary, decorated with small red balls, is perfect for decorating a festive table for the New Year. A print on a mug with a merry Santa Claus and a red bow perfectly complement the Christmas style.


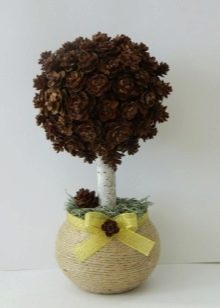
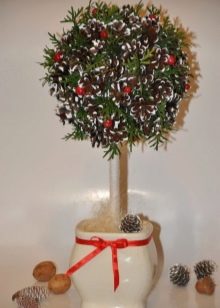
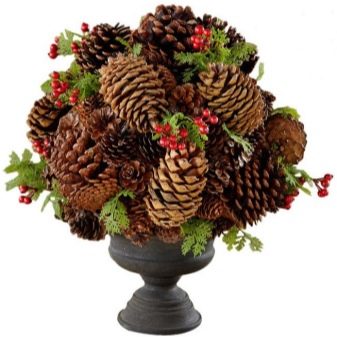
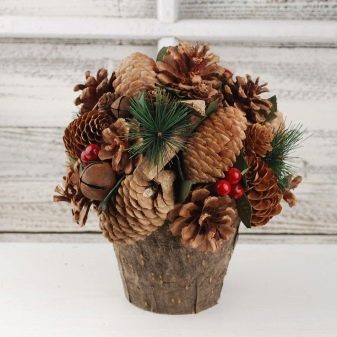
A bouquet of large pine cones, cypress twigs and rowan bunches looks great in a gray-brown flowerpot.
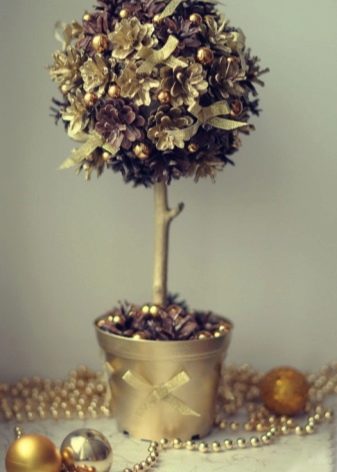
Another New Year's topiary, this time made in gold.

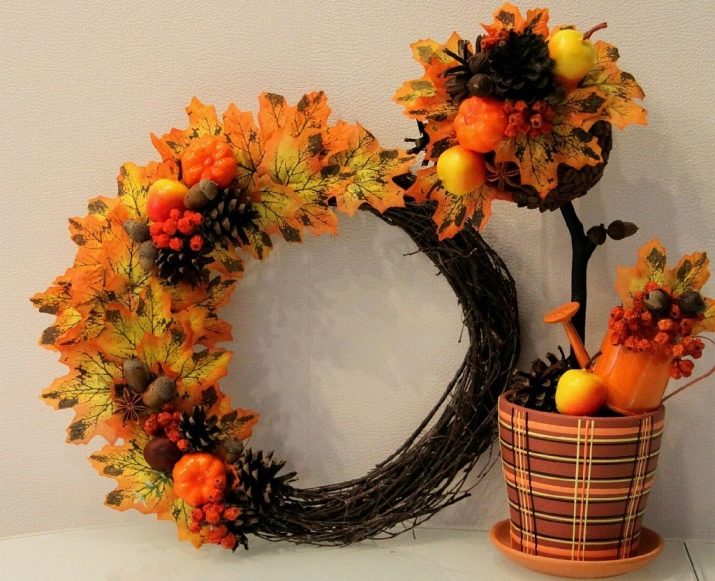
Autumn version of the "tree of happiness", complemented by a wreath created in a single style using vines, artificial vegetables, leaves, berries and acorns. A decorative orange watering can looks very nice and "in the theme". A clay pot complements the composition.
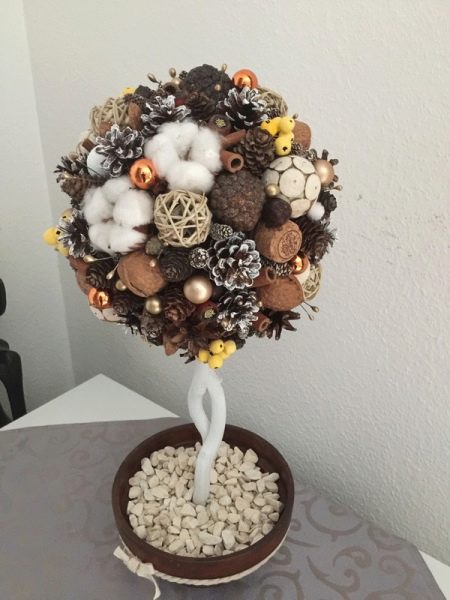
With the help of such a topiary, it will turn out to decorate even the most modern interior. Only 3 primary colors were used: white, brown (its shades) and golden. Spruce and pine cones are complemented by cotton bolls, wine bottle corks, cinnamon sticks, jute and glass balls. The trunk is painted white, the bottom of the pot is decorated with white stones.
For information on how to make pine cones topiary, see the next video.


