Description of needle beds and their varieties

Each craftswoman has a variety of materials for doing creative work. Most types of needlework are not complete without needles. However, these devices must be properly stored. To do this, it is recommended to purchase or make beautiful needle beds with your own hands.
What is it and what is it for?
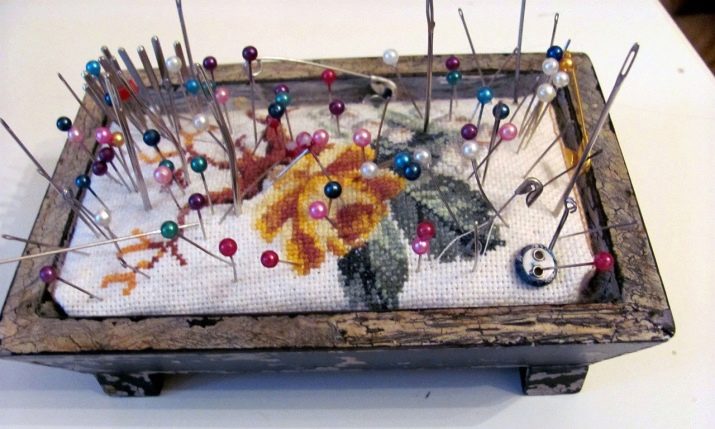
The needle bar is a so-called container for needles. It can be either a pillow familiar to everyone, or a more advanced product of an unusual shape. He has one task - to store the needles in such a way that they are not lost and not scattered around the house. This is very important from a safety point of view, because a child can become interested in a needle lying on the floor, pets or family members can step on it.
The needle cushion is not only a safe, but also a practical container for storing needles. After all, creativity can be different. It's one thing if you're embroidering a picture or sewing up a hole in, say, a sock. Here you can afford to be slow, scrupulous in choosing a needle.

And it is completely different if it is tailoring and fitting clothes to order. Speed is very important here, and the craftswoman chooses the needles, just without looking, focusing on sleight of hand. That is why items must be properly organized to clearly know where and what lies.
Finally, the needlewomen who work with clients at home know that a lot depends on the first impression. Therefore, any thing in the craftswoman's office should be beautiful, including the needle cushion. If it's just a piece of foam, the client may not have a very good impression. But an exquisite little thing, which is an addition to the interior, will immediately indicate that the needlewoman has a taste.
Organization and beautiful things in work attract more clients to the craftsmen. And working with such models is much more pleasant.

History of appearance
The first needle beds appeared a long time ago. Initially, they were made of paper and cloth, which were laid out in layers. Such ancient adaptations were found only in the homes of aristocrats, but they were not available to the poor townspeople. Later, other materials began to be used for needle beds, the demand for them increased.
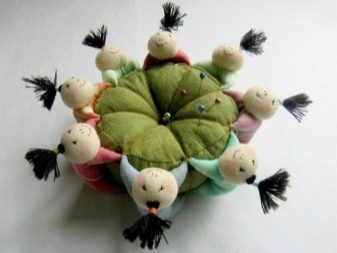
The creation of needle beds in the Middle Ages, when the mass distribution of embroidery began in Europe, was carried out by both masters and needlewomen themselves. It is noteworthy that then the needle beds were not considered an accessory, the invention played a purely practical role. The traditional pincushion was in the shape of a circle or square. But traditional Chinese versions are no less interesting. These beds have been made for centuries and are in great demand today. They represent a sphere, which is hugged on the sides by eight little Chinese.

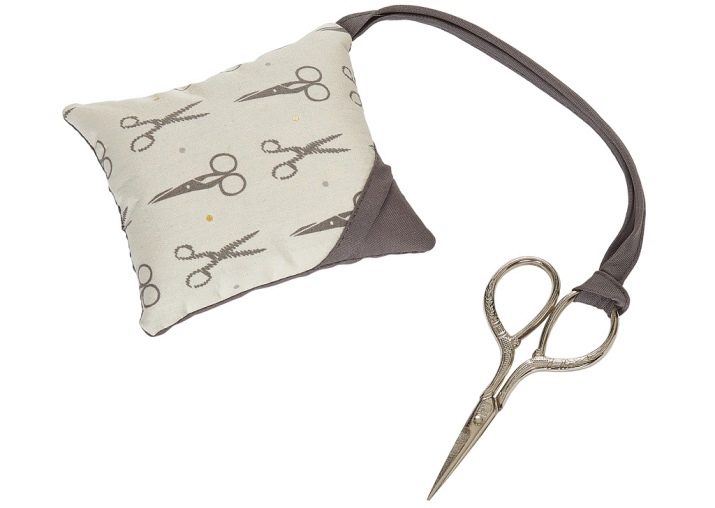
Later, the craftswomen began to understand that needle beds can be not only useful, but also beautiful. They began to be decorated with ribbons, beads, braid, beads, lace. By the 18th century, needle beds were supplied with a long ribbon with a ring at the end. Scissors were attached to this ring. Thus, sewing tools were always available.
Species overview
Today, there are many options for pin beds. They can differ both in material of manufacture and in design.
By material of manufacture
Basically, the following types of materials are used for the production of needle beds.
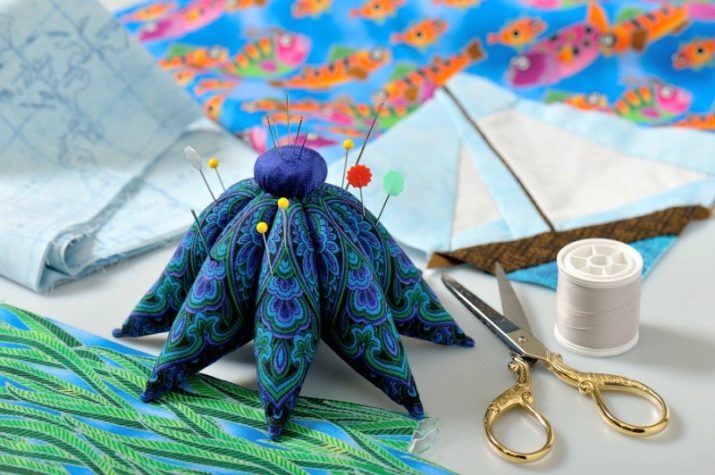
- Textile. These can be completely different types of fabrics. Felt, silk, satin models are very popular. Velvet is in demand. Often, beautiful fabric needle beds are made from velor, velveteen, and crepe. Less commonly, cotton and other types of material are used.
- Wood. The wooden pin cushion is a real work of art. Such models serve for a very long time and can be made from a wide variety of wood species. However, they must be protected from high temperatures and moisture.
- Metal. Pin cushions today can also have a metal base. For example, iron or steel. And also very popular are antique bronze options, products with a dusting of gold or silver.
- Porcelain or faience. It is quite difficult to find such crafts, but if you try, then it is quite possible. Very often, porcelain products are white or with blue or light blue patterns. You need to work with such models carefully, as they break easily.


Sometimes the needle beds can be made from the following materials:
- tree burl;
- birch bark;
- ceramics;
- plastic;
- tin;
- wool.
By design
Here the variety is already much greater. To begin with, it is worth considering the classic models that have proven themselves in recent years.
- Pillow. This is the simplest and most understandable option that does not lose popularity even today.
- Biscornu. A very interesting French version, which means “crooked, uneven”. Despite such an unflattering characterization, the biscornia looks very cute. Such needle beds consist of two squares of fabric, which are superimposed on each other at a special angle.
- Pendybul. This is another French model. It has the shape of a heart or triangle. Looks pretty pretty, especially if decorated with ribbons.
- Zigug. Square bed that looks very voluminous. Often performed with African motives.
- Banurukotti. Gorgeous, but very complex model. The second name is a five-blade. It is carried out by folding 15 fabric squares together.
- Star. Star-shaped pin cushions are as popular today as pillows. They can often be found both at home and in prestigious sewing workshops.
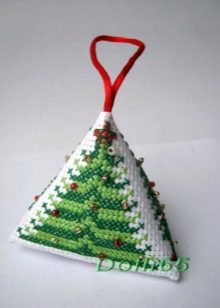
- Berlingo. This model is made in the shape of a herringbone. Sewing it is so simple that even those who are “you” with creativity with their own hands will cope with the task.


Above were listed only the basic forms of needle beds. However, the list is not limited to this. There are other product options.
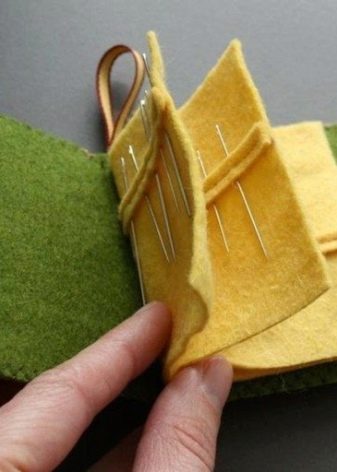
- Book. Quite an unusual book-shaped pin cushion will be a great gift for any seamstress. The base is cardboard, and soft materials are located inside. You can decorate such a book in different ways. By the way, a couple of centuries ago bookcases were made of ivory and leather.
- Animals. Everyone loves cute animals, and quite a few needlewomen prefer to have a needle case in the form of an animal. The most stereotypical variant is, of course, a hedgehog. The ladybug also looks interesting with many dots on the back, where the needles have to be stuck. More advanced craftswomen can try to make models in the form of a mouse, a camel, an elephant and other popular animals.
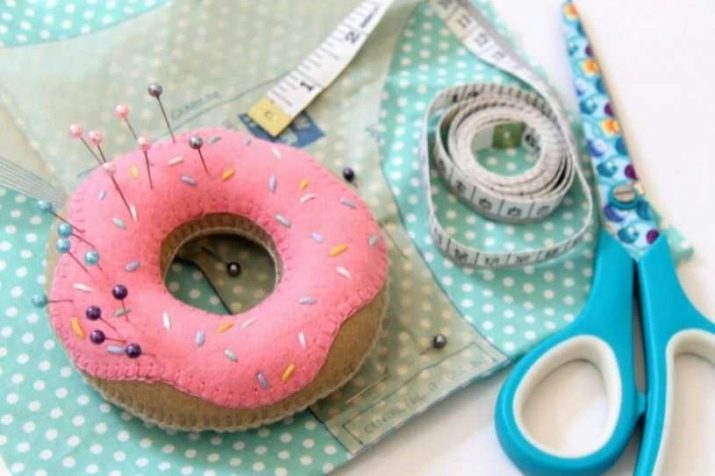
- Food. This is another highly requested option. It is very common to find needle beds in the form of apples, donuts, strawberries, pastries, pears and other products. There are also pumpkin-shaped needle beds, candy.
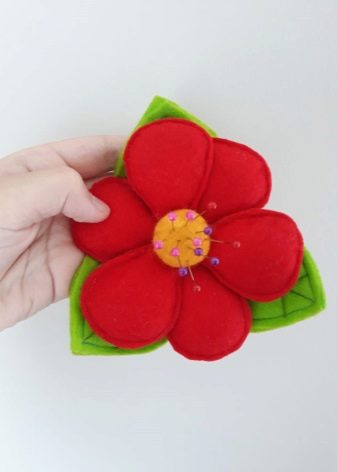
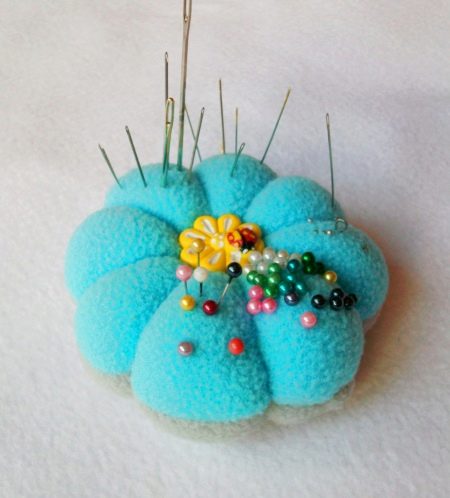
- Flowers. Floral models also look very interesting and cute. You can make a simple chamomile, tulip, chrysanthemum.
Such flowers are often decorated with eyes and a smile. Or you can try yourself in creating a multi-layered rose.
There are many more different designs, for example:
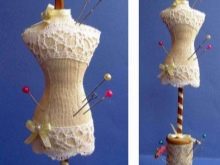
- dummy;
- doll;
- Sun;
- box;
- handbag;
- hat;
- bowler hat;
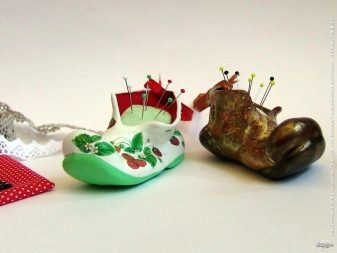
- shoe;
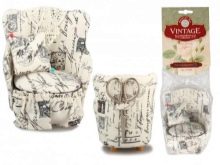
- armchair;
- leaf;
- matryoshka and others.


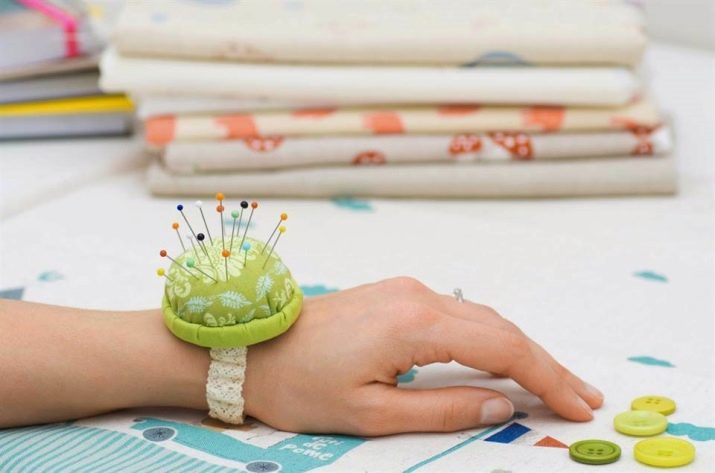
By the way, hand models are very popular now. These needles are worn on the wrist like a bracelet.
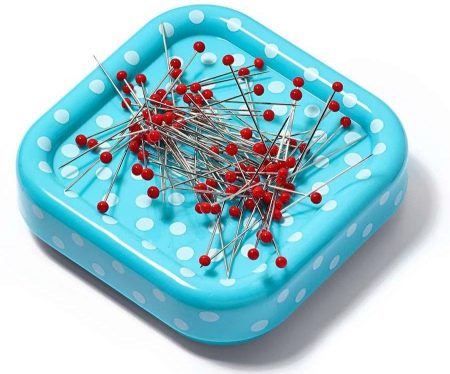
This is very convenient for a seamstress who needs several needles at once while trying on. Also, the beds can be magnetic. This is an unusual option, since the needles do not stick into the soft material, but are attracted to it on their own.
Top manufacturers
Today, pin beds can be found at any fabric or craft store. But in the case of purchased options, you always want the products to be of high quality. Therefore, you need to pay attention to the manufacturer. Several brands have long established themselves in this area.
- Gamma. In the assortment of this manufacturer there are many different unusual needle beds. Magnetic models and products with a wrist pad deserve the greatest attention.
- Prym. This is another manufacturer that produces containers for needles. The choice is quite large. One of the latest innovations is the rotating twister bed.
- Hobby & Pro. The largest brand for the production of goods for creativity and sewing. Produces both soft and magnetic beds in a wide variety of shapes and colors.
- RTO. Russian brand that produces decorative beautiful needle beds. Models have a unique shape and design, so they may well become an excellent gift for craftswomen.
- "Birch". This company produces very beautiful magnetic needle beds with a variety of images. There are models with cupcakes, butterflies, birds and other pictures.
- Ukid Market. In the assortment of this company, you can find arm pin cushions with a cute design. Most of all, customers like models with a cat's face and in the form of a large button.


How to do it yourself?
You can make a beautiful container for needles yourself, at home. Let's consider several master classes on creating such crafts.
From a sponge for washing dishes
This is the simplest option that even a child of elementary grades can handle.
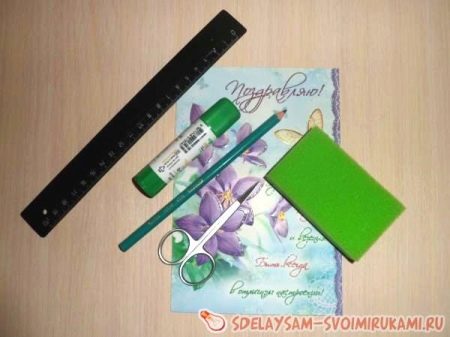
You will need the following items:
- postcard (you can buy, or you can take the old one);
- sponge for washing dishes;
- ruler;
- scissors;
- pencil;
- any kind of glue.
The manufacturing process is as follows.
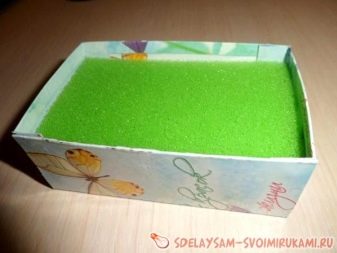
- The first step is to make measurements of the sponge and write them out on a separate sheet.
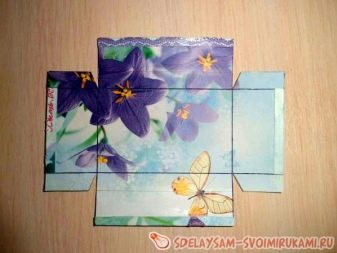
- Then we put the postcard on the table and on the inside of it we depict a schematic sponge, taking into account its measurements.In the central area we draw a rectangle, whose sides will correspond to the width and length of the foam rubber for the dishes.
- Be sure to take into account the height of the sides. Most often they are made according to the height of the sponge itself. Leave a little space in the top and side parts for a seam allowance so that the product can be easily glued.
- Bend the edges at the top of the postcard, following the line, then glue it well.
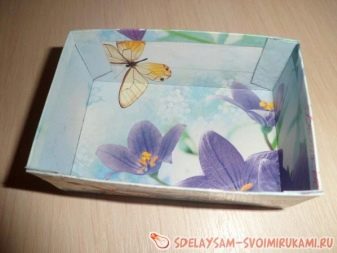
- We continue to collect the box along the lines. You should get such a model.
- After assembly, we thoroughly glue the craft, wait for the adhesive composition to dry.
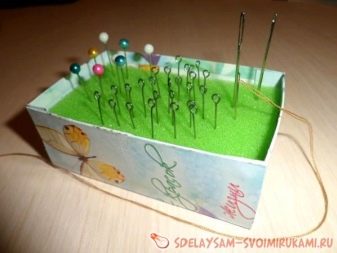
- When everything is ready, you can put a sponge in the box. Further, it remains only to use the needle bed for its intended purpose. Additionally, it can be decorated at will.
From the can
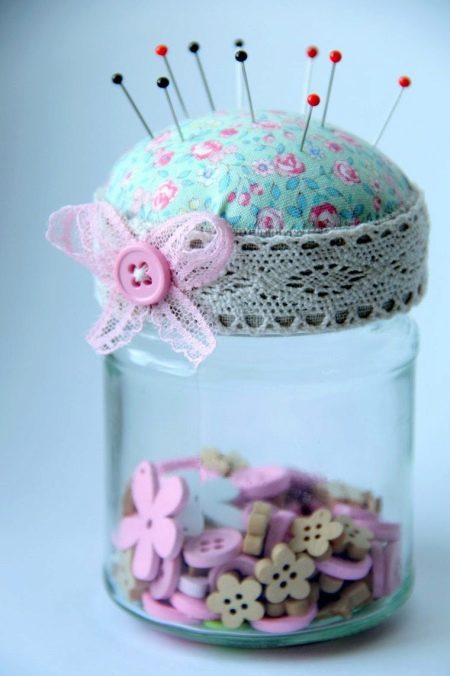
You can take a jar of baby food or cream. It will be transparent or colored, it does not matter. We also need scissors, pencil, cardboard, compasses, scissors, fabric material. You also need to take glue (it will be better if it's a gun), threads for sewing, decor and some soft material.
Consider the process of making a beautiful needle bed from a can step by step.
- The first step is to wash the jar thoroughly. It will also need to be peeled off the labels by soaking it briefly in hot water.
- Then we take the prepared piece of fabric and cut a circle out of it. The latter should be twice the diameter of the can bottom.
- Then we make a circle on cardboard with a compass. It must be the same size as the can.
- We put a soft material on a cardboard circle, for example, a synthetic winterizer. Then we cover all this with a cloth circle, we make a thread with threads so that the synthetic winterizer does not fall out.
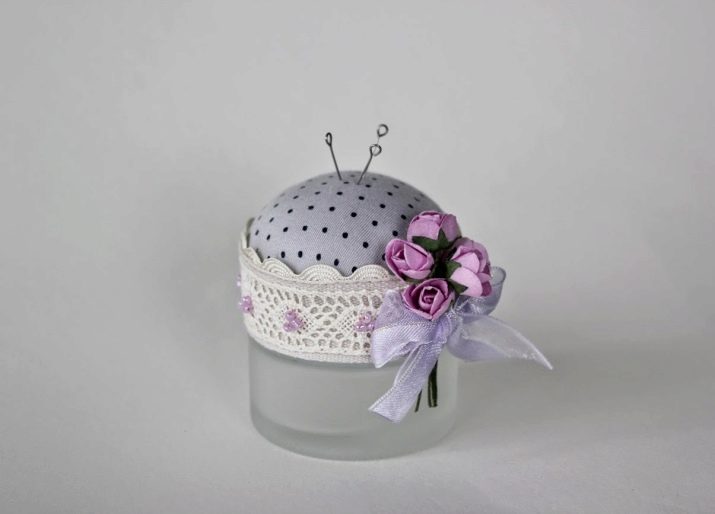
- You should get a small neat pad, which you need to attach to the opening of the can using a glue gun.
- To make the work look neat, we wrap the jar with braid, as in the picture. Additionally, you can decorate the braid with a ribbon, beads or any other beautiful little things.
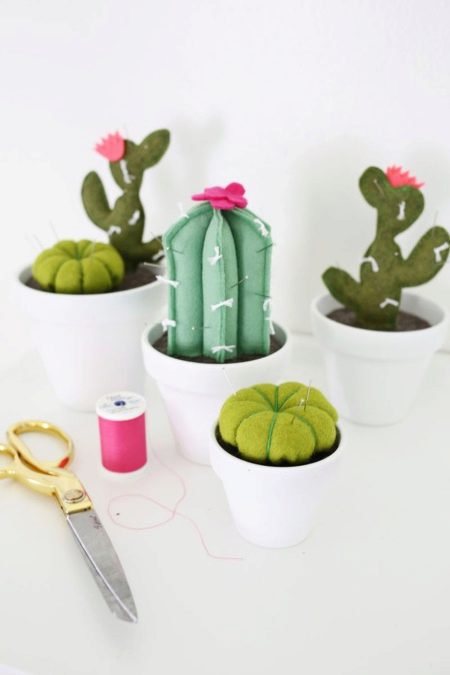
In the form of a cactus
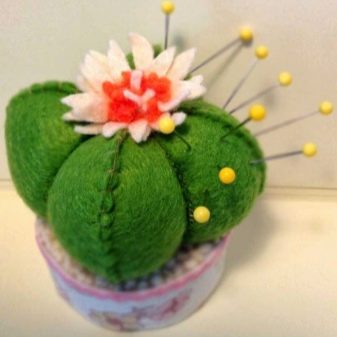
The last master class will tell you how to make wonderful felt cactus beds.
We take the following items:
- sewing accessories;
- felt of a green shade of 0.2x0.3 m (six such rags will be needed);
- White paper;
- simple pencil;
- felt-tip pen;
- soft material for inner filling;
- clothespins (stationery);
- mini plant pot;
- decorative stones for decorating the pot.
Manufacturing in stages is as follows.
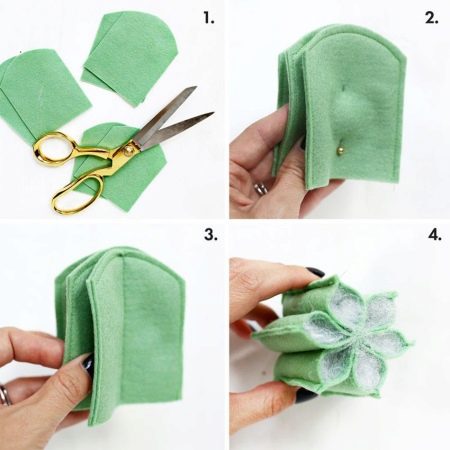
- We take paper, draw a stencil of the blank on it with a pencil, as in the figure. We circle the edges with a felt-tip pen and cut them out with scissors.
- You need to cut six identical pieces. Next, we take two, apply to each other and use pins to secure. We sew the edges with a buttonhole seam.
- Next, we make two more of the same blanks. We put them on top of each other and connect them with stationery pins.
- We determine the center of the workpiece and process it with a line seam. It will be much easier to use overlock.
- We turn the workpiece over, we see 6 equal holes. We fill them with soft material. Sew up the bottom or close it with cardboard.
- We put the craft in a pot, fill the last one with pebbles and decorate if desired. A beautiful craft is ready.
Beautiful examples
Needle cushions can be completely different. The following photos will allow you to view various options and get inspired for creativity:
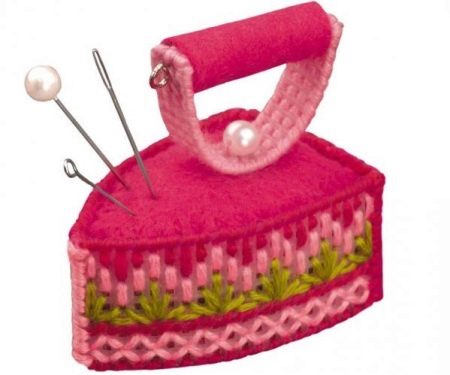
- pincushion in the form of a pink iron;
- attractive magnetic model;
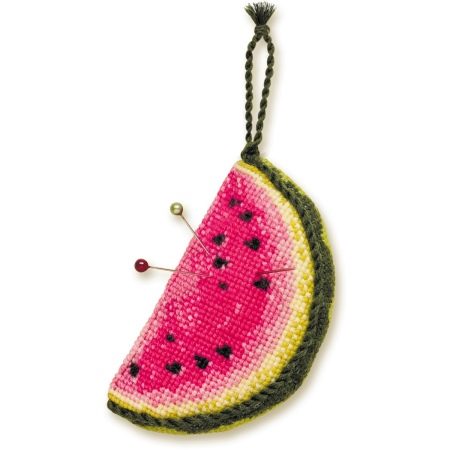
- embroidered watermelon slice;
- exquisite hat;

- craft on a wooden base;

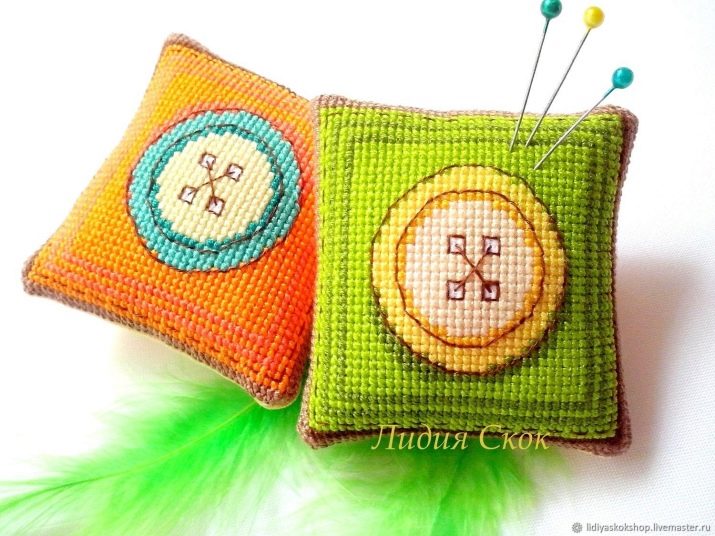
- interesting classic pads;
- “Appetizing” model in the shape of a strawberry;

- no less "tasty" donut;
- delicate blue pincushion in the shape of a flower;
- amazing craft based on a jar.
How to make a needle cushion with your own hands, see the video.


