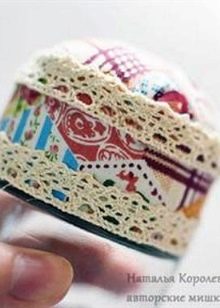
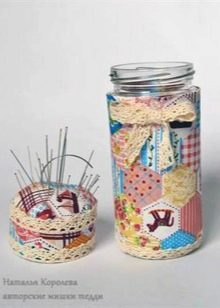
How to make a needle cushion from a can?
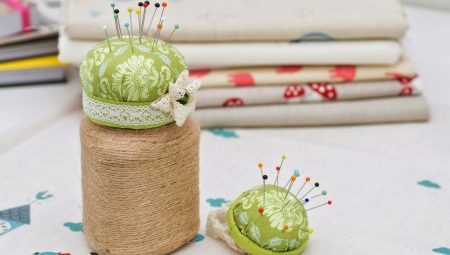
Sooner or later, any girl takes her first steps in sewing. Thanks to the help of my mother, grandmother, or during labor lessons, the school masters work with threads and a needle, which will be needed throughout my life. In order for all the needles to be in order at home and not to be looked for, it is necessary to have a needle bed. You can rarely find such products on sale, but it is quite possible to make them with your own hands.
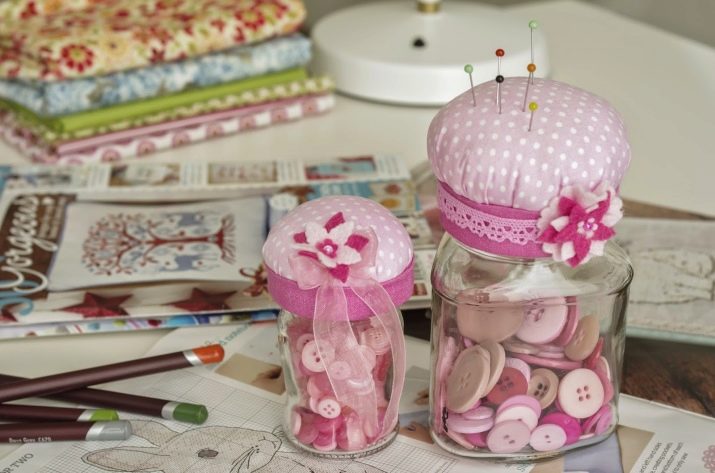
Using a food jar
To create a needle bed with your own hands, jars with a lid are best suited. If this lid is twisted, then it will be possible to put a variety of little things in the container: threads, bobbins, buttons, beads, etc. The size of the jar for the future needle bed can be different, like the material itself. The simplest and cheapest will be plastic, but it will not last long and will deform over time. You can also use metal jars, but you won't be able to put something inside the product, since there will be no lid that can be removed.
The most convenient for such work is a glass jar for baby food. In this case, the pin cushion turns out to be neat, not too heavy, roomy and comfortable. To make a craft, you must provide the following tools and materials:
- scissors;
- small jars with a flat lid;
- cardboard;
- liquid glue;
- dense fabric;
- threads and needles;
- padding polyester for filling the pads for needles;
- decor elements.
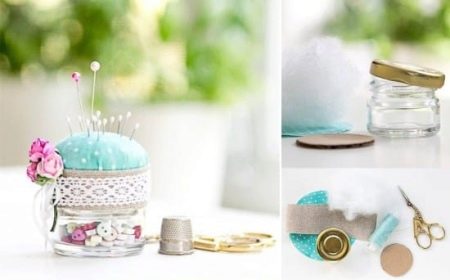
The workflow looks like this:
- prepare a jar of baby food, wash it and dry it;
- cut a circle out of cardboard, equal in diameter to the lid;
- measure a circle on the fabric, which will be 1.5-2 cm larger than the cardboard part;
- cut out a fabric blank;
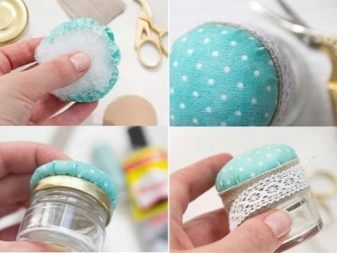
- with a needle and thread, baste the edges of the fabric, pulling them a little to the center;
- put a synthetic winterizer in the fabric part, filling all the free space;
- place cardboard on top of the padding polyester and tighten the threads;
- flatten the resulting part;
- apply glue on the lid from the baby food from the outside and put the made fabric part of the needle bed on it;
- as soon as the part is dry, you can start decorating the product;
- on the edges of the needle bar you can sew a beautiful braid, a piece of fabric of the required width, decorate them with beads or rhinestones.
The jar itself can remain transparent, if you like it more, or also be decorated. Since the jars are small, the most convenient method of decoration is painting with special paints on glass.
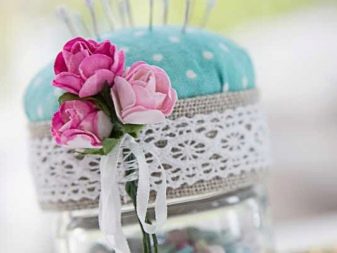
As soon as the work is finished, all the needles can be injected into the upper part of the needle bar, and all sorts of little things for sewing can be poured into the container from below.
A detailed master class is presented in the video below.
Making from a can of cream
If there are no children at home and there are no baby food jars, you can always replace them with containers that contained the cream. Usually these are products made of durable plastic, with an interesting shape and pleasant to use. To make a needle bar from such a plastic container, you need to prepare:
- a suitable jar;
- cardboard;
- the cloth;
- synthetic winterizer;
- scissors;
- glue;
- decor elements.
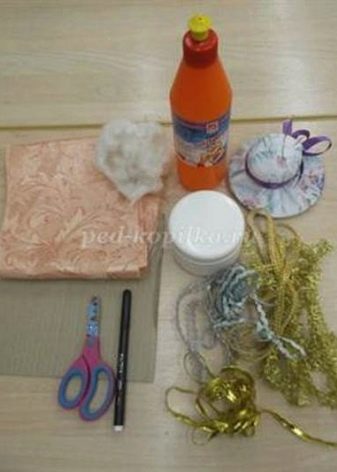
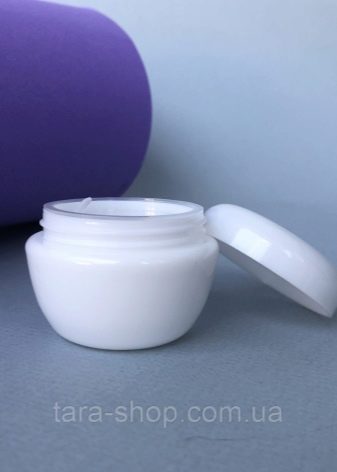
The manufacturing process looks like this.
- Choose a jar of cream, which will have the most even lid. Wash it and dry it.
- Cut a circle out of the cardboard, equal to the diameter of the lid.
- From the fabric, make a blank for the future needle bed, which will be 2 cm larger than the size of the cardboard element.
- Grab the edges of the fabric and gather them up.
- Fill the fabric with padding polyester, on top of which place the prepared cardboard.
- Tighten the thread and form a cushion.
- Apply glue to the lid of the jar and glue the fabric blank.
- So that the place of gluing is not visible and to increase the strength with tape or decorative fabric, glue the lid on the sides, applying glue to both the lid and the lower part of the pad.
- The glass or plastic part of the piece can also be decorated with fabric to make the whole structure look like a box. The fabric of the right size is selected for the container. It is glued over the material.
- When the base is finished, you need to decorate the product. For work, satin ribbons of different thicknesses, beads, beads, rhinestones, decorative braid and everything that will be at hand can be used.
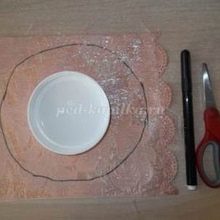
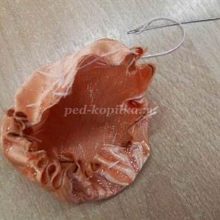
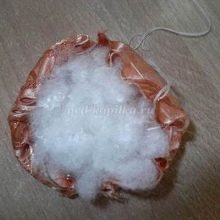
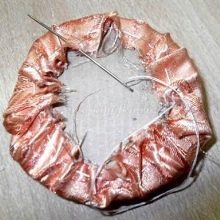
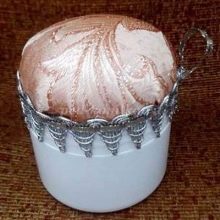
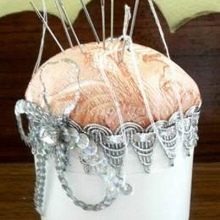
If the needle bed is being created for the first time, you can make it easier for yourself and watch a master class in which each step of creating such a craft is described in detail and in an accessible manner.
Creation from a coffee can
In the process of creating a needle bed from a baby food jar, it was necessary to work with a metal lid and a glass container. The cream jars had plastic parts, but on the farm there may also be coffee specimens, which will have a glass container and a plastic lid. Knowing how to work with each material, you can get a beautiful and convenient craft. To make a needle cushion from a glass jar where coffee was, you need to prepare all the same materials and tools as in the previous methods.
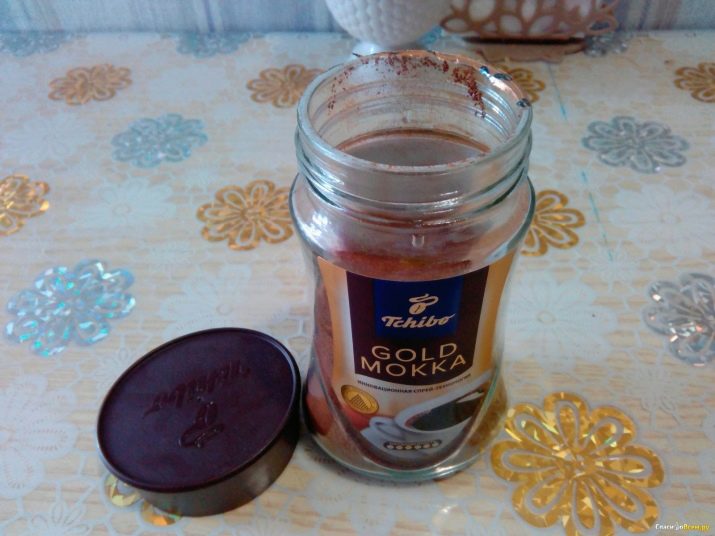
Let's look at the creation process step by step.
- You need to choose a jar of the desired size, while the lid should be wide. To remove the label, you must leave the jar in warm water, then remove the paper. If any glue remains, acetone will help remove it.
- From the cardboard we create a round piece in the size of the cap, and from the fabric we cut out a circle of a larger diameter and quilt it with threads.
- It is necessary to carefully place a synthetic winterizer in the fabric and cover it with cardboard, then tighten the threads.
- Glue is applied to the lid, it is best to use a composition from a glue gun.
- Next, you need to glue the fabric part of the needle bar to the cover.
- Hot melt glue is also applied to the sides of the lid, which is covered with a cloth. To prevent the material from starting to move away, the edges of the cut are coated with glue.
- When the base is ready, it needs to be decorated. On the contour, you can stick or sew on lace, tape.
- The glass part of the jar is wrapped in the same way. The glue is applied to the main surface, after which the matter is applied to it.
- When everything is ready, the pin cushion is decorated with bows, buttons, beads and any other available decorations.
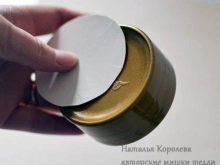
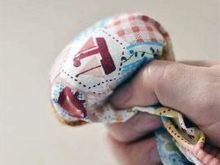
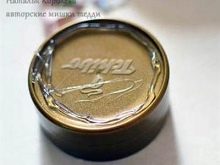
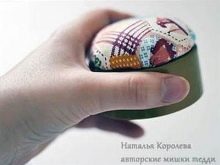
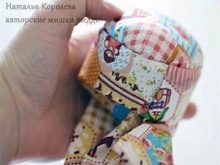
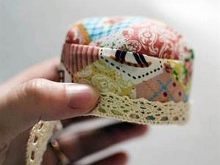
Such a fabric craft is not difficult, the main thing is to carefully read the description or watch a master class, and the result will not be long in coming.
