All About Floor-Standing Embroidery Machines
Embroidery is a hobby for the diligent and purposeful. But even the most strong-willed want the most comfortable conditions so that handicrafts are only a joy. For this, an embroidery machine was created - a convenient device that allows you to embroider for a long time and with enthusiasm.
Features, pros and cons
Such machines have appeared a very long time ago, they can be equated to the age of the needlework itself. Moreover, in ancient times, light was especially valuable: in the daytime you had to embroider by the window, in the evenings - by candlelight.
So, it was necessary to get comfortable. The machine helped to move the work closer to the light source, to work with both hands at once, and to arrange everything needed for embroidery (fabric, materials, other tools, drawing) side by side.
Advantages of the device:
-
many models can be rotated in four planes, adjusting for themselves;
-
stability - it will not let the embroidered canvas slide down, it will hold it tightly, the light will fall on the canvas evenly;
-
fixation of work - the embroidery will not be wrinkled, it will not throw itself “I don’t remember where”, tea is unlikely to be spilled on it, the work will be strictly in a certain place, which also disciplines;
-
the entire working field in front of your eyes - so it is clearer how much has already been done, and how much remains to be done;
-
the ability to work without overvoltage.
The main disadvantage of floor-standing embroidery machines is that you need to get used to them. Some models are not suitable for all frames, they are "sharpened" for certain sizes. Again, the machine needs to be put somewhere. This, of course, is not furniture, but something very close to that.
Forms and materials of manufacture
In general, the machines are sofa, as well as table and floor. They are made rectangular (this is most often) and round.To embroider literally on the knees is harmful for posture, and for the eyes, and for a holistic perception of work. The embroidery machine is a mechanical adjustable device: you can align its position, work with a different-sized canvas, adjust the tension. And in this, the machines are also different, some have all the listed functions, but some are limited in them.
Home-made devices have mostly limited functionality.
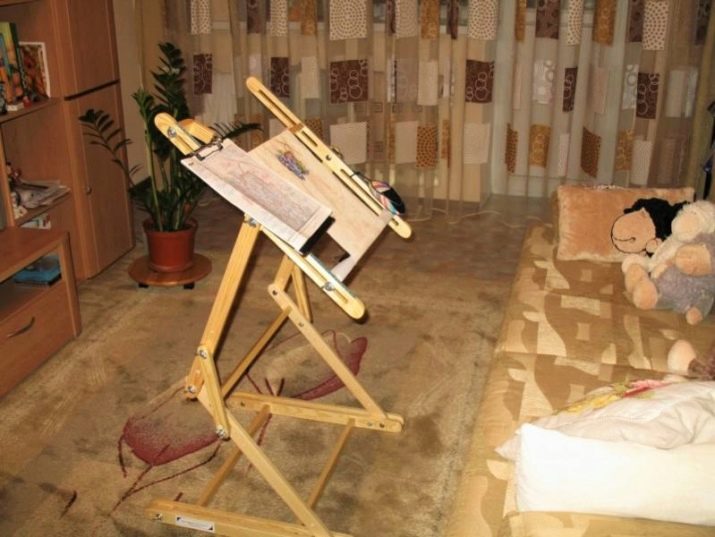
Floor systems will be needed by those who intend to deal with large volumes of cross stitch, satin stitch, beads. You can embroider on the machine while sitting on a sofa, on a chair, in an armchair, and while standing.
What machines are there - an overview of real examples.
-
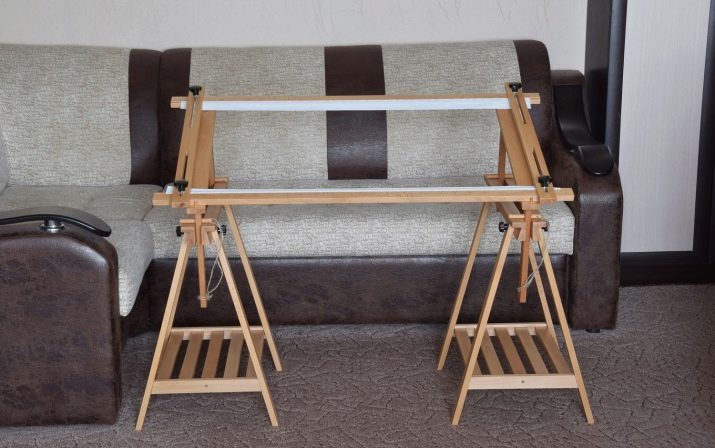
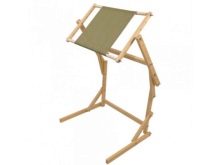
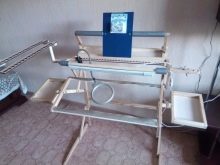
Outdoor (from "Crossomania"). Yes, the legs of such a system, for example, cannot be shoved under a sofa, but the device simply leans forward. But if you pull hard, you need an emphasis (pillow, for example). And although the width of the frame is not so important for this device, frames of different widths are not suitable for it - the sidewalls are fastened with slats, the length of which is equal in width to the frame.
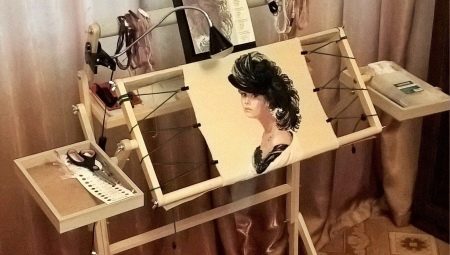
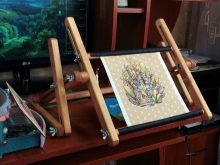
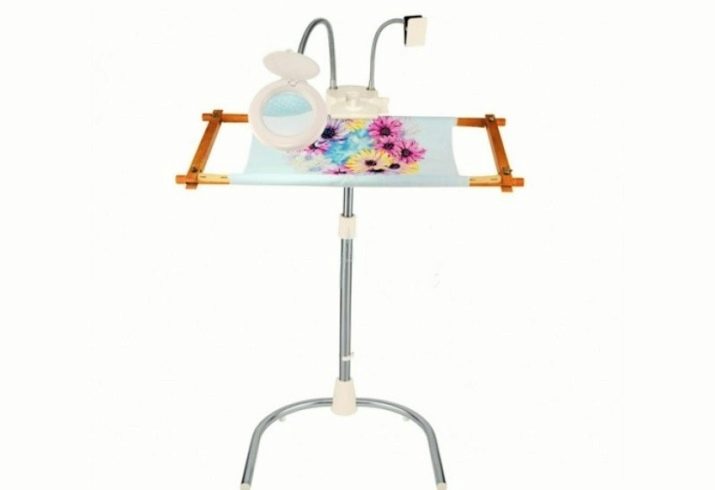
- Floor machine (from "StichSmart"). This is an expensive device, but, as the craftswomen themselves say, it is very convenient. The frame rotates well, the height is freely adjustable. The machine is heavy, which is both good and bad. But he has a shelf where it is convenient to leave scissors and a thimble. There is also a stand for diagrams.
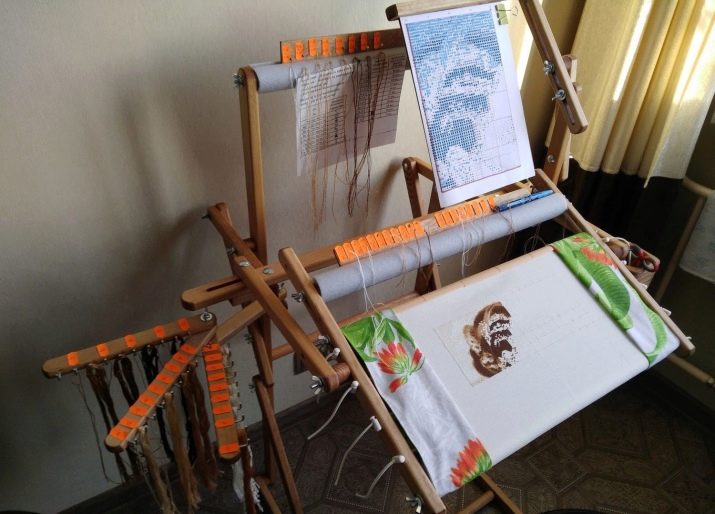
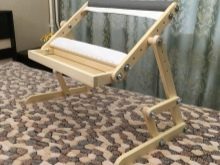
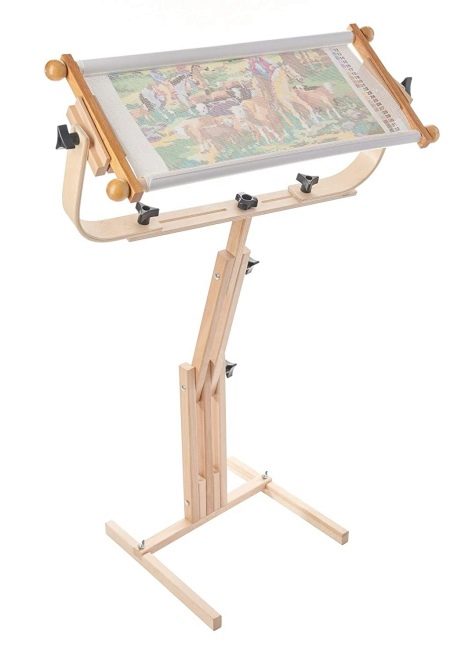
- Advanced Floor Standing Machine Design (from Sticher Wonder). The one that quietly rotates in four areas changes the slope, and the position of the holder also changes well. But the arched holder is not universal for frames, because it will only withstand certain parameters.
And since it is not always possible to find a suitable machine, you can make it yourself. In some cases, it is also much cheaper.
Selection Tips
Most often, embroidery machines are made of wood. But you can also find a metal model, perhaps it will be more durable and last longer. Although there is no global difference, the point is how well the structure is made.
Several expert tips.
-
The cheapest machine is made of pine wood. But it is not so strong, and since the pressure on the structure is great, it is highly likely that the strips will quickly lose their shape and be easily squeezed through. Better to take a machine made of hardwood - ash and beech, for example.
-
Metal versions of machines to reduce the cost often include plastic pipes, you should not be afraid of this. Plastic can also be different and quite durable.
-
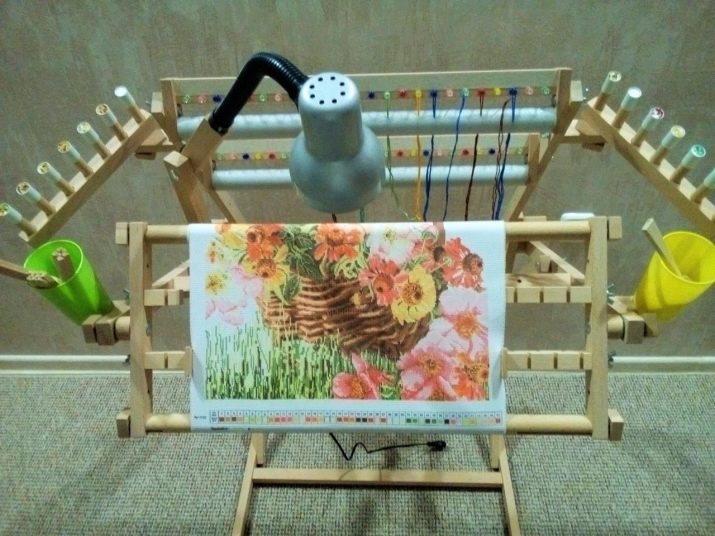
It's good if the device is equipped with useful add-ons., for example, a shelf for storing a needle bar, an organizer for threads, magnifiers, and so on. The place for the circuit in the design is provided separately.
-
When buying a machine, you need to focus on the most favorite frame size... There are both adjustable hoops and looms, but there is a limit. And you need to take the value that is used more often.
-
If you do not plan to embroider too much, there is a chance that the floor structure will be idle. For small volumes, more compact tabletop designs are good.

You can search for the best machine based on reviews. And the production of England, and the United States, and Russian designs can be good, but this is always a matter of personal convenience. If possible, you need to try to work at the machine, check your feelings. It's good if the device can be transformed (folded) so as not to take up much space in the room when there is no embroidery.
How to do it yourself?
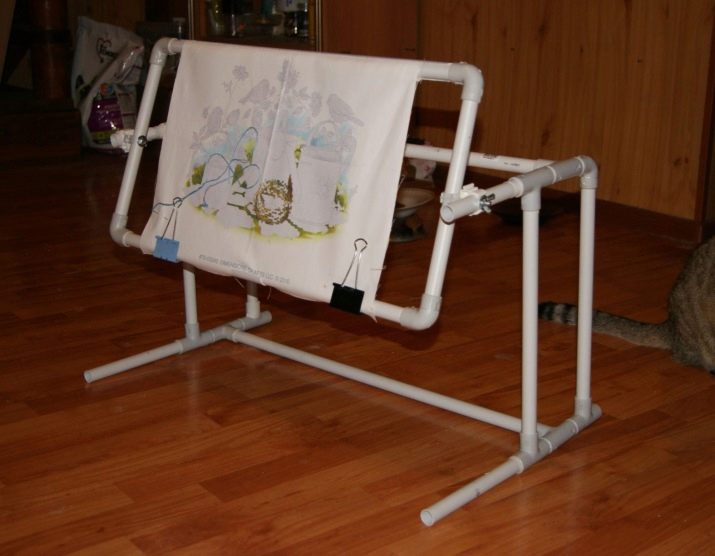
You can make it from wood, or you can make it from plastic pipes. If you make a fixed machine, it will be unregulated. If the machine is a transforming machine, it is more versatile, with adjustment.
What tools are required:
-
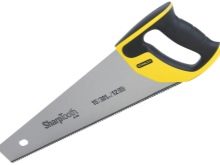
hacksaw (of course, for wood, if used), jigsaw;
-
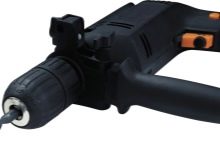
drill for drilling holes (5 and 6 mm drill diameter);
-
tape measure;
-
sandpaper or grinder attachment for grinding;
-
stickers for wood legs;
-
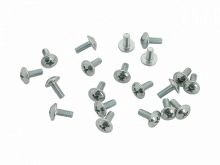
furniture screws (5 and 8 cm, screws M5 and M6, as well as washers / thumbs).
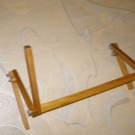
The wood can (preferably) be varnished, just sand the material first. The material may even be something that was planned to be thrown into the trash - for example, a handle from an old mop. It's easier to do it according to the assembly drawing, all dimensions are indicated there. The blanks will need the following: a rail 2 by 3 cm, 3 m long, and a round blank 3 cm, 1 m long.
Procedure.
-
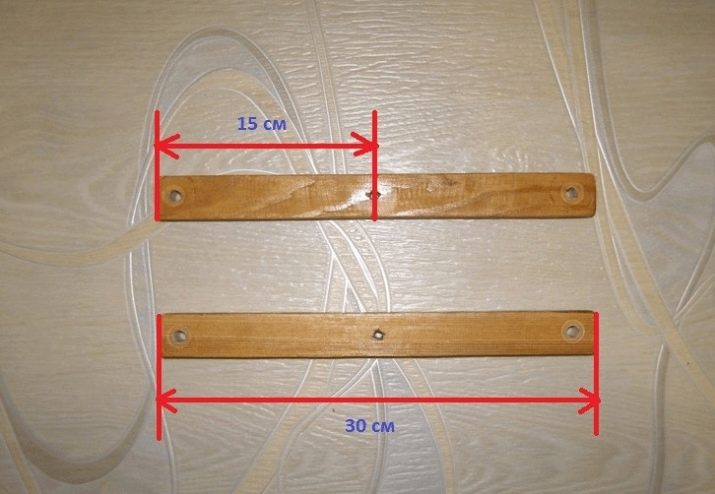
Cut out 2 blocks of 300 mm from the planed strip for the bottom of the legs. Make 2 holes of 5 mm in them. 4 more of the same bars must be cut for the legs.
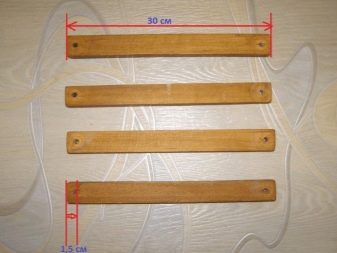
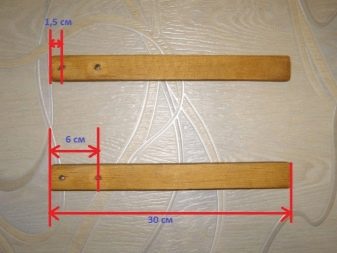
- For the side frame parts, cut out 2 more bars, make middle holes in them.
- For a frame made of a similar lath, cut a bar already 55 cm long.
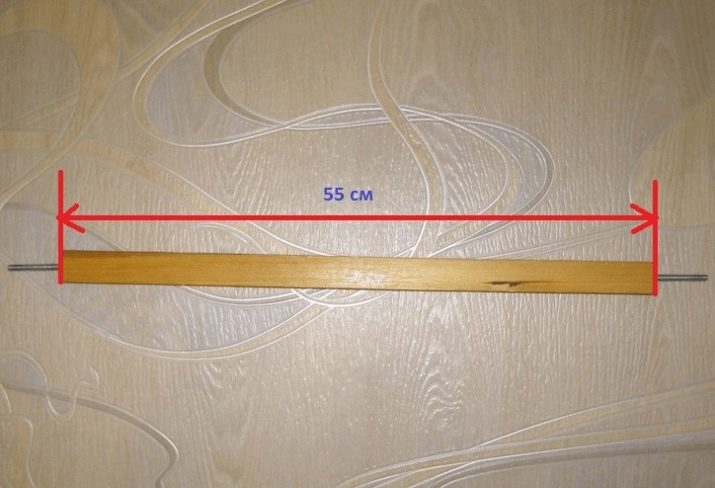
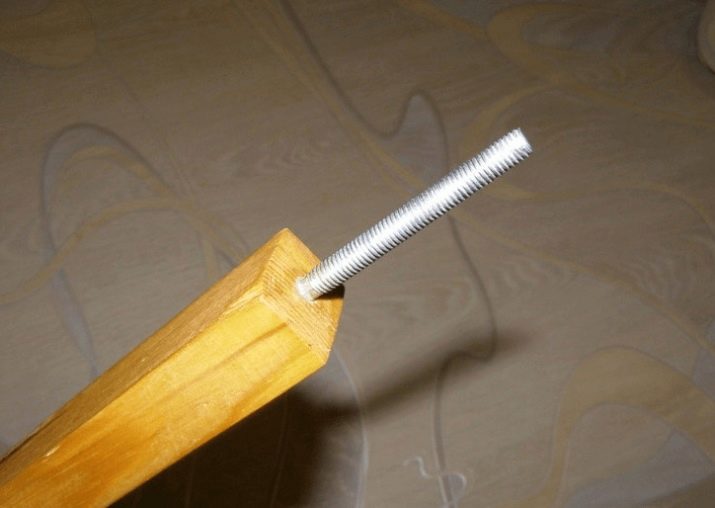
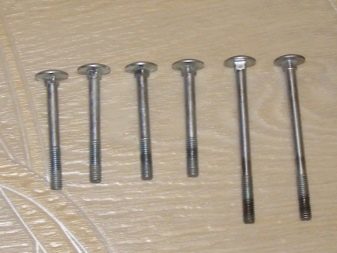
- Screw in screw-screws with M5 thread, 8 cm long from the ends.
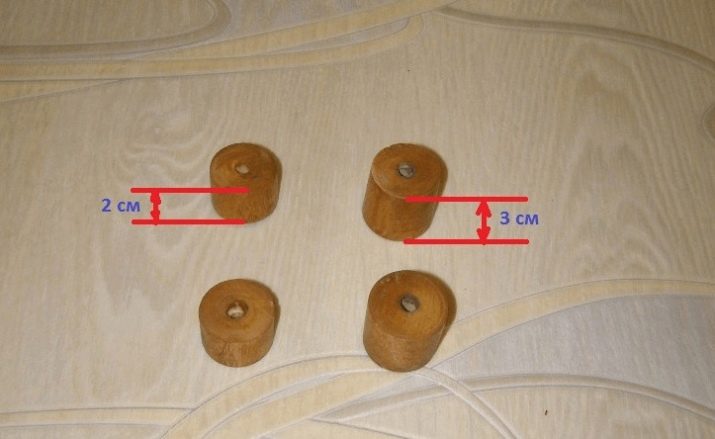
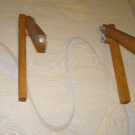
- From a round piece 3 cm in diameter, cut 4 cylinders, two 20 mm high and two 30 mm high. Cut 2 cylinders 45 cm each from a round blank. Then sheathe it all with a cloth, fix it with a stapler.
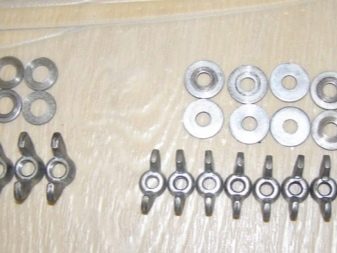
- Find furniture screws - four 5 cm each, two pieces 8 cm each. You will need four more 6 mm screws, eight 5 mm screws and the same washers.
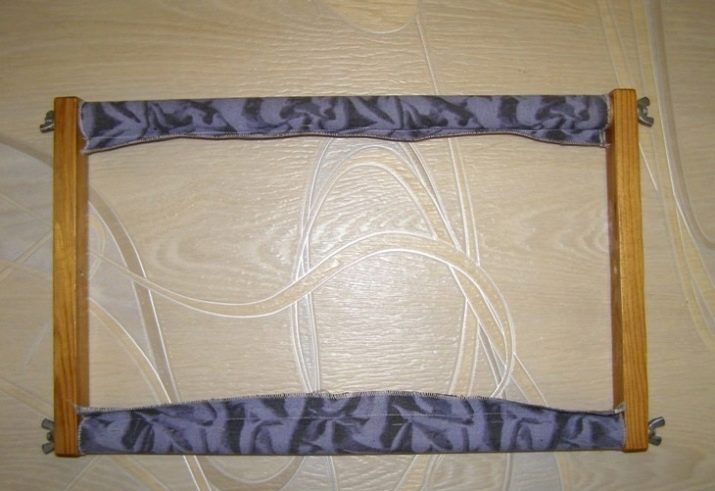
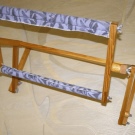
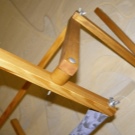
All that remains is to assemble the machine. The photo clearly shows the algorithm of actions: even an absolute beginner in design can handle the assembly. So it is relatively inexpensive to make a design that will allow you to cross stitch for hours in a comfortable position using both hands.
Learn more about the floor-standing embroidery machines in the video below.


