Do-it-yourself options for creating frames for embroidery
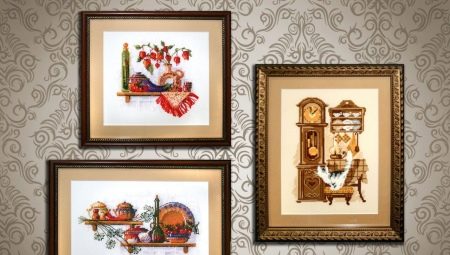
Embroidery is a real work of art that requires appropriate framing... The finished embroidery can be used to decorate a pillow, tablecloth or clothing, or insert it into a frame. When registering work in a frame, it is necessary to take into account some rules related to the technique in which the embroidery is performed. Some needlewomen prefer to order baguettes from specialized workshops. But you can make a frame with your own hands and arrange a picture in a much more original and economical way (which is also important).
Peculiarities
The frame for embroidery is easy to make from scrap materials, every craftswoman can do it... For this, wood, cardboard, plastic, ceiling plinth or ordinary branches are suitable. When choosing the material, design and size of the frame, you need to take into account the theme of the picture and its color scheme.
A picture requiring framing can be done in various techniques: beads, cross-stitch or ribbons. In any case, every craftswoman wants to see her picture in a beautiful frame in a conspicuous place so that every guest in her house can appreciate her work.
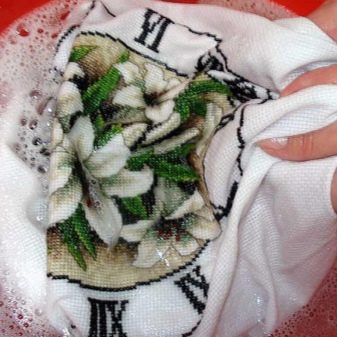
Before framing the picture, the embroidery must be washed by hand, dried on a horizontal surface and gently ironed in the steaming mode. All manipulations must be carried out with great care in order to preserve the volume of the work (this applies to cross-stitch, satin stitch and ribbons) and not damage it. If you wish, you can starch the seamy side a little. The embroidery will become stiffer and more comfortable to work with.
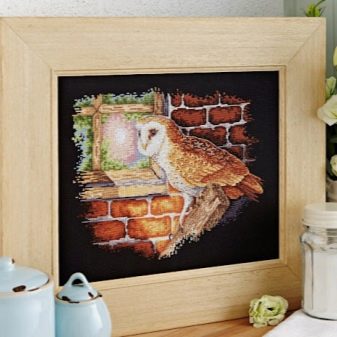
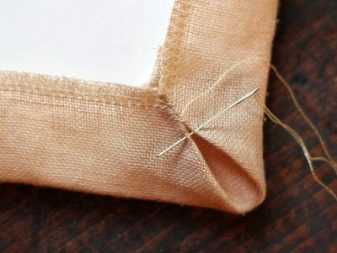
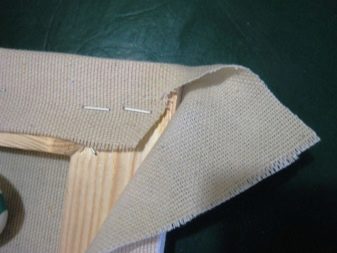
There are several ways to fix a picture on a stretcher:
-
sew the edges of the canvas (or fabric) together;
-
fasten the fabric to the stretcher using staples or buttons;
-
use double tape.
The main thing is that the picture does not move from the center, does not have creases and irregularities. When using staples and tape, be extremely careful, you will not be able to redo the work.
How to make from cardboard?
Sometimes (due to an unusual shape or non-standard sizes, for example) it can be difficult to find a ready-made baguette. Then the needlewoman can make a frame at home, which will ideally fit the finished picture. For making a frame for do-it-yourself embroidery, thick sheet cardboard or part of an ordinary box is suitable.
-
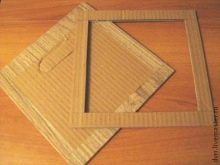
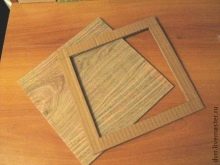
You need to measure the size of the cardboard sheet 3-4 cm larger than the size of the embroidery. This will be the back of the frame and subframe.
-
Next, you need to cut out the frame itself, the outer edges of which should coincide with the backdrop.
-
Stretch the painting onto a stretcher, securing it well.
-
Glue the frame to the painting stretcher.
-
The finished frame needs to be painted and decorated to your taste. For this, you can use the same materials that were used in the work. So the overall look will be more harmonious.
-
Attach a stand or loop to the back of the frame.
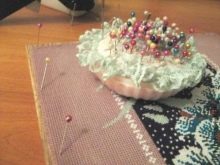
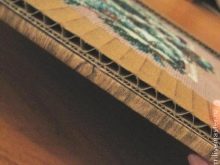
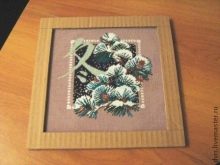
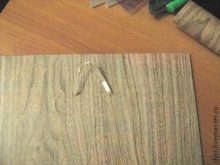
A cardboard frame at home has one significant drawback - the lack of protective glass. The work will quickly become dusty, and if handled carelessly, it can be ruined.
The stretcher and frame, if desired, can be wrapped with fabric or string so that the edges of the cardboard are not visible. And additionally decorate the frame with beads, a cross, ribbons or decorate with volumetric elements (flowers, shells, letters). You can even use various cereals (rice, millet, buckwheat) or pasta.
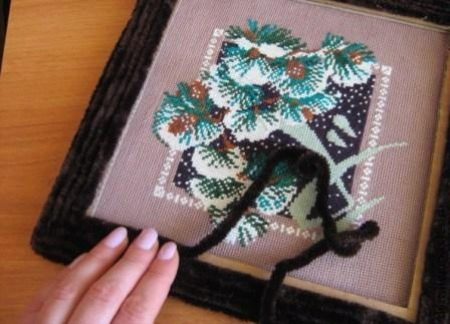
Creating a frame from wood
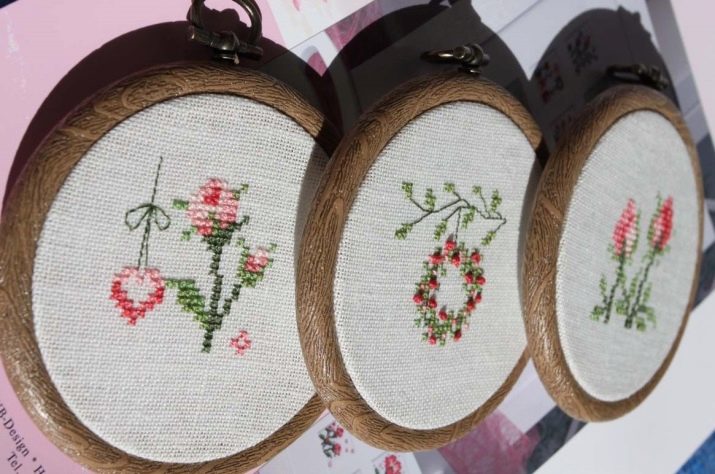
Wooden frames for embroidery design always look more noble and elegant. They will suit any style of embroidered painting and interior. Most often, needlewomen choose an embroidery hoop for decorating the finished work. This option has already become a classic. Any work takes on a lovely and finished look. The hoops are easy to match in size, color and price; they are available in a wide range in specialized stores. With this type of decoration, do not cut the canvas or embroidery fabric close to the frame. Over time, the canvas will shrink, and it will need to be tightened. And also the picture will require periodic washing due to the lack of glass. If you cut the canvas too much, it will be difficult to pull it back on. The hoop can be additionally decorated with fabric or decorative elements to the taste of the needlewoman in accordance with the theme of the picture.
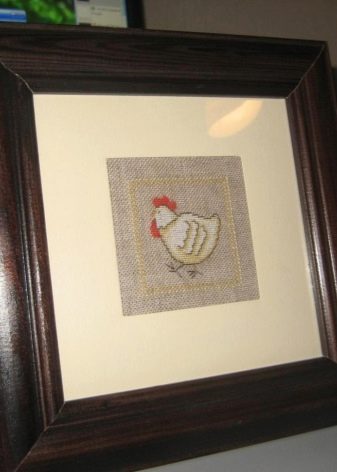
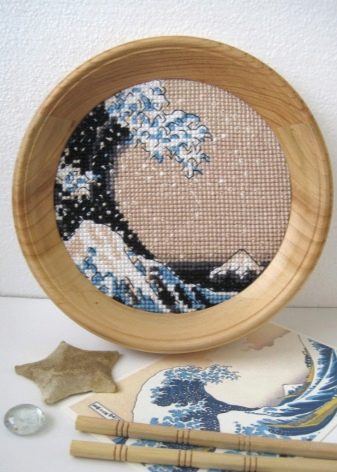
You can make a wooden frame yourself if you have the necessary skills and tools for working with wood.
Consider a small master class on making an embroidery frame. First you need to make a drawing of not only the frame itself, but also the mat for it. Draw the dimensions of the frame itself, the inside and outline the center.
For the manufacture of a stretcher (mat), plywood or chipboard is ideal. And for the frame itself, you can use the wooden skirting boards left after the repair. Prepare all the details first.
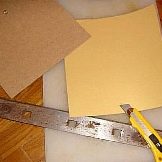
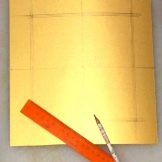
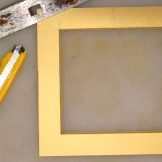
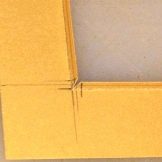
The ends of the frame must be cut at an angle of 45 degrees in the places where they are glued together. This docking is called "mustache". In the center of the plywood or chipboard, install 2 additional support beams at an angle of 90 degrees to each other using metal corners. For fastening, ordinary self-tapping screws are suitable. After that, attach the frame parts to the beams and tighten with clamps (clips). When tightening, make sure that the frame parts do not move or skew. Instead of clamps, you can use a rubber band. But this technique requires certain skills and dexterity. If the frame is large, then it is better to use 4 or 6 additional beams for support.
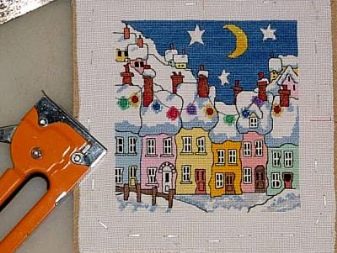
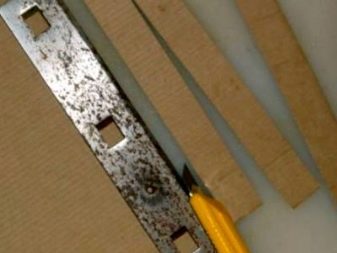
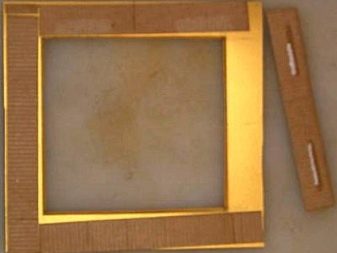
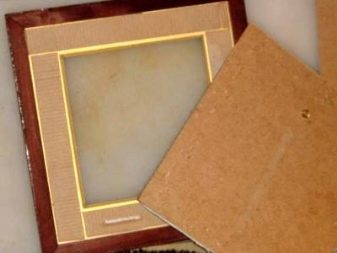
To make a homemade wooden frame strong, use special PVA glue at the joints, and let the frame dry well (about a day).
For additional decor, the frame can be painted with wood stain or varnish and decorated with additional elements at the request of the needlewoman. If you wish, you can order glass by the size of the frame in the hardware store. Be sure to tape the edges of the glass with thin tape so as not to get hurt.
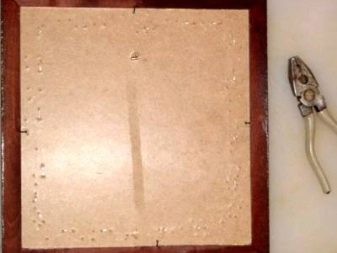
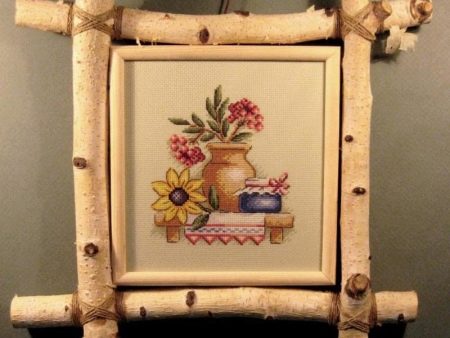
Ordinary branches or bamboo are also suitable for a wooden frame. They are tied with twine or jute at the crossing points. The branches need to be lightly sanded and covered with varnish or drying oil. You can buy bamboo from a store for decor or take apart a bamboo doily. Original eco-frames are made from such natural materials.
Making from scrap materials
Finished embroidered paintings require framing so they can be hung on the wall or placed on a shelf. To do this, you can order a special frame in a baguette workshop, or buy standard photo frames.
But if you do not want to spend extra money, or the embroidery has a non-standard shape or size, then you can make the frame yourself from scrap materials.
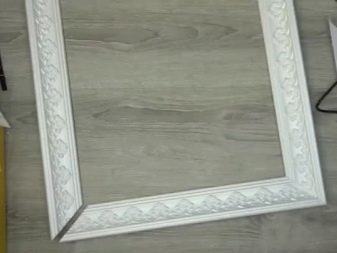
The most common option for making a frame from available tools is to make it from a polystyrene ceiling plinth. The details must be cut to the required size and fastened with special glue. Working with a plastic skirting board is easy and convenient. In hardware stores, it is presented in a wide range, you can choose the appropriate width and pattern. And the price is pretty affordable. After drying, the plinth is painted and, if necessary, decorated. For the backing, you can use plywood or thick cardboard. The sheet with a stretched picture should fit tightly into the frame.
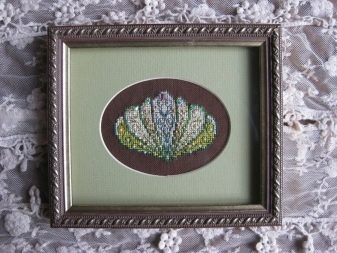
Instead of ceiling skirting boards, you can use PVC pipes. They can be glued together, or special plastic corners can be used. It is better to take PVC pipes designed for electrical wiring. They do not need a special gluing tool, unlike plumbing pipes. In the pipe, on one side, it is necessary to make a slot where the stretcher with the picture will be inserted.
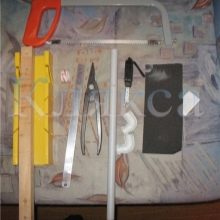
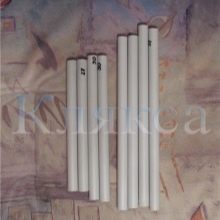
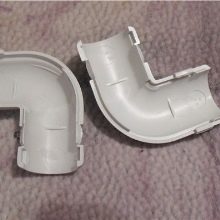
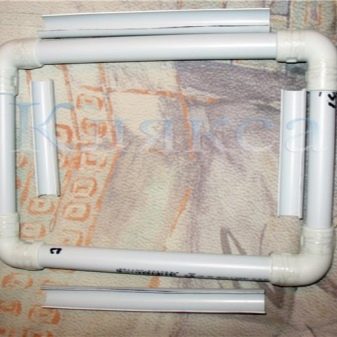
You can design a frame like an embroidery machine where the canvas (fabric) is pulled over the frame and latched into place with the latches. For clamps (clamps or clips), you need to saw the pipe lengthwise, cutting out about 1/4 part. The rest of the piece will make a fabric (canvas) clip. Burrs appear when sawing, they are removed with sandpaper. At the end of the work, attach a leg or loop to the back of the frame. PVC pipes are an affordable material with a low price, easy to use and durable. The frames from it are light. They can be decorated to your liking in the style of a painting or interior.
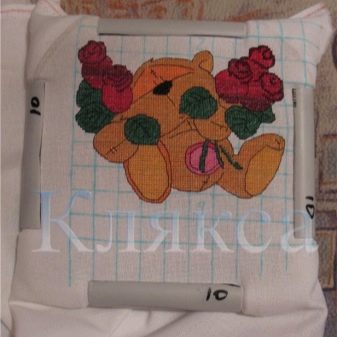
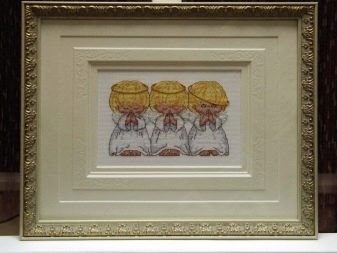
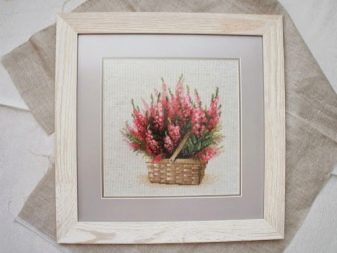
When decorating embroidered paintings with handmade frames, do not forget that the frame should only emphasize the beauty of the main work, and not compete with it. Don't overload the baguette with additional decor. Do not use flashy colors for baguette and passe-partout, unless the embroidery itself requires it. The shape of the baguette should match the contours of the embroidery and emphasize it. It is better that the edges of the picture do not touch the frame, there should be free space between them (at least 2 cm).
The opinions of needlewomen about glass differ. On the one hand, glass protects the embroidery from dust and sunlight, on the other hand, glass gives glare and does not allow you to fully enjoy the beauty of the embroidery. Here the choice is purely individual.
To learn how to make a frame for embroidery from a PVC pipe, see the video.


