How to make a paper fan with your own hands?
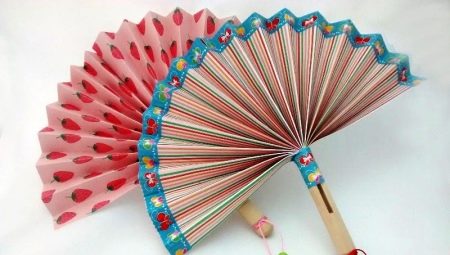
The fan is a well-known savior from the heat. But, in addition to being useful, this bright accessory can be a stylish and unusual element of the interior. And if you do it yourself, then you will also receive a lot of positive emotions from the creative process itself. There are several simple ways to make a fan yourself from scrap materials. You will certainly be pleased with the simplicity of the execution techniques, which we will talk about in this article.
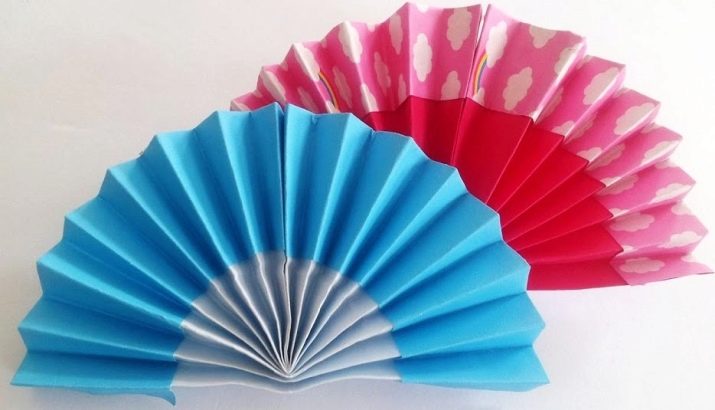
How to make a simple fan?
We all know how to make simple fans from childhood. All you need is paper and a stapler. You need to fold a sheet of paper in a neat accordion, pinch it from below with a stapler and straighten the top. And to make the product look more interesting and complete, you can decorate it. You can initially paint a sheet of paper with paints so that fancy patterns play on the finished fan, or you can decorate the finished product with flowers made of plain or corrugated paper, sparkles, and beads.
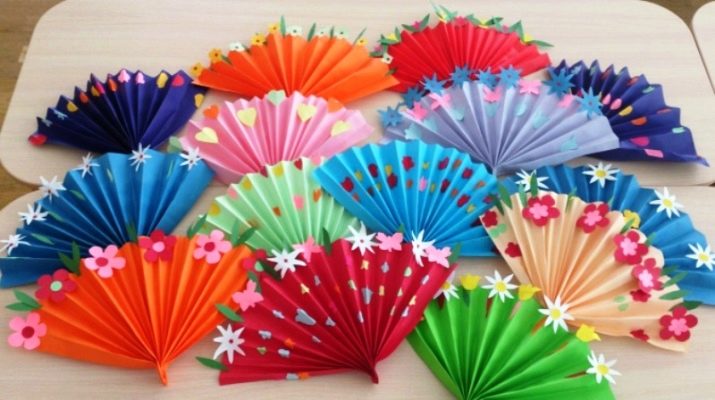
Actually, besides this simple option, there are many other ideas for making handmade fans. For crafts, not only various types of paper are used, including rice, but also other materials: fabric, floss threads, ice cream sticks, plastic forks, clothespins, feathers, rhinestones. As in the manufacture of any crafts, you can give free rein to your imagination, without limiting it.
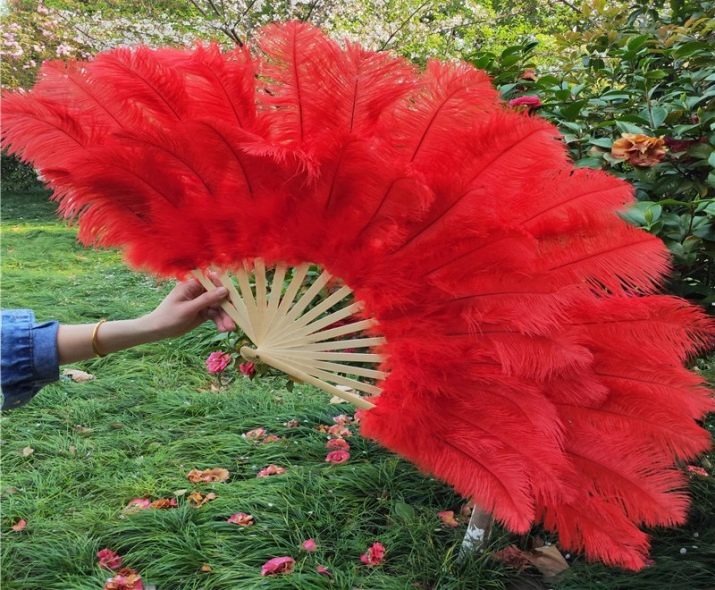
At home, you can create a veil, which is used for costume dances, a fan of feathers, a fan for interior decoration.
Original crafts
In this collection you will find the simplest instructions on how to make a fan step by step. Among them there are both simple options for children and more complex ones that require perseverance and accuracy. With them, you can create a really bright and unusual accessory that will delight you or become a wonderful gift.
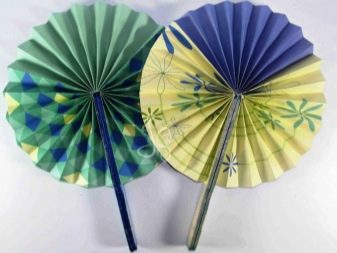
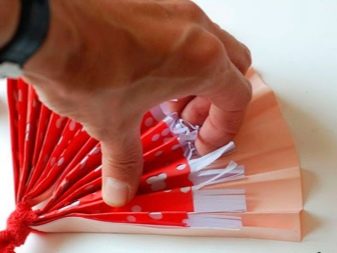
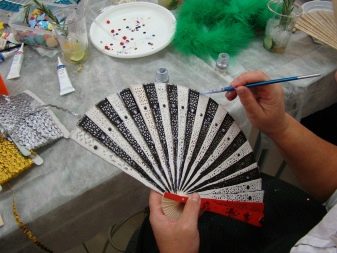

Three-layer option
This manufacturing method is also very simple. You will need:
-
3 sheets of colored paper of different widths, each of which is larger than the previous one;
-
scissors;
-
glue stick;
-
hole puncher;
-
thin ribbon.
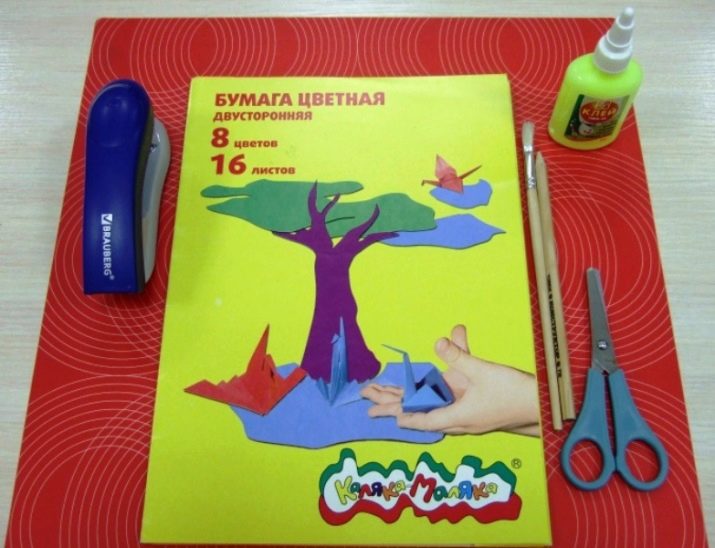
We begin to make a fan.
-
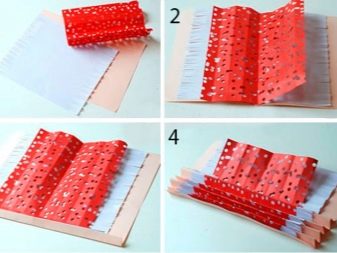
First, fold the smallest piece of paper twice in half. Hole it with a hole punch.
-
Take the middle sheet and fringe the edges.
-
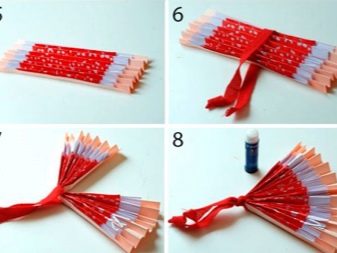
Fold the sheets one on top of the other and glue them. The smallest should be on top and the largest on the bottom.
-
Make an accordion out of this single sheet, and tie with braid in the middle.
-
Fold the resulting blank in half, glue its edges together.
Round fan
Thanks to their rounded shape, such crafts give even more room for imagination. For example, you can make a fan shaped like a watermelon.
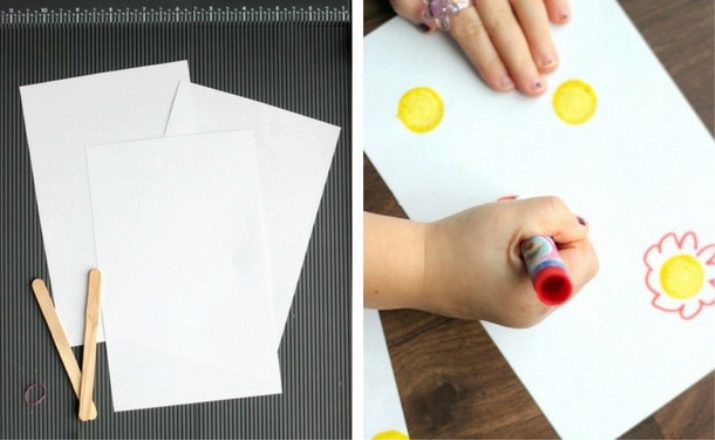
Prepare for its manufacture:
-
3 sheets of double-sided colored A4 paper;
-
scissors;
-
glue;
-
2 flat sticks.
Step-by-step manufacturing instructions:
-
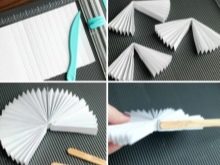
make an accordion from each sheet in steps of a centimeter;
-
fold each in half, glue its edges on one side to make a fan;
-
connect all three fans in a single circle and glue, leaving two edges not glued;
-
we attach skewers to the free edges and glue them together.
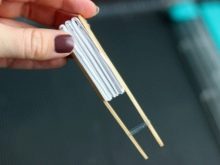

Chinese fan
One of the traditional Chinese origami was a fan with cranes.
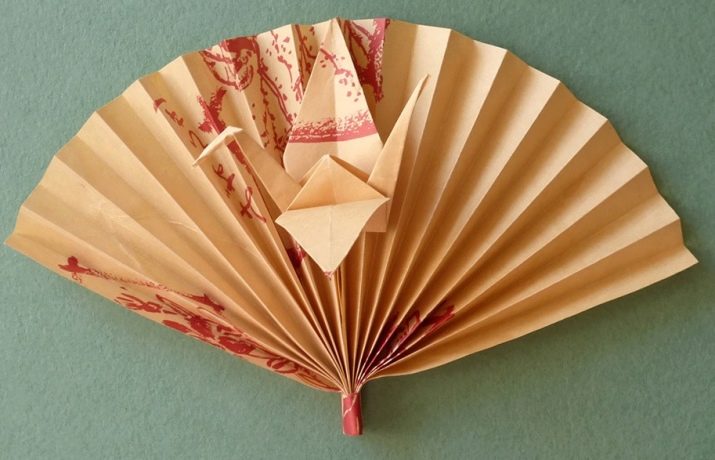
We offer a simpler version of the product, but it also looks very interesting. For this product, stock up on the following materials:
-
plywood;
-
the cloth;
-
ruler;
-
small bolt with nut;
-
scissors;
-
glue;
-
sample.
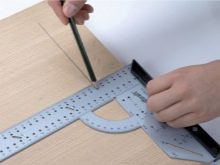


The manufacturing process consists of several steps.
-
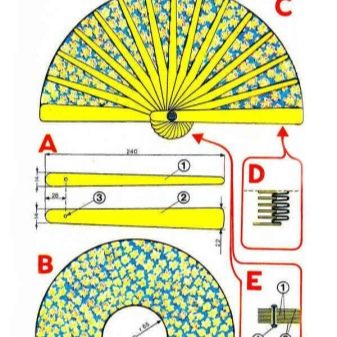
Cut 13 pieces from thin plywood according to pattern 1 from diagram A and two from pattern 2. The size of the pieces is shown in the diagram.
-
Fold the cut pieces together as shown.
-
We make a hole on the slats below so that you can insert a bolt there.
-
Prepare a fabric piece as in diagram B.
-
We open the planks so that there are equal gaps between them.
-
Glue the plank on the far left with cloth completely, and the rest of the sticks - only with the lower side adjacent to the fabric.
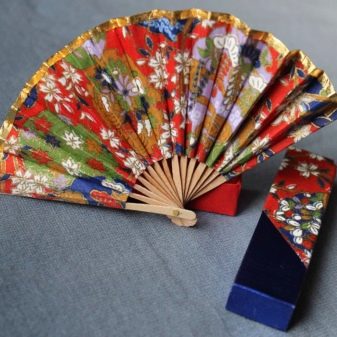
With a clothespin
To create such a fan, you will need:
-
double-sided colored paper;
-
pin;
-
glue;
-
stationery elastic;
-
scissors.
Instructions:
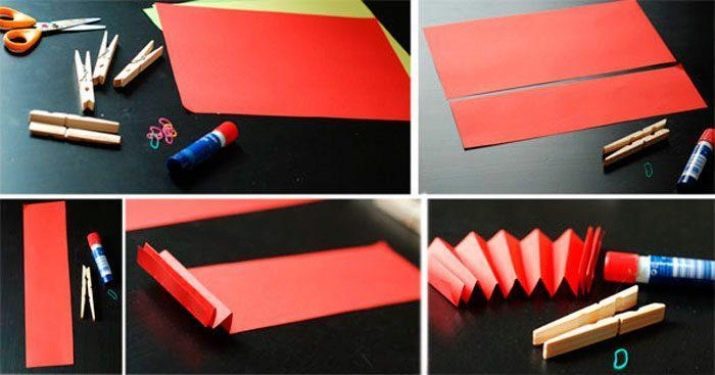
-
split the clothespin in half;
-
cut a 7 cm strip from a sheet of double-sided paper and bend it with an accordion;
-
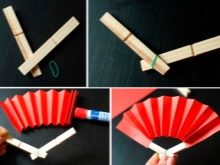
make a cross from the halves of the clothespin and fix it in the middle with an elastic band;
-
glue the edges of the paper accordion to the edges of the halves of the clothespin.


Veil "Fire Whirlwind"
To create a dance veil, take:
-
frame from an old fan;
-
30 cm each of chiffon or other similar fabric of two colors - black and orange;
-
threads with a needle;
-
scissors;
-
sewing machine;
-
glue;
-
rhinestones.
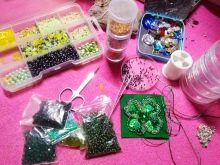

Let's analyze the step-by-step manufacturing instructions.
-
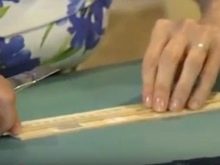
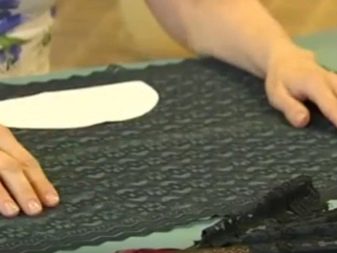
Place the wooden fan base on a dark cloth. If you do not have an old unnecessary base, then make it from narrow boards with holes at the bottom, connecting them with a thread. Mark the places for the cut.
-
Make the same fabric with orange fabric.
-
Sew fabric blanks together and glue to a wooden base.
-
When the fan is dry, decorate it with rhinestones.
Other manufacturing options
Summer
The main function of the fan always remains unchanged - it should provide coolness in hot weather. Fanning your face and other exposed parts of your body with it should keep you cool. We offer you a fan, which, due to its light and simple design, is very suitable for these purposes.
For it we need:
-
cardboard;
-
newspapers or office paper;
-
PVA glue;
-
stationery knife;
-
pen or pencil;
-
acrylic paints;
-
ruler;
-
ribbons, beads and decor at your discretion.
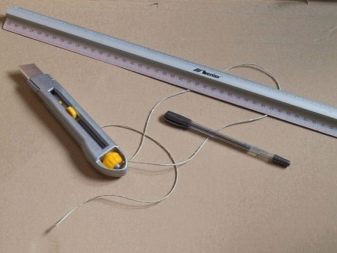
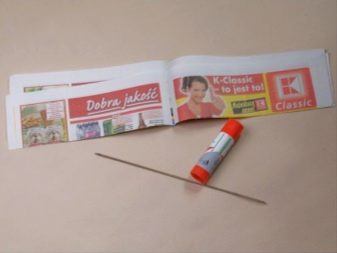
Let's start making.
-
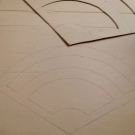
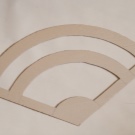
Cut out two cardboard semicircular bases as shown.
-
Cut strips 7 cm wide from colored paper.
-
Twist them vertically onto the knitting needle to form oblong tubes. Hold them together with glue so that they do not fall apart.
-
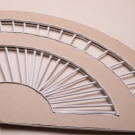
Glue an odd number of tubes on one base like a peacock's tail.
-
Cover with a second base and glue.
-
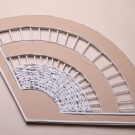
Also close the side gaps between the bases with tubes, gluing them to the edges of the product.
-
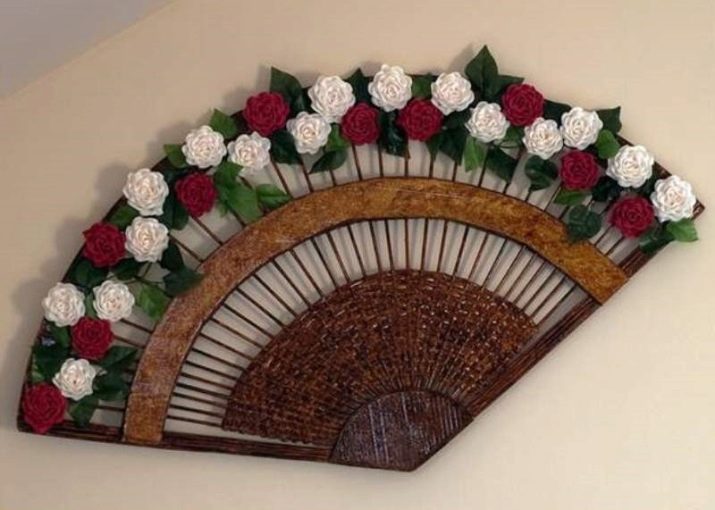
We also decorate the fan stands with tubes and other decor to our liking, as in the picture.

Folding
To make such a retractable fan, prepare the following elements:
-
25 wooden flat sticks with small holes at the bottom - for threading;
-
two types of fabric - matte and glossy;
-
floss threads in the color of the base;
-
scissors;
-
glue;
-
Scotch;
-
needle.
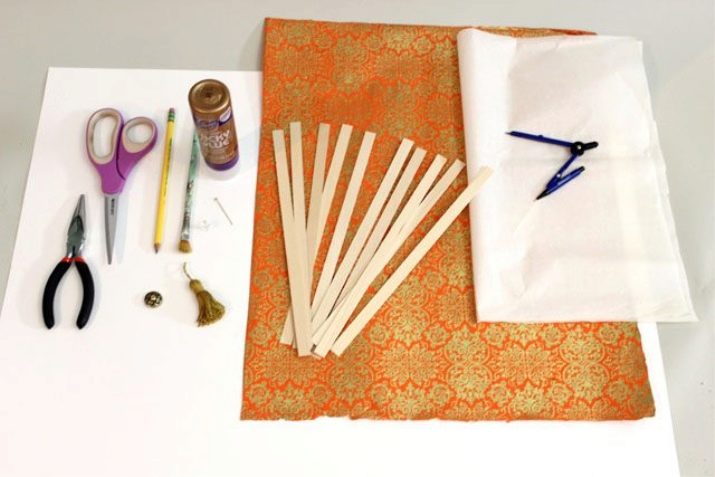
Consider the instructions.
-
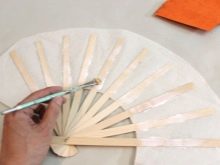
Fold the sticks (25 pcs.) With holes for the thread in a pile and tie, tightly wrapping them with it on both sides.
-
Unfold the base of the fan fully and apply it to the matte fabric - it should be light enough. Otherwise, the fan will be difficult to fold.
-
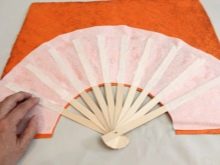
Make the distance between the sticks the same. Sew them onto the fabric.
-
Turn the resulting product over, and cut off the excess on top. To decorate the cuts, glue a ruffled shiny fabric there on both sides. Also trim the excess fabric from the bottom so that it does not interfere with the folding of the structure.
-
Turn over the craft.
-
You can also glue a few more decorative strips of shiny fabric to the fan.
-
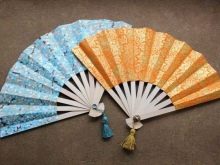
When the glue is completely dry, peel off the excess, and put the resulting craft in a pile. Short beautiful ribbons can be glued on both sides to tie a fan. This will prevent it from falling apart when not in use.
For decor (for a photo zone, for decoration, on the wall)
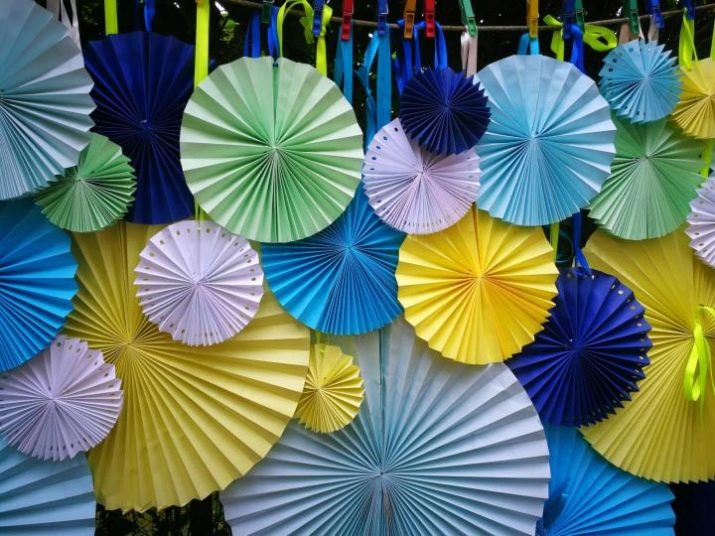
It is worth talking about these fans separately, as they are intended solely for decorating rooms. For example, in the bedroom, they are often placed above the bed. A decorative fans are also often used on the terraces of houses.
Such unusual products look especially advantageous in reception areas or photo zones. Usually they are placed in several pieces at once - so they look more interesting.
To make a decorative fan, use:
-
thick colored paper;
-
paper lace;
-
tapes;
-
double sided tape.
The making master class includes a number of steps.
-
Cut two strips of 5 cm, 7 cm, 9 cm wide and 30 cm long from colored paper. Bend all sheets with an accordion with the same pitch, we suggest stopping at 12 mm.
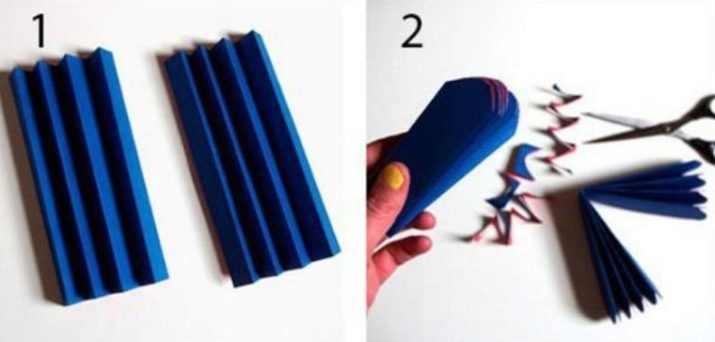
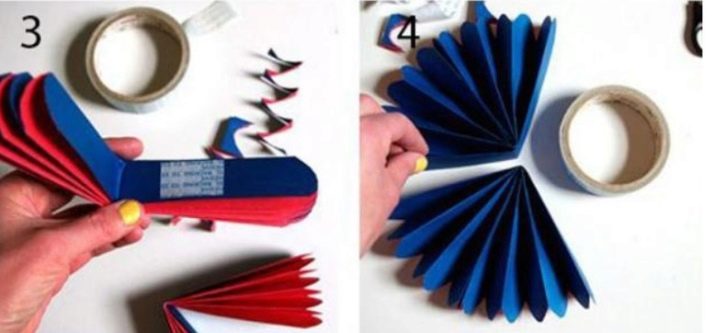
-
Bending each accordion in half, tape the edges to one side with double-sided tape to form a semicircle.
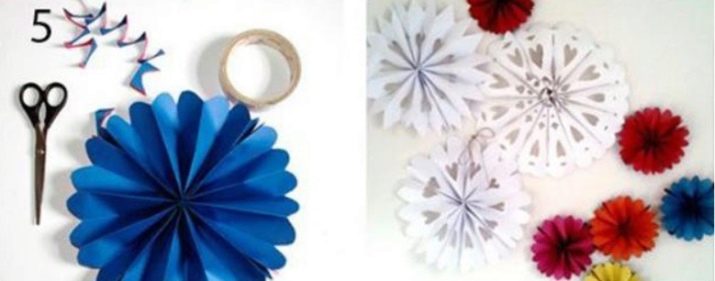
-
Connect two identical semicircles to each other.
- On the edges of the finished round fans, you can glue paper frills, decorate them with rhinestones or beads in any order.
Making fans at home can be a great experience for both kids and adults. The children will be happy to attend a home master class and learn how to make this accessory with their own hands. Of course, in everyday life they are rarely used today, since modern city apartments usually have air conditioners and fans. But if it turns out to be really beautiful and will be in harmony with your image, then it is quite possible to carry it in your purse and use it if necessary.
And also a home-made fan can be used in another way - to use it as an attribute of a Japanese-style party, to complement a child's costume for a matinee, to hang it as a decoration in the house.
For information on how to make a paper fan with your own hands, see the next video.


