How to make a fan with your own hands?
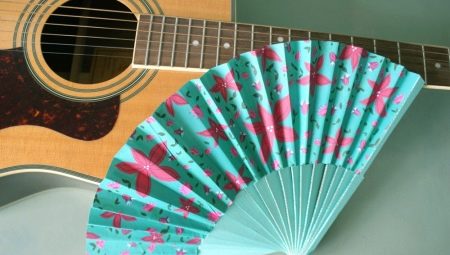
Once a fan was not just a fashionable attribute, but a necessary thing - there were no air conditioners, and for many centuries women were forced to dress rather closed in any weather. The fan saved from fainting, and that's literally. Now he is associated with some kind of flirty accessory, and, probably, there is no woman who would never try it on to her image.

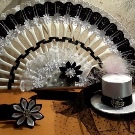

Fans are also used as an interior element, decorating a wall in any of the rooms of the house. And it can be homemade art products.

Paper making
An origami-style fan with his own hands can be made even by a person devoid of creative skills and competencies. It is worth picking up paper, scissors, glue - and it will be difficult to drag a keen person away from this occupation.
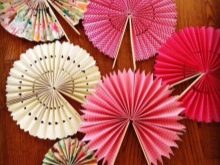
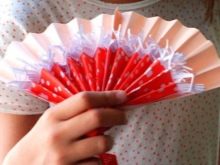
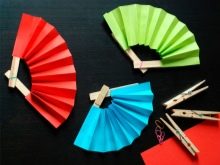
Here's an example to practice. A simple master class suggests taking:
- 3 sheets of paper, each of its own color;
- scissors;
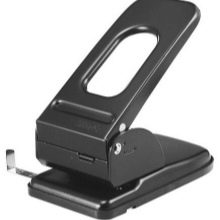
- hole puncher;
- tape;
- glue.
The creative process will consist of 6 steps.
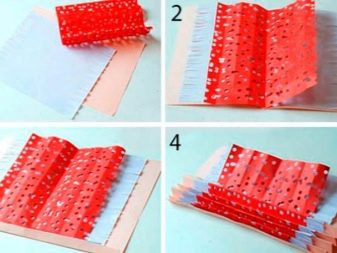
- Leave the first sheet in its original form, reduce the second by cutting off a three-centimeter strip from it, and reduce the third by 6 cm.
- The smallest piece of paper should literally fall under the press of a hole punch. The hole punch will be the tool that will make intricate patterns on the sheet. However, how intricate they will be, the master himself decides.
- The second sheet needs to be cut into fringes using scissors. The first, as already mentioned, remains unchanged.
- Now the sheets are stacked on top of each other - the smallest will lie first, followed by the larger one, the unchanged sheet will be the bottom. The sheets are folded like an accordion, the folding step is the same for all sheets.
- Find the center of the fan and tie it with a ribbon.The ribbon is knitted, on both sides of the knot there will be equal fragments - triangular accordions. Now these fragments need to be connected, glued together.
- The fan can be spread.
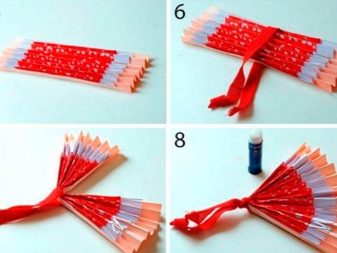
This is how - in about 20 minutes - you can make a cool fan, which will be a surprise for children or an elegant decoration in the interior. And if you use a newspaper instead of ordinary sheets, and preferably an old one (print vintage sheets from the Internet), you get a fan with retro mood.
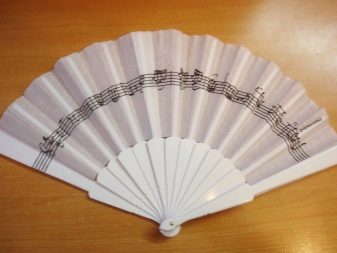
A wonderful fan will turn out from sheet music or, for example, from the pages of your favorite book. It is not necessary to "gut" the book - you can, again, transfer the text of Harry Potter from the Internet edition, for example, into a "Word" document, and then soak the printed sheet in coffee. You will get the effect of old pages. And already from them to make such an interesting literary fan - it will be original.

How to make from fabric?
This master class is already at a higher level, but it is possible to repeat everything at home and without special preparation.
For a fabric fan you will need:
- a small piece of beautiful fabric (glossy or matte, not so important, the main thing is that the owner himself likes it);
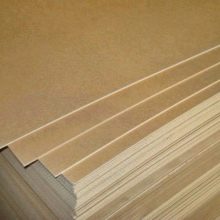
- thin plywood sheet for making strips;
- narrow ribbon;
- decorative flowers, lace, rhinestones - anything for decoration;
- paper;
- pencil;
- awl;
- glue;
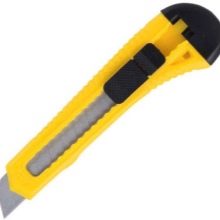
- stationery knife.

By the way, if there are strips left from the old fan, you can use them.
- Exactly 15 strips must be cut from the plywood sheet (width - 2 cm, length - 40 cm). It makes sense to paint them in a color that is in harmony with the fabric. You can simply cover with varnish, stain, etc.
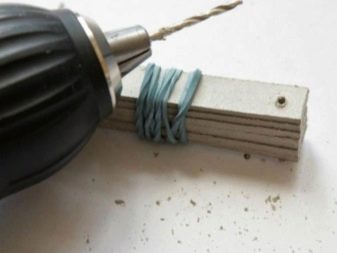
- A hole is made in each plank with an awl, about 1.5 cm from the bottom edge of the part. It will be exactly in the middle - between the sides of the bar.
- In the holes made, you need to stretch the braid and tie it with a bow. If the tape is too long, the loose ends will tangle endlessly. If you don't feel like fiddling with the tape, you can replace it with wire.
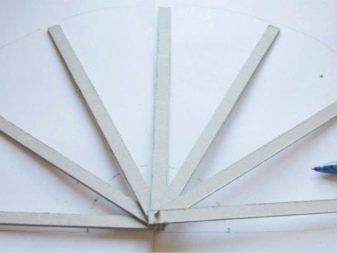
- Next, on the working surface, you need to lay out the strips in a semicircle, attach them to the A4 sheet. And this blank should be outlined with a pencil. The planks are removed, and a semicircle is drawn (it is more convenient, of course, to do this with a compass). The radius of the semicircle is up to 15 cm. A template is cut out from this sketch.
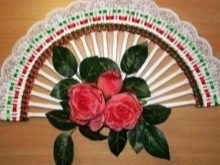
- The paper blank is applied to the fabric, traced around the contour. The fabric can be cut. It is good if the material is rather dense and does not stretch significantly. Satin or silk would be ideal. Again, the slats are laid out in a semicircle, you can glue the fabric to them. This is one of the most crucial moments of the entire master class.
- Attention: the last strip is glued to the face of the fabric, which will help the fan to open easily.
It remains only to decorate the product to your taste. However, lovers of minimalism can refuse this.

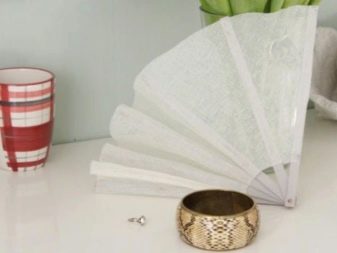
Other craft options
There are tons of unusual ideas that allow you to look at the fan design from an unusual angle. And even, for example, thinking of making a fan out of cardboard (as a more durable analogue of paper), you can come to an original version.
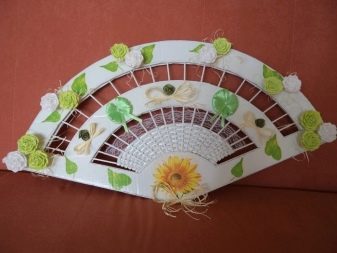

Made of cardboard
There are a lot of so-called design cardboard - this material is denser than paper, but more comfortable to work with than ordinary cardboard. And most importantly, it is already decorated, it has some interesting print on it.
For this master class you will need:
- designer cardboard (can be replaced with thick wrapping paper);
- plain white paper (if there is rice - ideal);
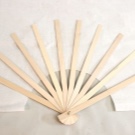
- thin sticks made of soft wood (those that are quite suitable for ice cream, tea), 10 pieces are needed for one fan;
- pin with a decorative head;
- needle-nose pliers;
- buttons;
- compasses and scissors;
- brush, pencil, glue;
- decorative brush the size of a future fan.
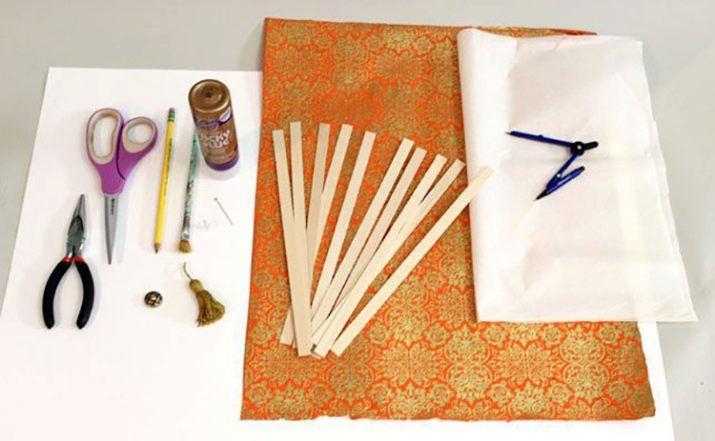
Let's describe the process of creating a homemade fan for girls step by step.
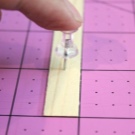
- 2.5 cm should be retreated from the edge of each stick, at this distance, exactly in the center, mark a point. Each stick needs to be driven with a modern button.
- All sticks are folded together with the alignment of the holes, a pin should be threaded through the entire stack. Its sharp tip must be removed with pliers.
- The tip of the pin should be twisted in an elegant curl, very tightly against the stack of wooden sticks. The pin should be tight.
- A rectangle with dimensions 38 by 46 cm is cut out of white paper. You need to draw a semicircle on the rectangle with a compass, its radius will be 10.2 cm. This semicircle must be cut out. But not he will go into business, but what remains of the rectangles.
- You need to take a white rectangle, spread the sticks on it so that the lower tie point is exactly in the center of the semicircle. About 10 cm of each stick should be under the paper.
- The sticks must be gently pressed with your finger, outlining them on the sides with a pencil. Then they should be removed for a while, but marks should be put on the places where they were. It is very important to put them back exactly where they were.
- Grease one side of each stick with glue, it is easier to do this with a brush. Sticks are glued according to the marks.
- It's time to cut the white paper, retreating 2.5 cm from the top.
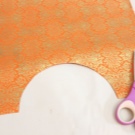
- Now, by analogy, the same fragment is cut out of the design cardboard. Its radius is 9.5 cm.
- Glue is applied to the other side of the sticks up to the point where the white paper ends. But it should also be applied to the paper between the sticks, and it will stick to the decorative part of the craft.
- The decorative part is overlaid on the sticks inside out, its semicircle from below goes to the border of the first white layer by about half a centimeter, maybe a little more. Use your fingers to gently smooth the paper, because it should stick to the second layer and sticks evenly, without folds and bubbles.
- Now both layers are cropped, this time in a perfectly even semicircle. The excess is cut off on the sides. From the extreme sticks, you need to retreat 1.3 cm.
- A thinnest glue layer is applied to the outermost sticks, the side allowances of the design cardboard are folded onto white paper and glued.
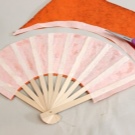
- The fan can be folded, but it is done smoothly and carefully, progressively, from one end to the other.
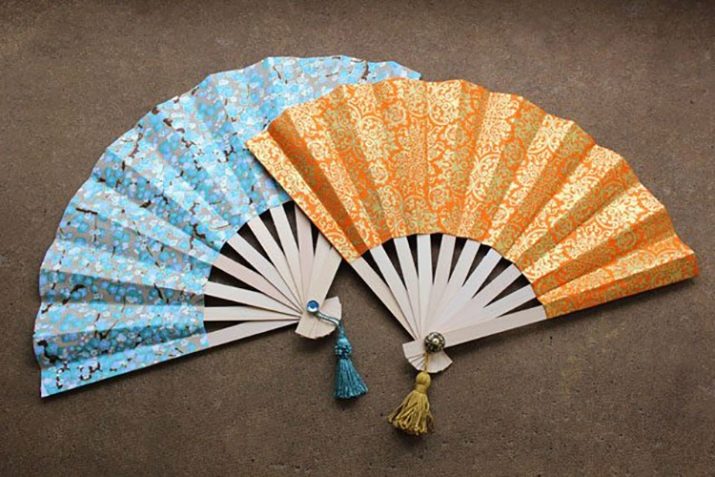
If desired, the craft can be decorated with a decorative brush or flower. This option is good for dancing with fans, it looks like a real fan made by a master.
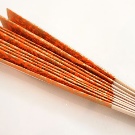
Of forks
Yes, large fans are made from ordinary plastic disposable dishes.
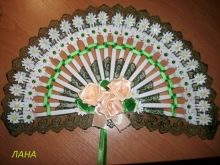
- On thick cardboard, you need to draw a circle (outlining a plate, for example). The circle is cut in half.
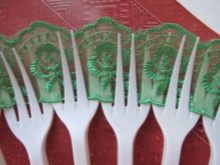
- The tips of plastic forks are fixed on one half of the circle with a glue gun. At the top, the forks should touch each other.
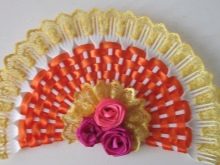
- A second cardboard semicircle is glued on top. This is the base of the fan. You can decorate it as you like. For example, you can insert lace or lace tape between the prongs of the forks. And then tuck the edges of this decorative element and fix it with the same glue gun.
- In the center, the fan can be decorated with decorative flowers made of satin ribbons. The same ribbons can be pulled between the flat part of the forks, forming a pattern.
Such an object will not be foldable, but it can hang on the wall in an elegant open form.
From ice cream sticks
An excellent children's option is obtained if you use ice cream sticks. They will need from 6 to 12 pieces (depending on the desired fan size). Also useful is a white sheet of paper, scissors, paints (felt-tip pens and pencils can be used), wire, awl, PVA.
- A hole is made at the bottom of each stick with an awl. In the end, it should be the same for all sticks. They need to be held together with wire.
- Opened sticks are applied to the paper, outlined.
- It is necessary to cut out the paper part, and at this stage it all depends on the child - he himself comes up with what and how will be depicted on paper.
- The finished canvas is glued with PVA glue on open sticks to a paper base.
By the way, if you take a "watermelon" leaf (find it on the Internet or draw it yourself), you get a round fan with a very appetizing image - ideal for summer.
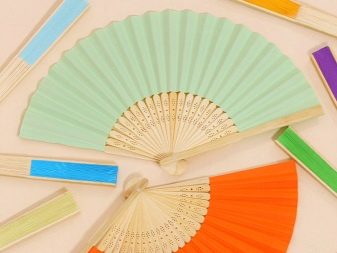

Decorative japanese
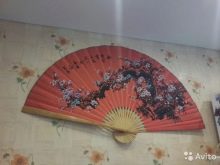
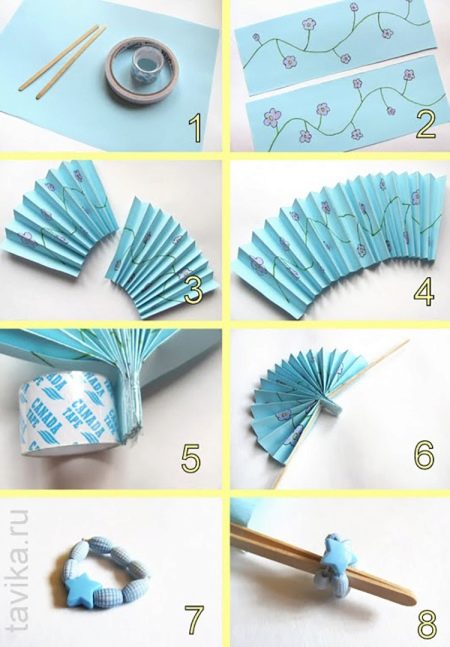
Particular attention is paid to Japanese fans, which are often used as independent wall decorations. And you can also make such a fan yourself.
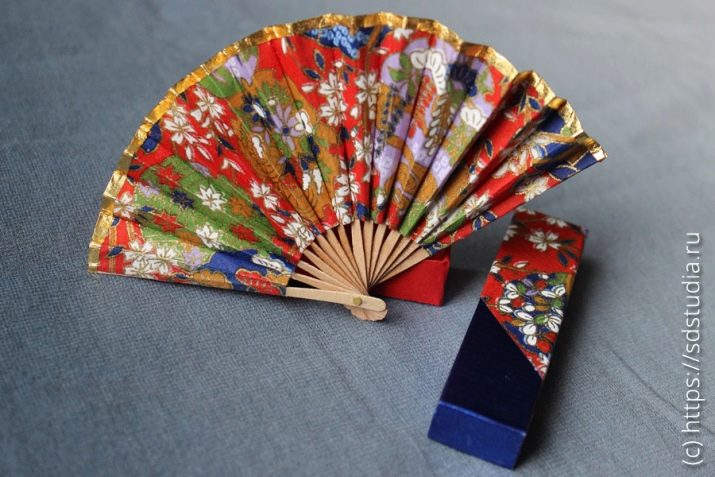
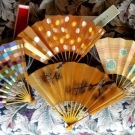

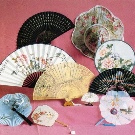
In the master class for making crafts from cardboard, described above, instructions are given that are also suitable for the Japanese version. The main thing is to choose cardboard or paper with the appropriate print. But there is an easier option that children can handle.
It will require:
- A4 sheet (Japanese design);
- two wooden sticks served in coffee shops;
- regular tape and double-sided tape;
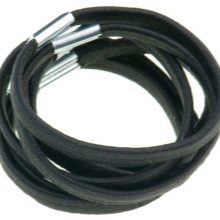
- elastic band, beads.
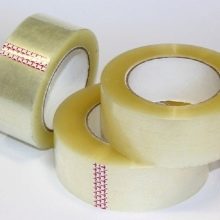

The process involves the sequential execution of 6 steps.
- The sheet of paper is cut lengthwise into two equal strips.
- If it's just paper, and you decide to draw the pattern yourself, you first need to cope with this task. If the paper is already Japanese-printed, this step is skipped.
- Each of the paper strips is folded like an accordion, the pitch is 1.5 cm.
- With double-sided tape, two strips are glued into one long one.
- The lower end is wrapped 2 cm with tape.
- Wooden sticks are glued to the sides of the "accordion" with double-sided tape. They should not go on the part of the craft wrapped with tape. Just in case, you can stick another strip of tape on top.
- The fan is almost ready, but it does not close yet. This can be done using any rubber band. If you decorate the elastic with beads, the ring will be prettier. Now the fan will close to either side.
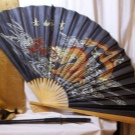
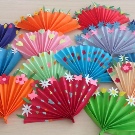
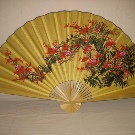
Fans are a cute accessory that kids love to play with. It is used in dances and various theatrical performances. Or you can simply use it in everyday life, for example, standing by the barbecue at a picnic or lying on a sun lounger and enjoying the summer weather.


For information on how to make a fan with your own hands, see the next video.


