Choosing a bike light mount
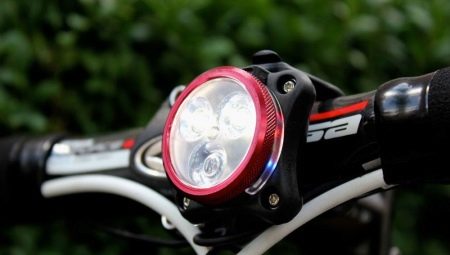
Safe cycling at night can be provided by a bicycle flashlight, which will not only illuminate the road, but also warn other drivers and pedestrians of your movement. How the lantern is attached to the vehicle - this is the question we will discuss in this article.
Functions
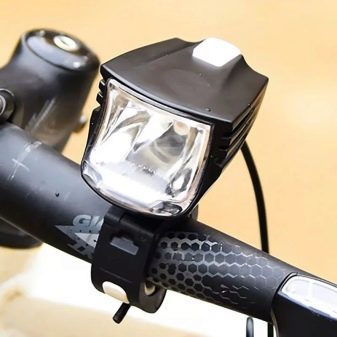
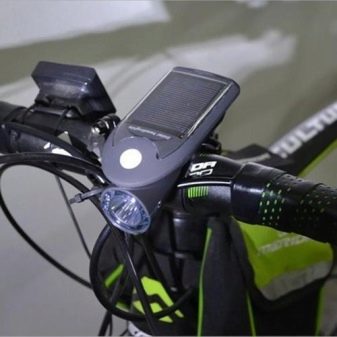
There are a huge number of bicycle lights, differing in power, size and other parameters. And they all perform two main functions:
- lighting of the front space;
- designation of the visibility of the bike on the road.
This is why it is so important that the flashlight is firmly attached to the bike.
Types
There are several types of bike racks for bike lights on the market today. In order to figure out which one is the best option, you need to consider each type, examining its pros and cons.
Mounting
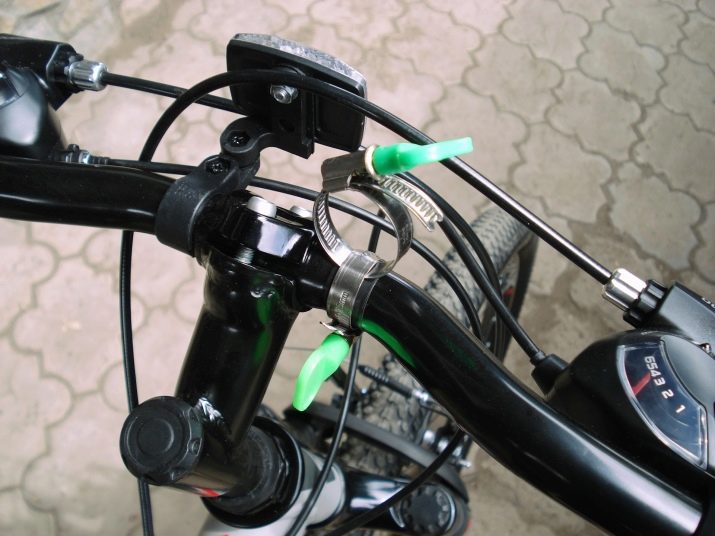
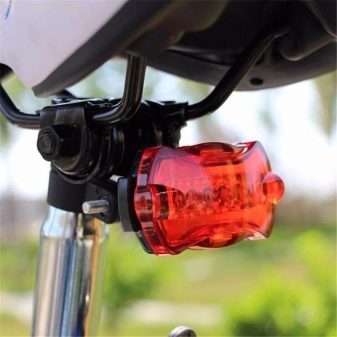
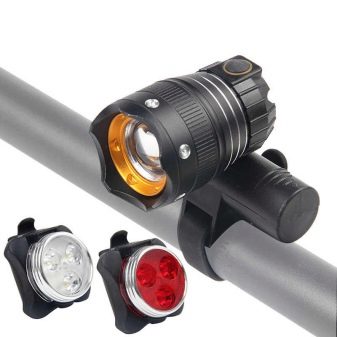
This mount is ideal for tough night bike rides. The mounting holder for the lantern is most often an integral part of a particular lantern, or it is suitable for a strictly defined model of the same manufacturer.
Installation is done either on the frame or on the steering wheel. With such a mount, you can absolutely not worry about the degree of fixation.
Pros:
- high degree of reliability;
- will not loosen up over time.
Minuses:
- rather complex installation system;
- the uniqueness of the mount eliminates the chance of replacement;
- custom designs can attract intruders.
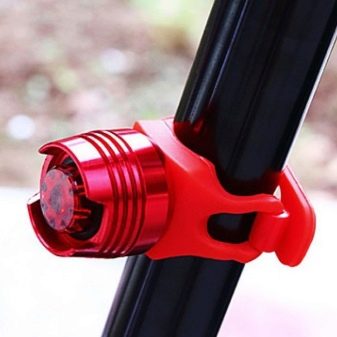
Rubber
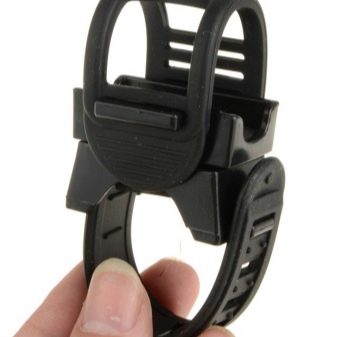
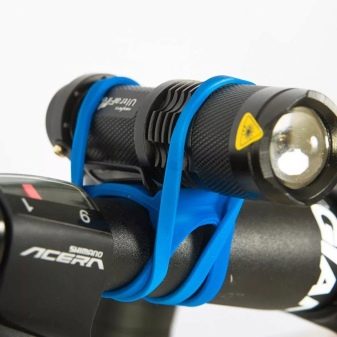
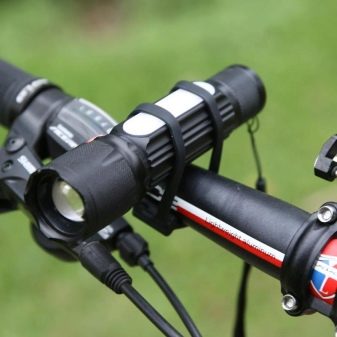
The removable elastic rubber bike carrier is visually presented in the form of a silicone strap equipped with a low-power bike flashlight.It will be possible to fix it independently for each person on the handlebars, frame or spoke of the bicycle. This mount is most often equipped with auxiliary and side lights.
Some models even have a silicone case, which, together with a small battery, makes the flashlight ideal for quick identification of vehicles.

Pros:
- easy way to install and remove.
Minuses:
- temperature limitation according to which the strap cannot be used in cold weather;
- fixation is rather weak;
- the service life will be short-lived.
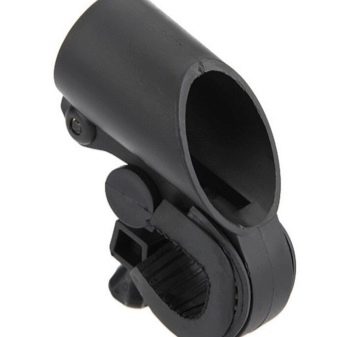
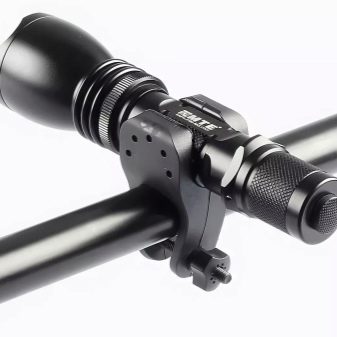
Semi-cylinder
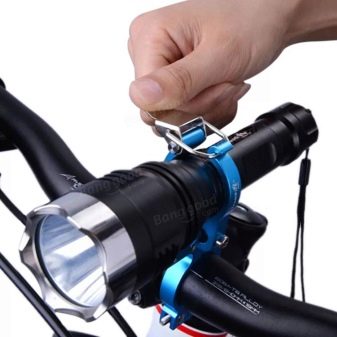
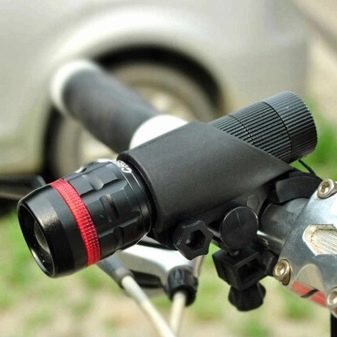
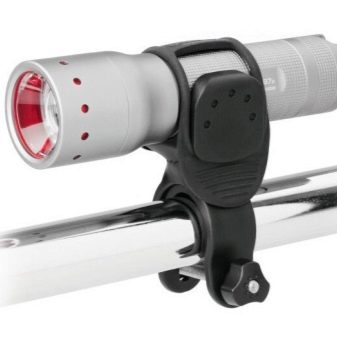
Semi-cylinder removable mount - this type of bracket is called the golden mean between hard-to-remove and elastic mounts. Installation on the steering wheel is done once, while it is possible to change the lamp itself. Ideal for any bike model or riding style. Any, even tactical, flashlight can be used.
Pros:
- universal type of installation;
- does not get loose over time;
- the possibility of unlimited use of a flashlight.
Minuses:
- loses in terms of stability.
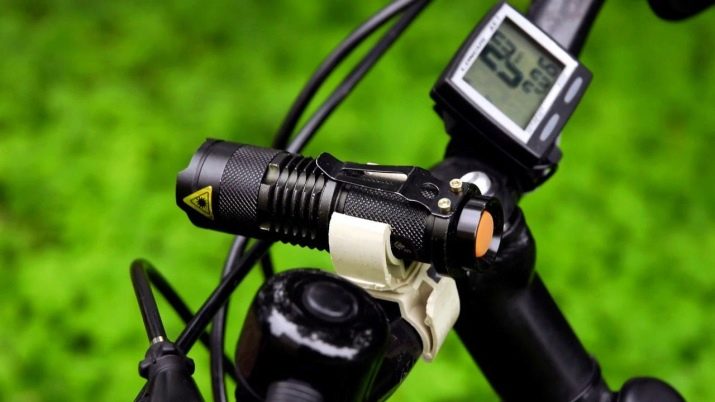
It's important to know! Exactly the same types of fasteners are used to mount the rear bicycle lights. Some of them are already equipped with a flashlight, while others are purchased separately.
Should you do it yourself?
Many cycling enthusiasts, thinking about installing a flashlight on their bike, decide to build a bracket for attaching it on their own:
- some do this due to the fact that they cannot find suitable fasteners in affordable stores;
- others are trying to save money;
- still others listen to the guidance of friends or relatives who give advice on mastery.
On the Internet, you can find many ways to build a lamp holder from available tools. That only is not used for the purpose. They use clamps, fasteners for water pipes, unusual structures using wax, mounts for car headlights, plastic bottles, hacksaws with lighters and much more.
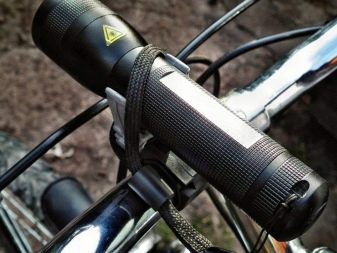
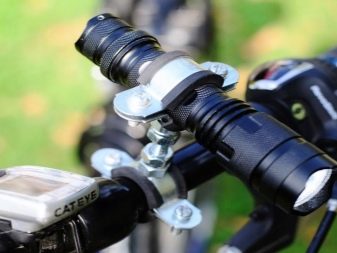
This may make some sense, but these constructs can be completely unreliable. The aesthetic component is just as important. Agree, fasteners from a plastic bottle will not look too elegant.
Among other things, making your own bike light mount, you will spend a huge amount of time starting from searching and purchasing items, ending with the process of creation and installation.
Another interesting fact: the lack of confidence that the resulting design will turn out exactly as it was planned. Otherwise, you will have to pay for both the attempt at improvisation and for the ready-made bracket, which will need to be purchased later.
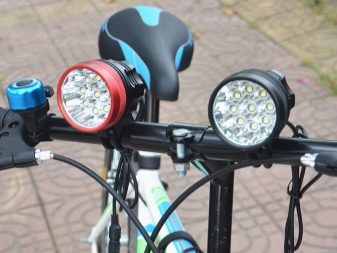
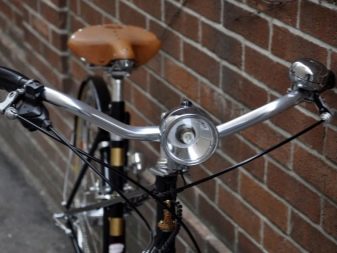
For a video overview of the three bike mounts, see below.


