Making light crafts for March 8
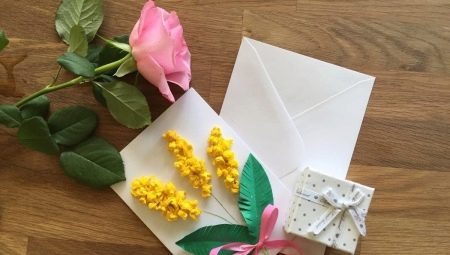
The blooming holiday of spring - March 8 - regardless of age, is eagerly awaited by all representatives of the beautiful half of society. On the eve of International Women's Day, children especially activate their imagination, trying to make an original gift to their mother, grandmother, and sister. From children's homemade handicrafts breathes with warmth, spontaneity and, undoubtedly, love, care.
What can be made of paper?
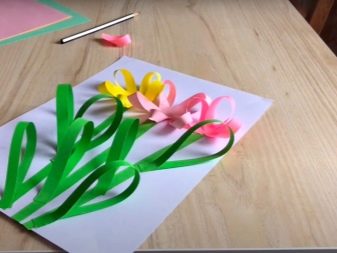
Souvenir products made of paper are distinguished by their simplicity and modesty. Despite this, each of them retains a particle of the creator's warmth and love. Postcards and appliques are rightfully one of the easiest and fastest crafts for March 8. The picture "Flowers" can be used as an example. To make it you will need:
- a sheet of thick cardboard in white or pastel color;
- a set of thin colored paper;
- scissors;
- PVA glue.
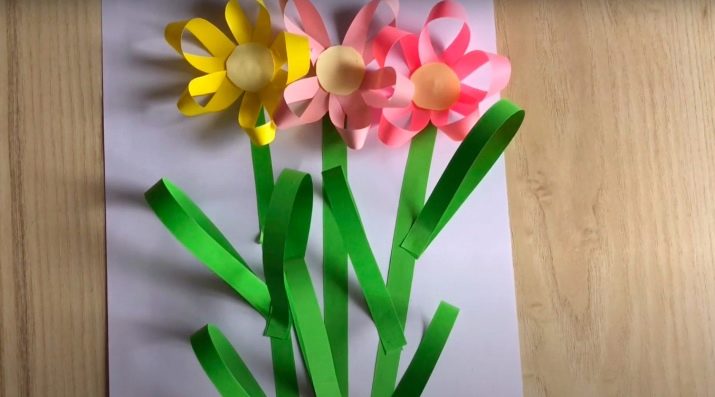
The manufacturing process is as follows:
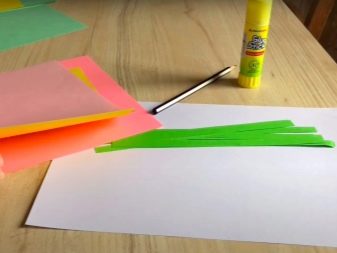
- cut a sheet of colored paper into thin strips (0.5 cm x 8 cm);
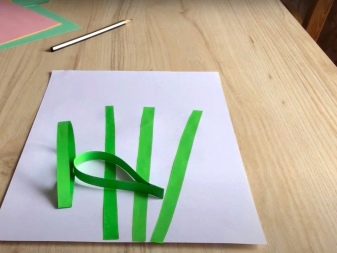
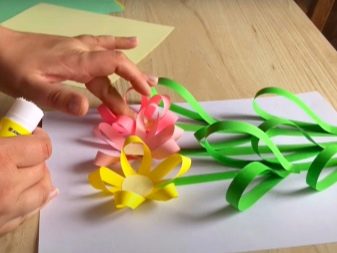
- we fold each strip in half and fix it at the point of contact of its ends with glue - this way we got one petal of a flower, the number of petals will depend on how lush and voluminous it will be;
- cut out an even stem and several leaves from green paper;
- cut out the core of the flower in the form of a circle from yellow paper;
- on thick cardboard, we begin to alternately glue the petals so that they all touch in the center;
- to form the core in the center of the future flower, glue the yellow center;
- the final stage is attaching the stem and petals with glue.
Options for crafts from scrap materials
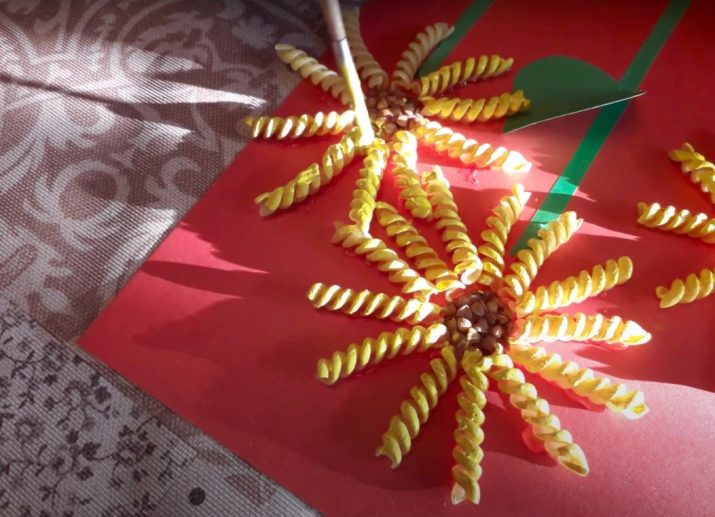
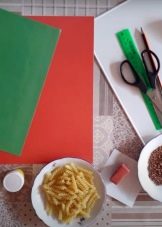
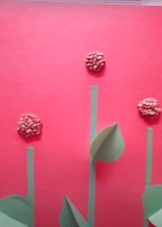
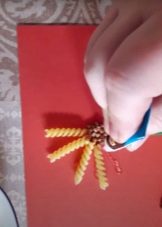
To create original crafts, you can use the most unusual materials at hand. A striking example of such a product that even the smallest child can make with the help of an adult is the painting "Sunflowers". To make it, you need pasta in the form of spirals. You will also need:
- hard cardboard;
- ordinary watercolors or finger paints;
- pencil;
- yellow gouache;
- brush;
- green chenille wire;
- glue.
Stages of creation:
- draw the middle of the flowers on a cardboard sheet;
- using finger paints or ordinary paints, paint them brown;
- paint pasta with yellow gouache and wait for it to dry completely;
- we attach each pasta around the core with glue;
- we glue part of the chenille wire in the form of a plant stem, bend its smaller half in the form of a leaf and also glue it to the base.

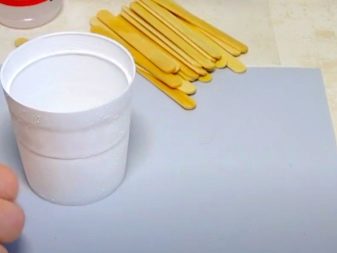
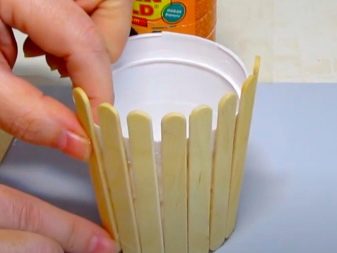
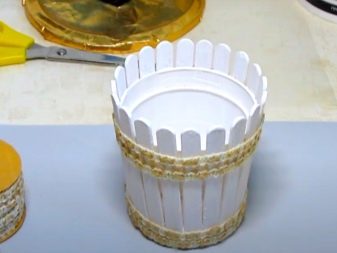
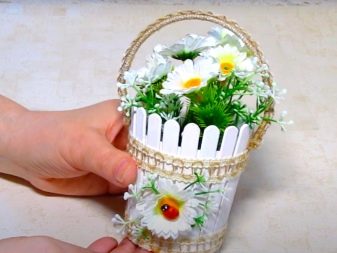
A basket made of wood, or rather wooden ice cream sticks, looks very unusual. To make it you need:
- cut off a part of the sleeve from a roll of foil or parchment paper 8–10 cm high;
- cut out the bottom of the future basket from thick cardboard, attach it with PVA glue;
- we cut the wooden sticks on one side so that the even part is at the bottom of the basket, and the upper one protrudes slightly above the upper edge of the cardboard sleeve, after that we paint them in any color;
- after drying, we glue each stick in a circle to the sleeve;
- the handle for the basket can be made from chenille wire;
- to decorate the baskets, you can use decorative ribbons, bows, beads, etc.;
- sweets, paper flowers are used to fill the product.
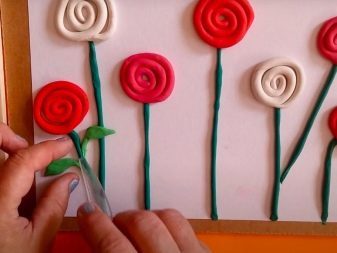
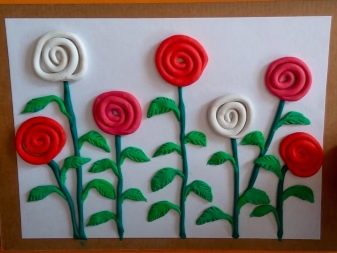
Products made from plasticine are popular. This material is readily available in every home with children. A bright volumetric application of a bouquet of roses, made by a child, will certainly surprise a mother or grandmother.
Making such a craft consists of the following steps:
- it is necessary to prepare green, red, pink and purple plasticine;
- for green plasticine stems, roll up thin strips and attach them to thick cardboard;
- for the leaves we make a plasticine circle and put it on top of the stems so that their edges peep out;
- using a stack, we make 5 veined leaves from a circle;
- lay out another round layer of green plasticine on top, similarly form 5 petals from it so that the upper ones do not coincide with the lower ones;
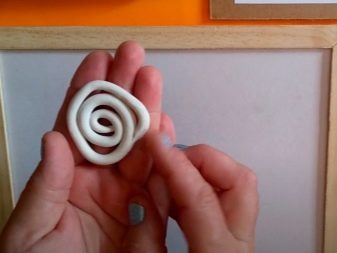
- to create flowers from red, pink and purple plasticine, we roll up small balls, after which we form long "sausages" from them, which we then twist with snails;
- put all the flowers obtained in this way in the center of the leaves.
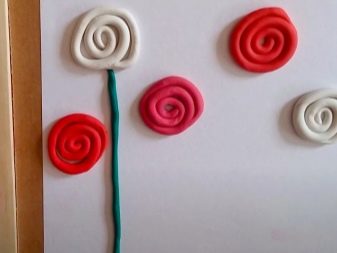
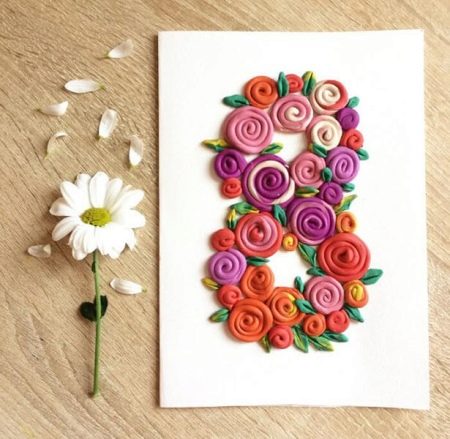
Alternatively, these flowers can be laid out in the shape of the number 8.
To do this, you first need to draw it on cardboard, and then fill it with plasticine snails and small green leaves.
We make gifts with children
The joint occupation of children and adults with one thing brings joy to both. Children learn something new, gain experience with different materials and tools, and parents have the opportunity to feel small again. Such a pastime is not only cognitive, but also useful for both parties: children and adults learn to understand each other better.
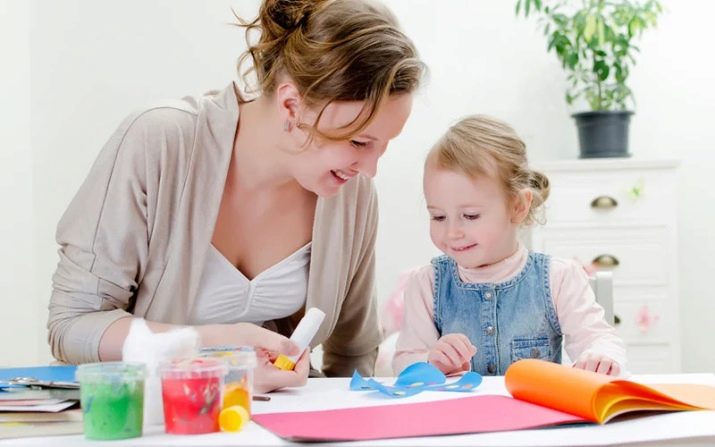
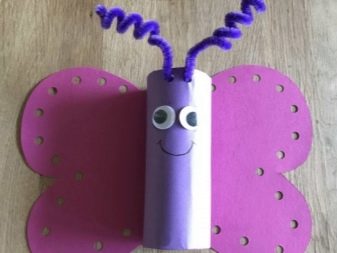
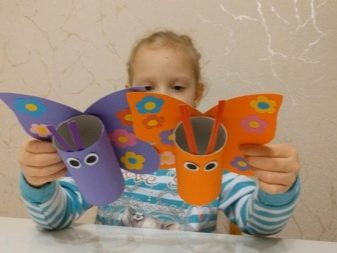
As a gift for March 8 with a child, you can make something simple, for example, a beautiful butterfly-shaped stationery stand. To create it you will need:
- part of the paper towel sleeve 15 cm high;
- several colored sheets of medium density;
- cardboard;
- watercolors or gouache;
- glue;
- scissors;
- black marker;
- black chenille wire.
Stages of creation:
- the sleeve must be painted with paints or pasted over with colored paper and made of cardboard the bottom - this will be the body of the butterfly;
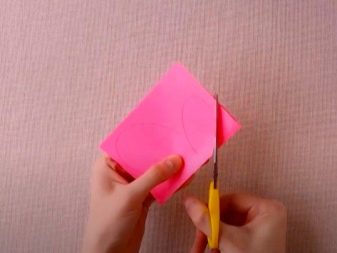
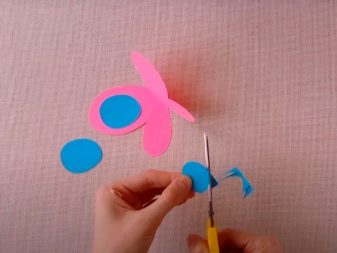
- separately on colored paper, we first draw the wings, after which we carefully cut them out with scissors;
- glue the wings to the body;
- with a marker, draw eyes, eyebrows and a smile on the body;
- using scotch tape we attach the "antennae" made of chenille wire from the inside of the body.
Kindergarten ideas
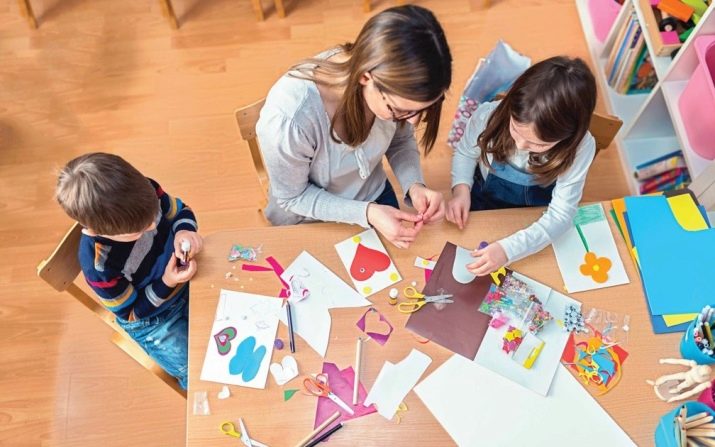
In the kindergarten, children are constantly supervised by a teacher, so they are allowed to use objects such as glue and scissors. In every preschool on the eve of March 8, everyone is working together on holiday crafts, which the child will present as a gift to his mother, grandmother or sister.
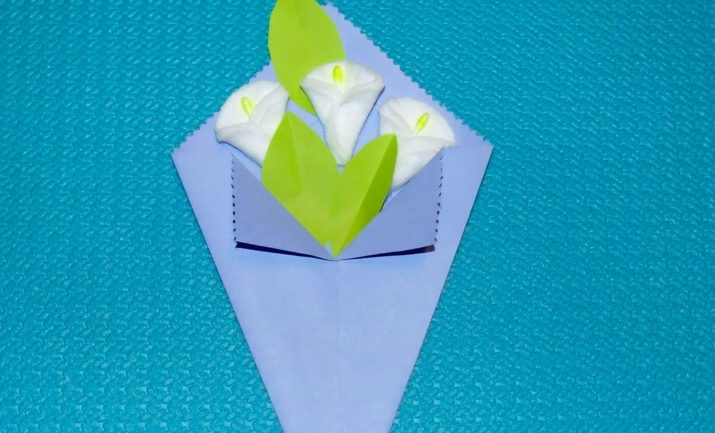
A bouquet of callas deserves attention, which looks very original and exclusive. To make it, you will need the following materials:
- double colored paper of green and light purple colors (if desired, you can use any other color for the envelope);
- cotton pads;
- yellow gouache;
- glue;
- scissors.
Manufacturing steps:
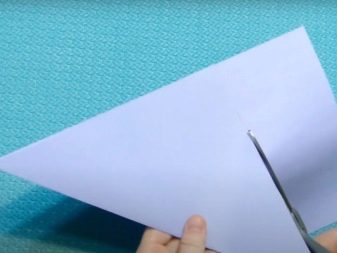
- cut out an even square from a sheet of colored paper (it will be more attractive if the edges are decorated with curly scissors);
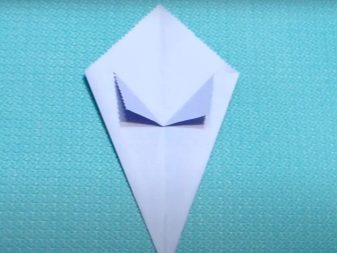
- we bend the lower sides of the square to the center so that an even corner is obtained at the bottom;
- at the junction of the sides, carefully glue together, bend the upper corners in different directions, this is how the basis for the flowers turned out - a wrapper or an envelope;
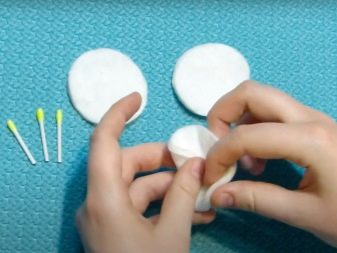
- cut the cotton swabs in half and paint the cotton wool yellow;
- we bend a cotton pad from below to the middle, insert a stick into it, it will act as a stamen;
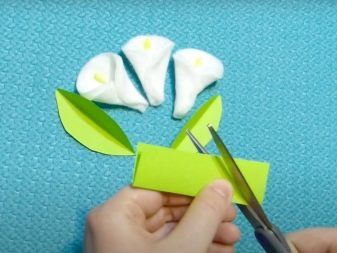
- we fix the resulting structure with glue or threads, in the same way we make 2 more flowers;
- cut out 3 identical leaves from green paper;
- we place calla lilies in the upper part of the envelope, fix them with glue;
- we attach the leaves between them;
- additionally, the envelope can be decorated with a decorative bow, beads, rhinestones, etc.
For primary school students
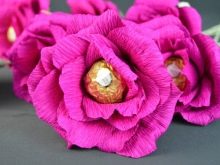
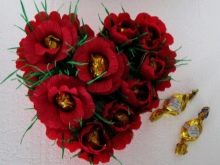
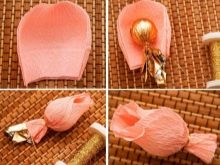
In elementary grades, children can independently, but under the supervision of a teacher, make beautiful roses from corrugated paper. In addition to the fact that such flowers are very similar to real ones, each of them contains a sweet surprise - candy.
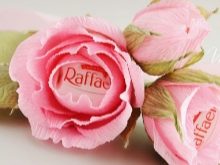
To make a rose you will need:
- pink or red corrugated paper;
- copper wire;
- pencil;
- scissors;
- hot glue.
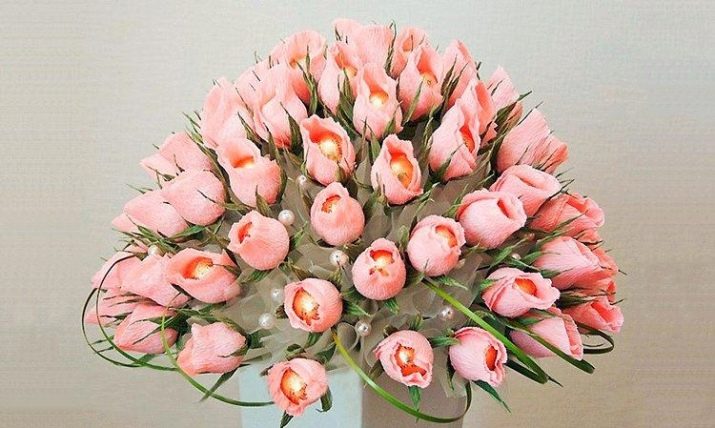
In order for the bud to turn out lush, 15–20 petals are required for one rose. Manufacturing steps:
- to make the inner petal, cut out a rectangle of the desired size;
- fold it in half and cut one edge in a semicircle;
- to make the edge of the petal wavy, slightly stretch it;
- in the same way we make 4-5 more petals;
- wrap the candy in paper and fix it with a thread;
- attach several petals to the candy one by one;
- for the outer petals, we exactly repeat all the actions, while increasing the size of the rectangles;
- insert the wire into the bud, fix it with a handle;
- at the topmost petals, it is necessary to twist the edges outward, this can be done with a pencil, thus a beautiful, natural bend is obtained;
- we attach all the petals to the bud in turn with hot glue; for greater persuasiveness, their upper row can be made of lighter paper;
- in addition, you can make another unblown rosebud, inside which you can also place a candy;
- wrap the stem with green paper, attach the leaves to it.
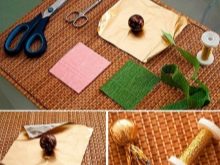
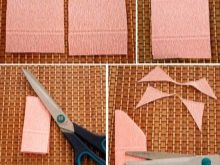
A gift that a child makes with his own hands deserves special attention and praise from adults. Children are very much looking forward to surprise and admiration in response to their efforts. You cannot deny them this, because everything that a child does is from the heart and with a pure heart, love.
A very quick craft for March 8 in the video below.


Cool site!