Making crafts for March 8
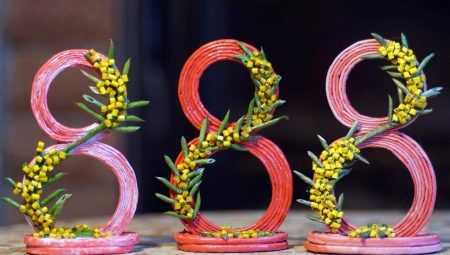
It is worth thinking about gifts for March 8 for beloved mothers, grandmothers, sisters, girlfriends, teachers in advance. Indeed, on the eve of the holiday it will be difficult to have time to prepare something especially for each of them. We suggest that you study the instructions for making crafts with your own hands. This approach will save you money on your budget and showcase your talents at their best. Don't worry about not having enough skills. Detailed master classes will help you cope with the task no worse than experienced needlewomen.
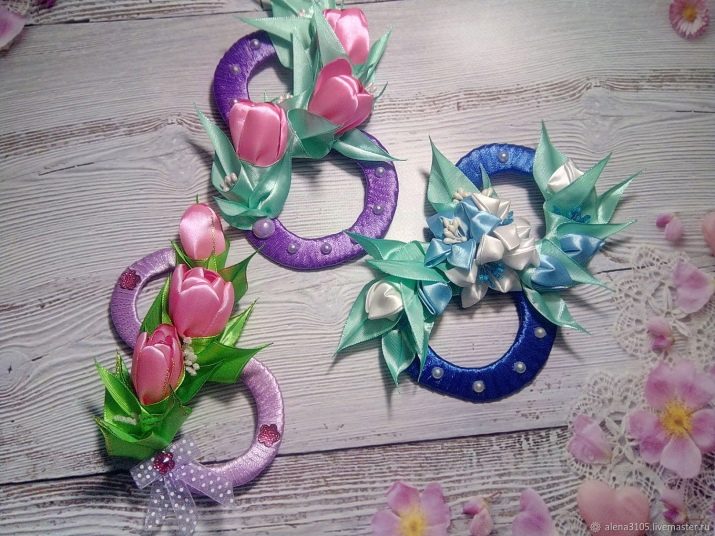
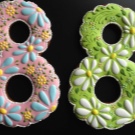
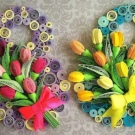
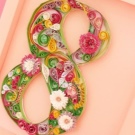
Manufacturing workshops
On the Eighth of March, handmade gifts are especially relevant. It is customary to give them to relatives, teachers, educators, godfathers. The simplest, but touching options are flowers in various techniques. The most popular are mimosa, roses, feces, hyacinths. Many materials are suitable for homemade presents - cotton swabs and discs, plasticine, salt dough, paints, colored paper.
Any craft is easy to repeat on your own if you learn how to do it step by step.
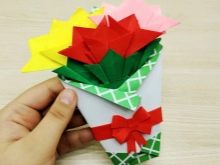
Made of wood
This type of craft is most suitable for boys. You can please moms with work in different techniques:
- burning on the board;
- a panel of branches;
- a heart cut with a jigsaw;
- Photo frame;
- unusual pendant with natural texture.
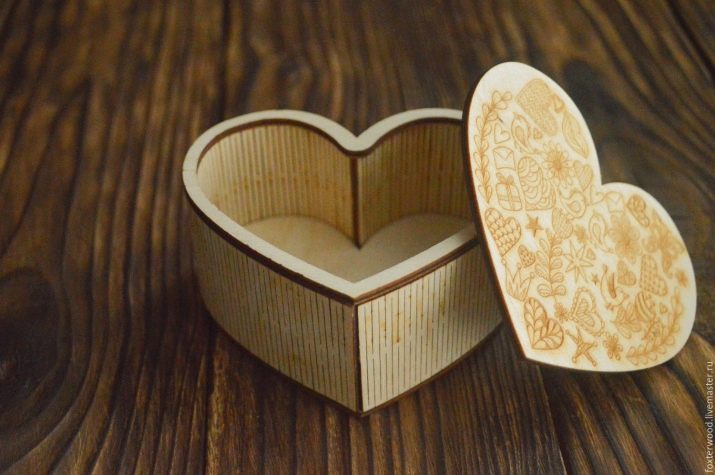
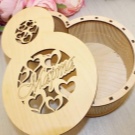
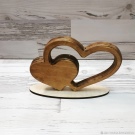
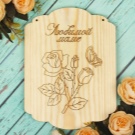
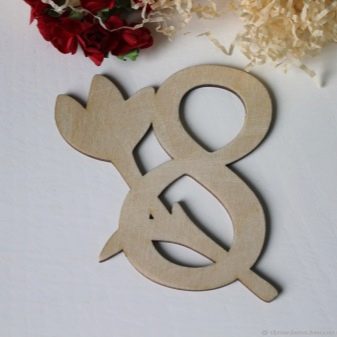
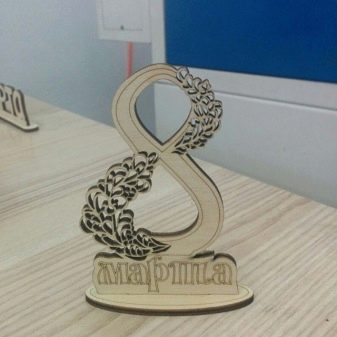
Special blanks are available on sale that will help you quickly and effortlessly create an extraordinary thing as a gift to your loved ones. For example, a base for a clock, a figure eight on a stand, a jewelry box.Over the untreated base, you can apply paint through a stencil, varnish, glue and decoupage napkins and whatever comes to mind. Sequins are appropriate for decor, sequins - everything is feminine and beautiful.
From plasticine
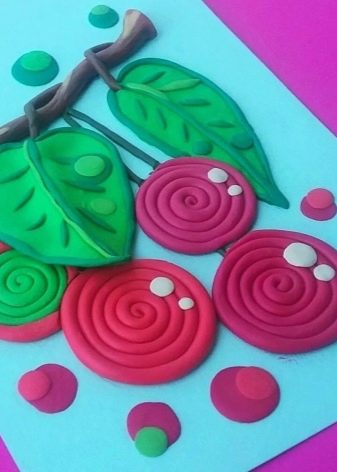
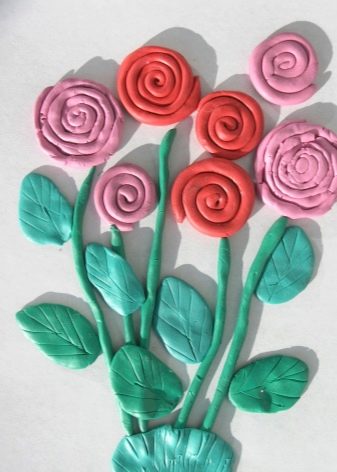
Quick options for creating a presentation - modeling from plasticine. In appliques, it looks bright and festive. For example, if you use several colors: green and some bright for colors - pink, red, purple. A circle and thin stems are made with green plasticine. On top of the first circle, another one is superimposed, and the veins of the leaf are drawn with a plastic stack. For flowers, bright multi-colored balls of plasticine are initially made, which are then rolled into strips and rolled into snails. The snails are laid out in the center of the leaves.
The same snails can be laid out in the form of an eight. To do this, you must first draw the number 8 on a sheet of cardboard, and the next step is to fill the stencil with plasticine snails of different sizes.

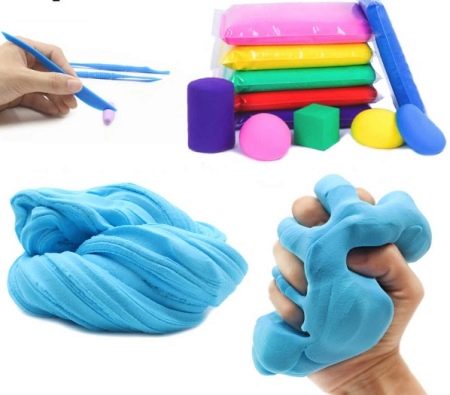
For voluminous crafts, the so-called air plasticine is very suitable. This material is a plastic colored mass consisting of water, polymers and food colors. By weight, the crafts are light, like polystyrene. And at room temperature, this plasticine solidifies, so it should be stored in an airtight package. Applications are excellent from it.
From felt
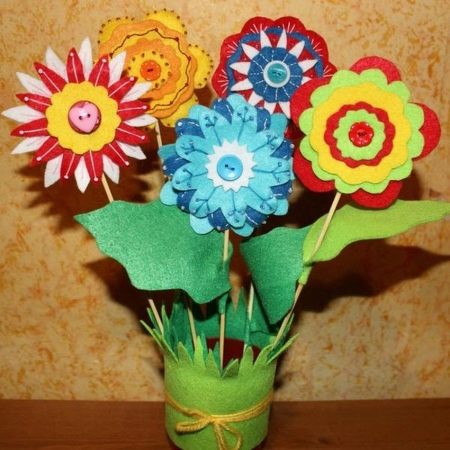
A colorful and no less bright bouquet as a gift will be obtained using felt. Flowers can be made in different shapes, and the edges can be decorated with curly scissors. Each flower is glued to the base in the form of a wooden skewer. The joint is closed with a piece of felt. The larger the color range of the felt fabric, the more colorful the bouquet is. It is convenient to make thematic applications out of felt, which even a child can handle.
Such quick appliqués are good for children, as they do not require processing the edges of the material and hold their shape well.
From sweets
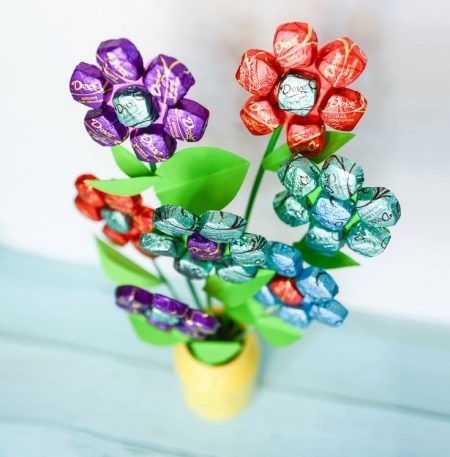
Sweet design is one of the most interesting trends in the field of floristry. When creating a flower arrangement in this embodiment, various confectionery products are used. Sweets are considered the most popular for this purpose. A great option to combine tasty and beautiful as a presentation on March 8.
You will need:
- chocolates, individually packed in foil;
- corrugated paper;
- scissors;
- gold thread;
- wooden skewers;
- decorative tape;
- any fittings.
Bouquet making process:
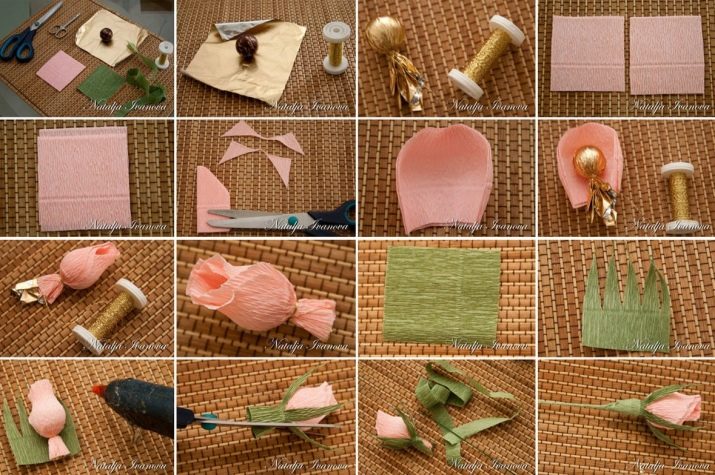
- cut corrugated paper into equal squares;
- make small cuts on each of them;
- form petals and wrap candy with them, forming a rosebud;
- fasten the rose with gold thread;
- duplicate each item for all candies;
- fix flowers on skewers;
- form a bouquet and tie it with a decorative ribbon;
- decorate with fittings arbitrarily.
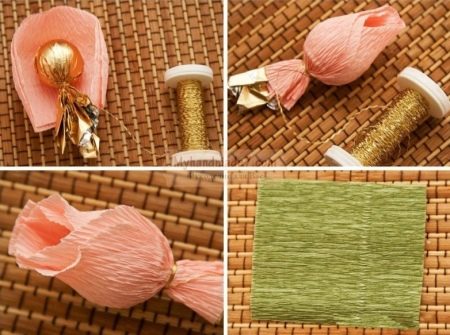
A delightful flower candy present is ready.
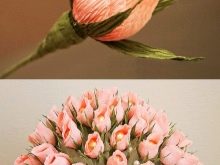
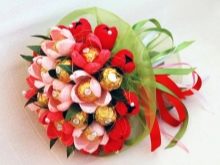
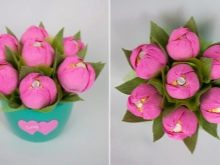
Option 2
You can make a more budgetary option in the form of a bouquet of caramels framed with paper petals. Caramels of the same size are also rolled on a skewer, fixed with a piece of scotch tape and made out as the center of a romantic corrugated paper flower.
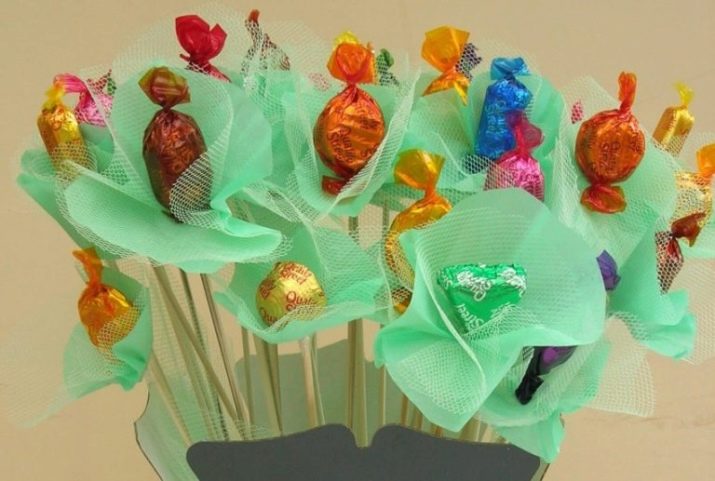
Option 3
We paint wooden skewers green. We cut out flowers from multi-colored paper according to the shape or pattern. Glue sweets on the petals of the flowers and another candy in the center of the flower. Attach the flowers themselves to the stem. To keep the flowers stable in a jar or vase, you can weigh it down by placing foam or flower foam inside.
Salted dough
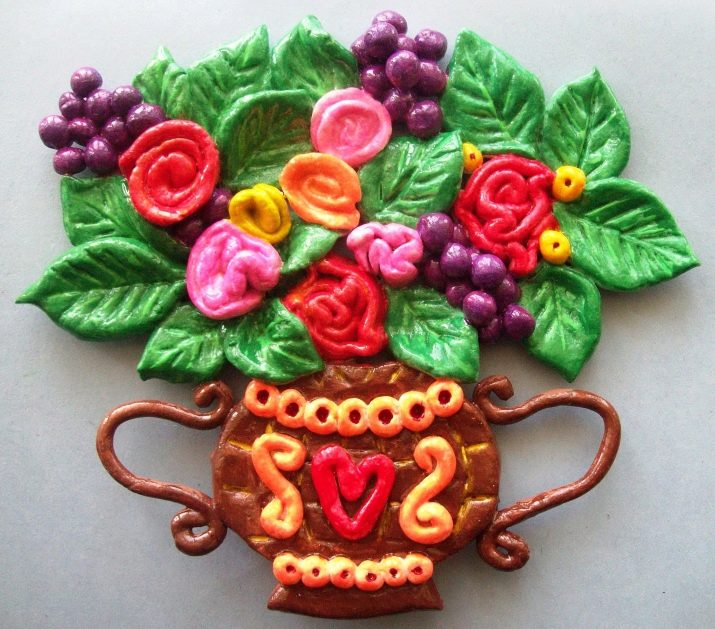
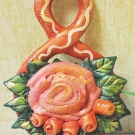
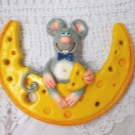
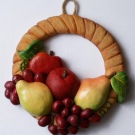
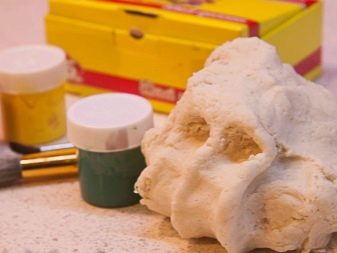
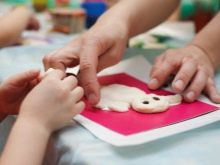
Salt dough molding is called bioceramic. Any kind of crafts can be made from this material - flowers in baskets, eights, bouquets, various inscriptions, ornaments.
How to prepare the material? Ingredients:
- 1 tbsp. wheat flour;
- 1 tbsp. salt;
- 1⁄2 tbsp. cold water.
Recipe:
- pour a glass of flour into a bowl;
- mix with an equal amount of extra salt;
- pour cold water;
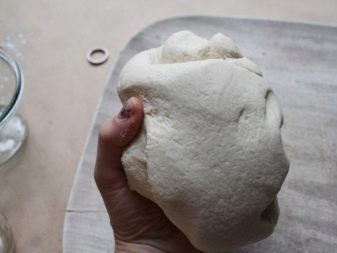
- knead the dough.
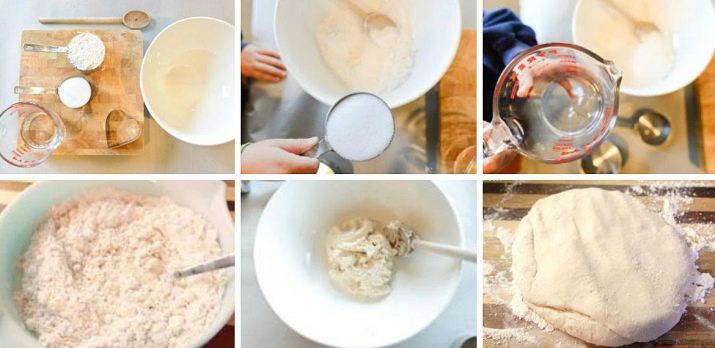
The readiness of the dough is determined by the fact that it does not stick to your hands, it is homogeneous and plastic.
There are two traditional ways to dry this dough.
- The craft dries up by itself. The main thing is that the dough does not come into contact with the sun's rays, and cracks do not form. The craft is left to dry on a flat surface for several days.
- The finished craft is dried on a baking sheet in the oven for 3-6 hours (the time depends on the size of the craft itself). Drying is carried out in several approaches. The break is 1-2 hours. If you want to dry the craft in one go, you need to set the temperature to 75-100 degrees and dry the product for an hour. At t 20 degrees higher, it will dry out even in half an hour. But for the best quality of the finished product and a long service life, it is better to prefer the first drying method.
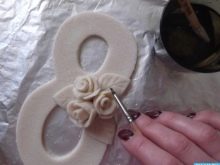
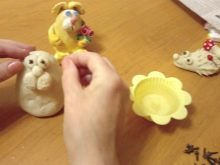
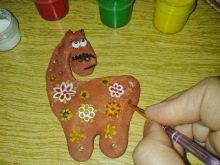
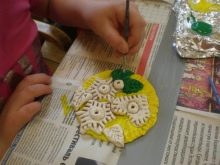
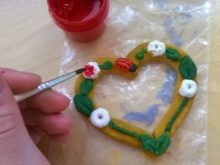
Salt dough crafts are also painted in different ways. You can paint the product with a brush with acrylics or other paints, or add natural dyes diluted in water at the stage of preparing the salt dough. When the dough creation is painted and completely dry, it needs to be covered with several layers of clear varnish. Any non-toxic varnish will do.
After applying one layer, it is necessary to let it dry and only then apply the next one. So the craft can be kept longer.
From beads
In order to make a gift on International Women's Day from beads, you will need to watch a video lesson. Perhaps not one, but several, since beading is a painstaking process and requires certain skills. There is not an hour to work, but much more time.
This option is definitely not suitable for small children, but adults are encouraged to try it.
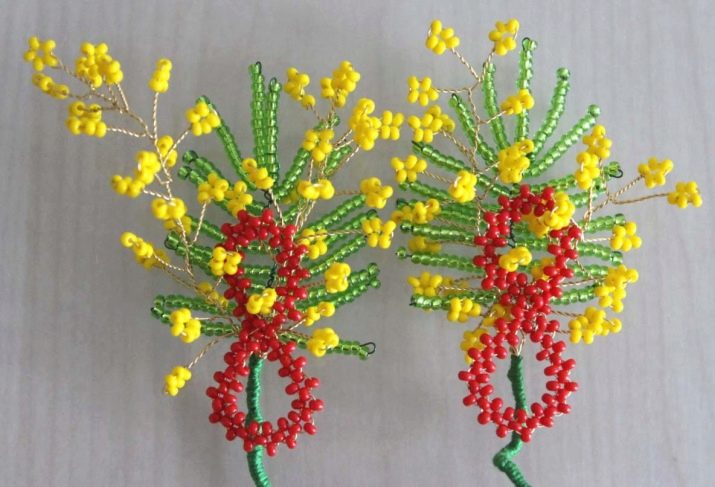
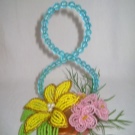
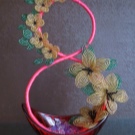
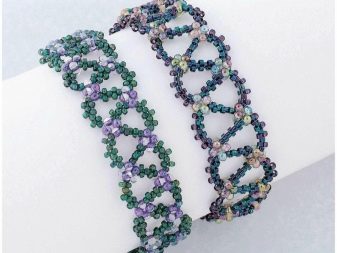
It is better to start with something basic, for example, weave a bracelet or a ring. Or make an eight on a flower stand. First you have to practice making the most basic forms.
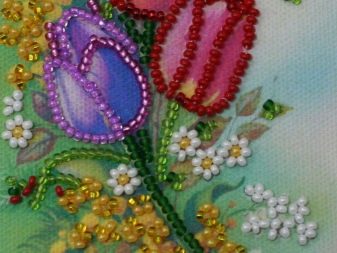
Also beautiful embroidery is made from beads. Mom will certainly appreciate the icon embroidered by her daughter's hands. Or a blouse embroidered with colored beads creating an intricate pattern. Such a thing will not only warm the soul, but will become an exclusive element of my mother's wardrobe.
From cotton pads
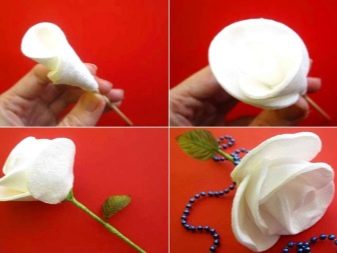
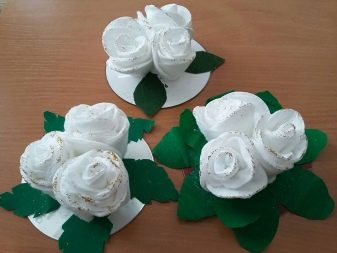
To create jewelry, you need cotton pads and cotton swabs. It is convenient to glue and paint them in different colors with ordinary watercolors. And they also make wonderful petals and buds, which you don't need to fiddle with cutting out. The cotton base holds best when planted on hot silicone. Therefore, you need a special glue gun. There are inexpensive devices on the market now that are ideal for creative work. It is worth seeing a master class on making calla lilies from cosmetic cotton pads, as well as how to make roses out of them.
Made of cardboard and paper
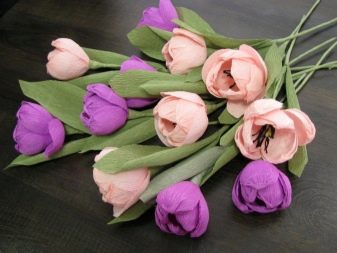
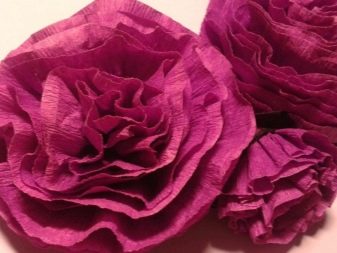
Flowers made of corrugated paper are the most delicate and similar to real ones.
If you do not know what paper flowers to give for March 8, then stop at roses or tulips. It's a win-win that everyone loves. Paper flowers will become a real home decoration.
Necessary materials:
- corrugated paper;
- wire;
- hot glue gun;
- scissors;
- wooden sticks;
- pencil.
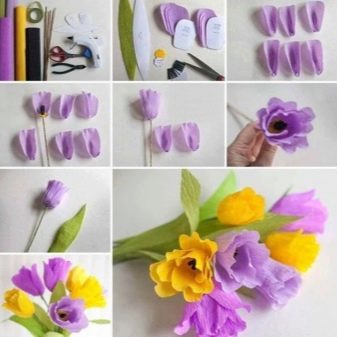
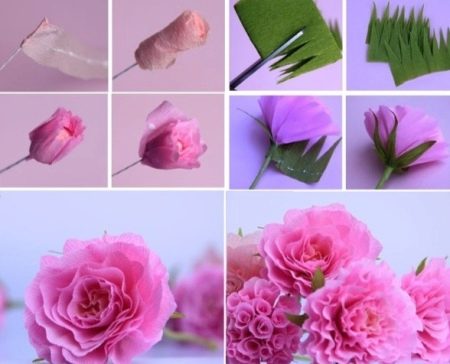
For a lush flower, it is better to make about 20 petals.
- First, you need to cut a rectangle out of pink paper. Fold it over and cut in a semicircle around the edge.
- Stretch the edge of the paper to create a "wave".
- Insert wire into the bud.
- From a rectangle larger than the previous one, make 4 petals. Twist them on top with a pencil, turning outward.
- Fix the petals on the bud.
- Repeat everything again in stages, but from lighter paper. A green sheet of paper will be needed for the leaves and stalk decoration.
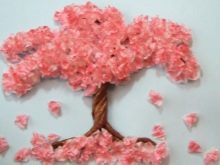
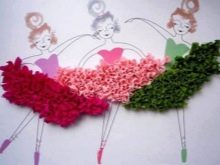
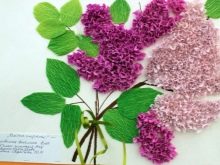
Leaves can be bought ready-made to simplify your work. Volumetric beautiful applications are also made of corrugated paper using the method of facing. First you need to draw the base on cardboard. Then it is filled with glue and crumpled pieces of colored paper.
From pasta and cereals
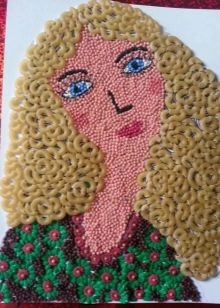
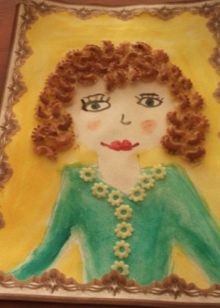
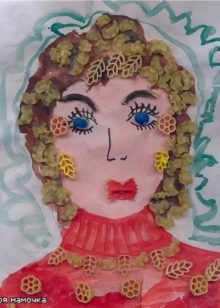
Curly pasta is very suitable for creating amazing flowers as a craft present for a holiday. March 8 is the most suitable date to create and present something like this. For children of preschool and primary school age, it is proposed to draw a portrait of their mother, laying out hair from spaghetti, spider web or pasta of another suitable shape.
Such a voluminous application will not only delight the mother, but also benefit in the development of fine motor skills in children.
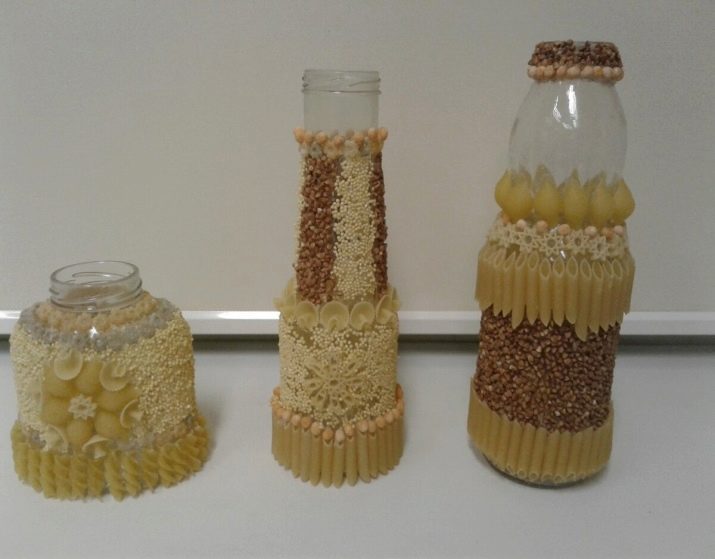
Using semolina or millet groats, it is easy to turn an ordinary glass jar into a vase. You only need a container, bulk material, a jar of glue and a brush. According to this principle, it is easy to make a panel with any pattern. Older children are happy to paste over caskets with pasta. With the help of bronze or silver paint, curly pasta is transformed into exquisite curls.
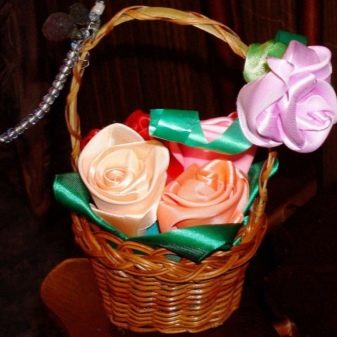
From satin ribbons
For crafts you will need:
- scissors;
- transparent glue;
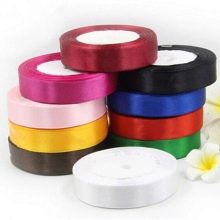
- three colored satin ribbons (two of them are green - wider and narrower);
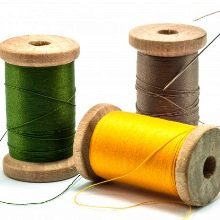
- thread with a needle;
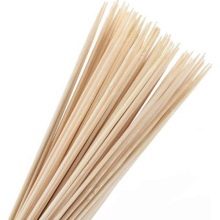
- skewers.
Algorithm:
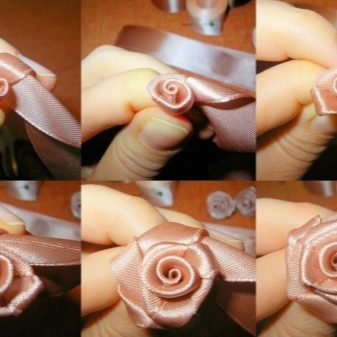
- We wrap the skewer with a green narrow ribbon - this will be the stem.
- The ribbons along the edge must be melted so that they do not bloom, and then glued onto a skewer.
- We coat the green ribbon for the bud (wider) with glue and attach the stem.
- Bend the edge of the satin ribbon and glue it.
- We proceed to twisting the flower itself. When twisting, the corner of the ribbon must be turned outward, forming petals, supporting the flower at the base. It is better to secure each turn with a seam.
- On the last turn of the ribbon, the bud is stitched through to keep the flower in shape.
- We form leaves from a green ribbon of a narrower size.
From napkins
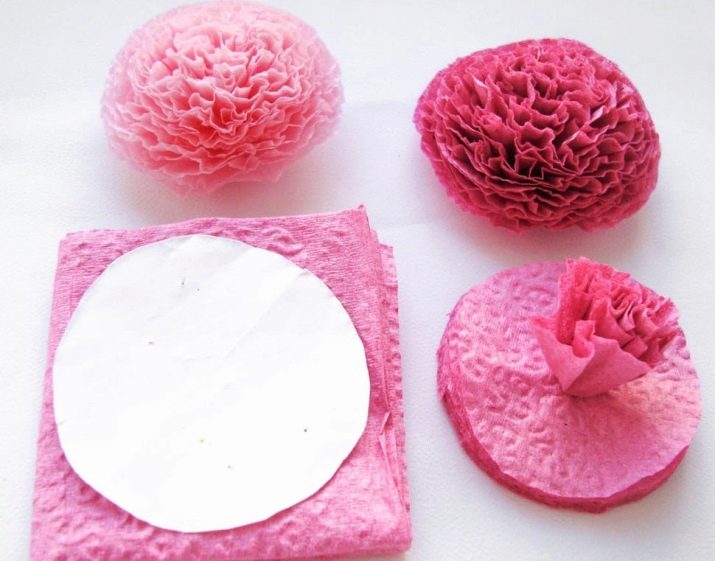
You can try to create a lush and airy bouquet of flowers. You will need three-layer table napkins. You need to separate the layers.
- Take two separate layers and fold each in four.
- Then again, each layer is folded four times.
- The layers are superimposed on each other and connected with a stapler crosswise.
- A circle is cut out on which cuts are made at equal distances, with a depth of about 10 mm.
- The top layer rises and contracts towards the center. Everything is done with your fingers.
- The algorithm of actions is repeated for each layer. You can lift two layers at a time.
Dandelion
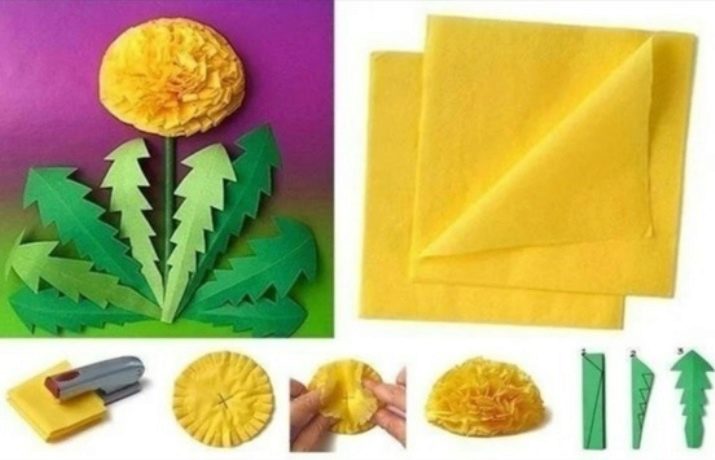
You will need strips of paper napkin 3.5 x 8 cm. Fold them in half and cut off the corners. The denticles are cut out in stages. First, the incision is made perpendicular to the fold, and then obliquely.
Then you need to unfold the sheet and bend it slightly. Cut out several leaves of different sizes and shades. Only the bottom of the sheet is glued to the base.
For the stem, you need to roll a tube out of paper. The dandelion is ready, now he can decorate the postcard, giving it spring tenderness and beauty.
Other
The sleeves are used to make original holders for pens and pencils. And toilet paper sleeves can turn into excellent voluminous eights. You just need to cut them into two parts, paste over them with colored paper and connect them together. This item is performed in all possible ways: with a stapler, hot glue, PVA, double-sided tape. In general, what is currently available will do.
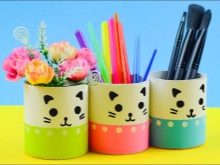
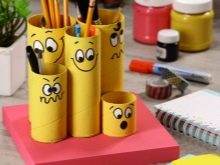
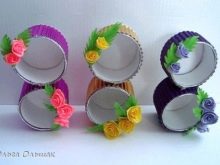
You have to decorate the bushings at your discretion. Here, everyone relies on their own taste and the materials at hand. Even a preschooler can cope with the manufacture of eights. And schoolchildren are invited to try to create a picture on March 8 using the quilling technique.
Now on sale there are a lot of kits with blanks, so you don't have to meticulously cut strips of paper for crafts. The lesson will captivate everyone who loves to create unusual things and is distinguished by perseverance.
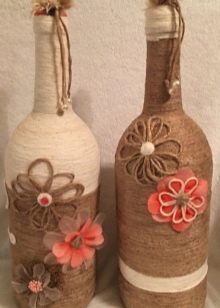
For bouquets made of paper or real flowers, a vase is always needed. Alternatively, you can do it yourself. Any clean, empty glass or plastic container will do. Glass blanks are preferable as they are more stable. At the same time, they have an ideal surface for decorating.Jewelry is easy and stylish to make from jute. For example, coat the bottle with glue and wrap it tightly with a jute cord. Decor elements are attached on top of it: feathers, coffee beans, cereals, beads, ready-made small flowers, ladybugs, butterflies.
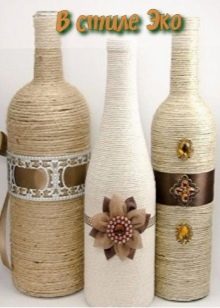
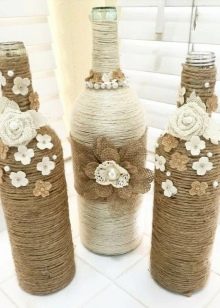
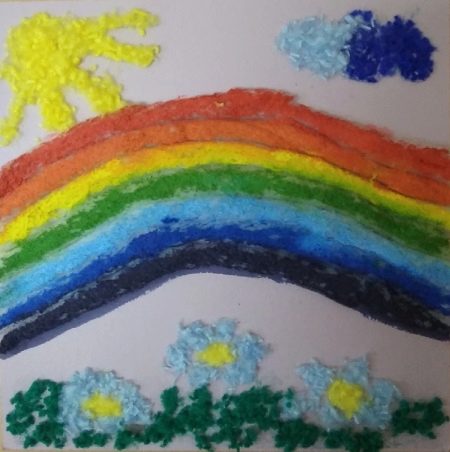
This option looks beautiful with thread decor. It is better to choose thick synthetic threads in bright colors. Other crafts are made from them, including macramé and panels with lush flowers. The picture looks beautiful with cut threads applied to a sticky base. The plot is drawn arbitrary and extremely simple. Let's say a meadow with flowers in the forest. Blue sky, yellow sun, green grass, bright blotches of flowers. It is even easier to make a panel with a rainbow from solid threads. Multi-colored stripes are stacked in an arc, forming a beautiful picture. The same craft can be made from satin ribbons. It's so basic, but it deserves to be framed and flaunt in a place of honor.
Ideas for toddlers
Every novice creator of beauty can cope with such crafts. But the toddlers from the creche can also try to do something for their mother, godmother or grandmother. Of course, not without the help of someone older. In the kindergarten, educators work with the children, and at home you can call your older sister or aunt for help, in general, everything will work out if you just want to.
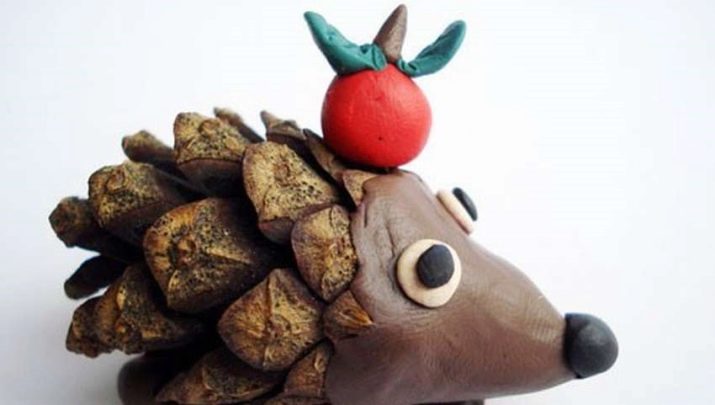
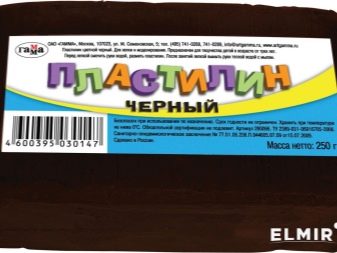
Of course, weaving a basket of cones is not easy for a beginner. Considering that crafts are usually made with children's hands, it is recommended that you start with something simple and cute. For example, to make mom on March 8 a hedgehog with a postcard on the back. This is a great option targeting ages 3 and up.
You will need:
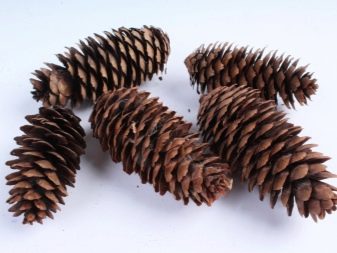
- pine cones;
- gray and black plasticine;
- paper;
- felt-tip pens for the inscription.
Master Class
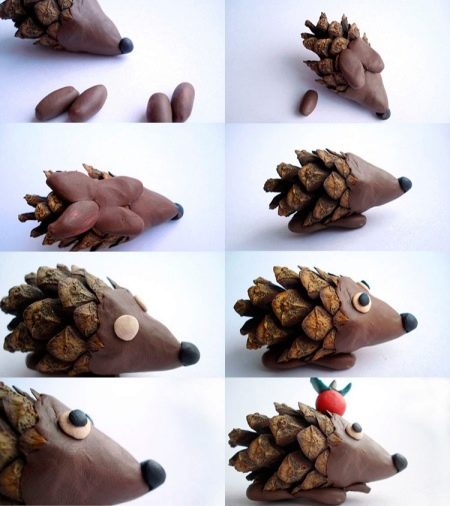
- Blind the hedgehog's body out of gray plasticine and shape the muzzle.
- Sculpt the eyes and nose using black plasticine. Attach the blanks to the muzzle.
- Attach the bumps to the body of the hedgehog close to each other.
- Cut out a miniature card and write in your cherished wish for mom, or just draw a heart and number 8.
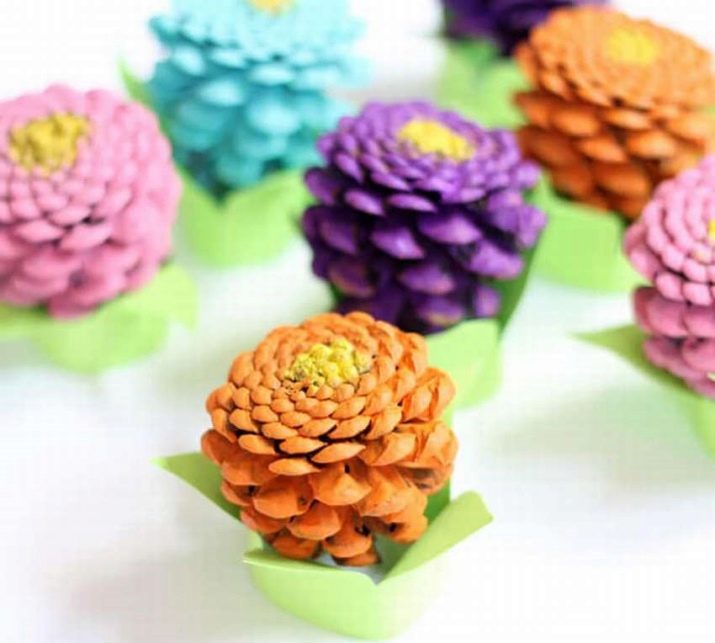
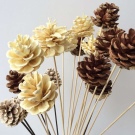
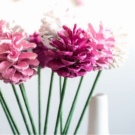
Fir cones will also make beautiful flowers if you paint these gifts of the coniferous forest in bright colors and plant them on sticks from real trees. It is advisable to pre-paint homemade stems green. Small children will also be able to apply paint to the cones. This is very helpful in developing them and building creative skills. A bouquet with an unusual aroma will win the heart of your beloved mother and impress your grandmother to the core!
Unusual options
To create an unusual present for March 8 with your own hands is really possible from literally everything that is at hand. You just need to show imagination and not be afraid to act creatively. Then everything will turn out at its best! Homemade postcards or panels are perfect for congratulating beloved women or classmates.
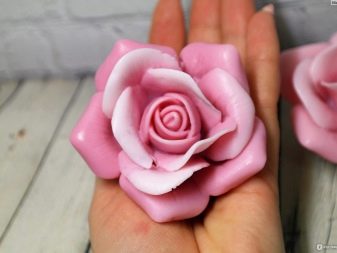
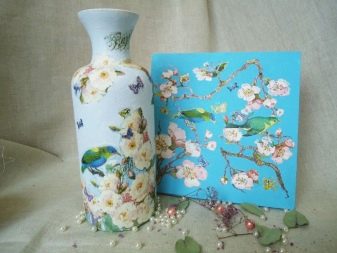
Those who like the sculpting process, but plasticine seems too commonplace and childish material, should try to sculpt flowers from polymer clay. Of course, you have to tinker with baking and other subtleties of the process. But the result will exceed expectations. Polymer clay roses are especially good. It is advisable to choose an appropriate vase for them. For example, made from a plastic bottle. The decor is selected at your discretion. Usually, the favorite colors of the teacher, aunt or mother are chosen, and then they make out the plastic base. A vase using decoupage technique with drawings on the theme of the international women's holiday looks beautiful.
You should not immediately start with complex master classes and do something in a technique that you have not encountered before. Better to train on something cute and easy to do. For example, the same topiary is easier to make from cotton pads and pearl beads. This combination looks very gentle and will make a wonderful gift for a close friend. With topiary made from coffee beans or flowers from felt, you will have to tinker much longer.
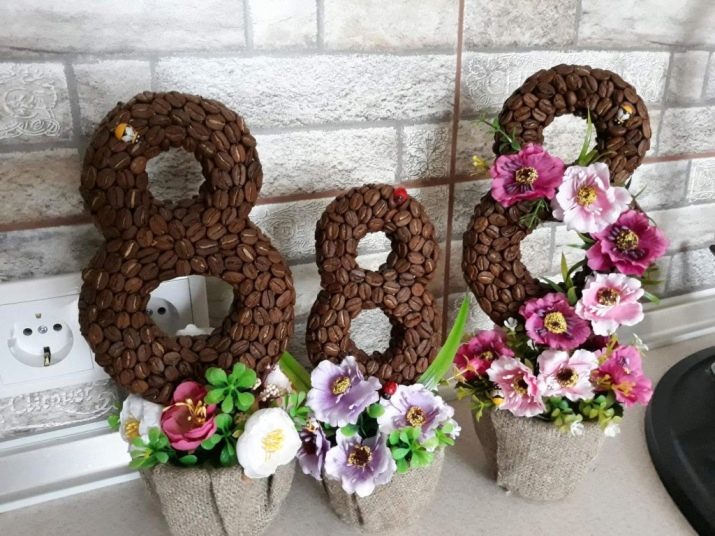
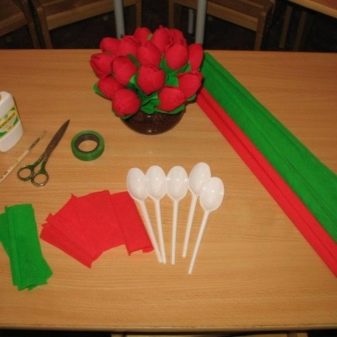
Actually interesting flowers can be made with your own hands from a variety of materials: packaging from eggs, oilcloth, pasta, lace, tulle, velvet, disposable spoons, foil. And on March 8, it is the flowers that are in the lead as a symbol of the holiday. After all, this is a women's day, symbolizing tenderness, romance, care and spring mood.
Crafts for March 8 in the video below.


Cool site!