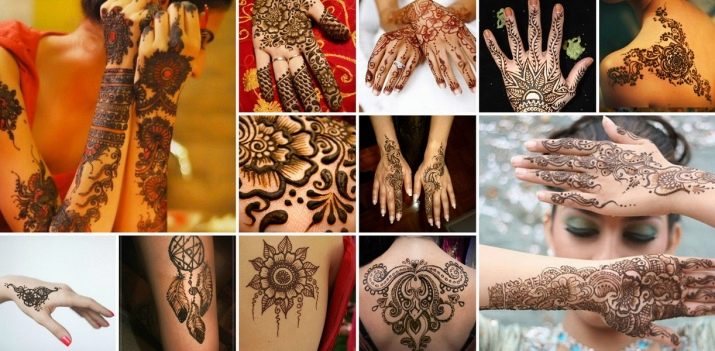
Mehendi for beginners
Since ancient times, oriental women have adorned their bodies with original patterns. This drawing technique was called mehendi. Previously, only representatives of the upper strata of society could afford such tattoos. Now anyone can paint their bodies with henna.

Henna selection
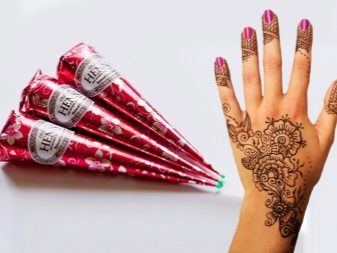
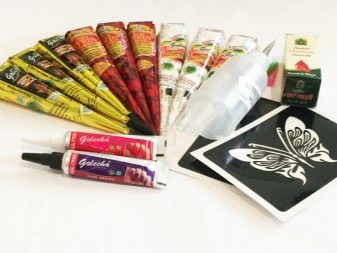
Before starting work, you need to prepare high-quality paint. A tattoo in this technique is applied to the skin using henna paste. The basis of this product is a powder made from crushed Lavsonia leaves. Many novice craftsmen use ready-made paste for work.
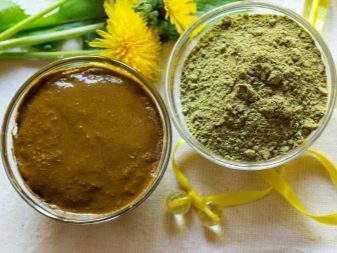
There are two types of this paint. The first category includes natural products. Classic mehendi paste is made from dry powder, tea infusion, lemon juice and sugar. It is absolutely safe for human health. Therefore, it can be used even by people with sensitive skin. The only drawback of such pastes is that the color palette is limited. All drawings created with these paints are brown.
There is another type of paste used to create wearable designs. These products, with the addition of various components, allow you to create brighter wearable patterns. A little graphite is added to black henna for mehendi, and special acrylic dyes are added to white henna. These paints are not suitable for everyone. They can cause an allergic reaction in some people. Before painting the whole body with such paint, it is worth testing it on a small area of skin.
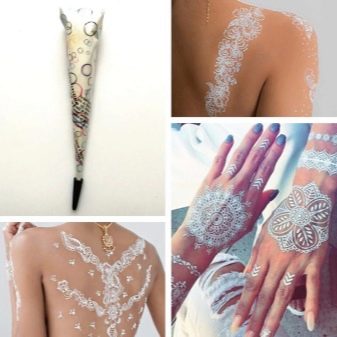
When choosing henna, it is important to pay attention to its expiration date. Natural paint is stored for no more than a year. But a bright tattoo can only be applied to the body with fresh henna. After 3-4 months, the color of henna becomes pale.
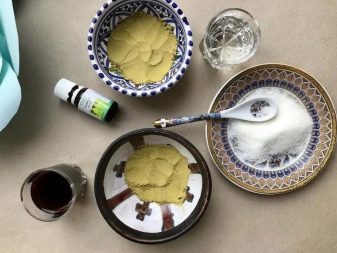
More experienced artists use in their work not purchased, but handmade pasta. When preparing it at home, you can be sure of the quality and naturalness of the components used. When choosing a powder for creating a paste, you need to pay attention to the country in which it was produced. So, Indian henna has a brighter color. Iranian henna is lighter, and the drawings made with this material have an orange tint.
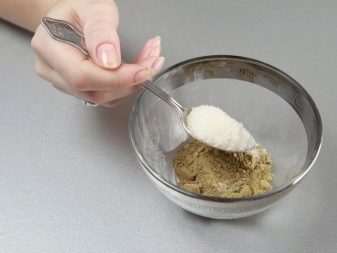
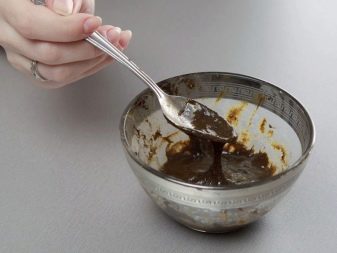
Diluting the powders is quite simple. To do this, mix some strong tea leaves with fresh lemon juice. Add a little sugar to the container with the liquid. At this stage, the mass must be mixed well. After that, henna is added to the solution. The finished mixture should be thick, like sour cream. The product must be infused before work for 20-25 minutes.

Required tools
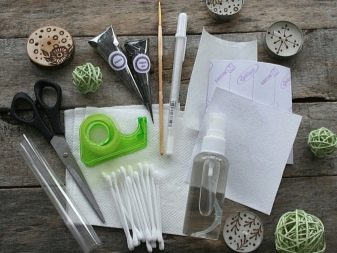
To create drawings using the mehendi technique, a novice master will need not only henna. Many girls buy ready-made drawing kits. But that doesn't make much sense. They are also expensive. It is much easier to assemble your own set yourself. To create wearable patterns, you will need the following components.
- Cotton pads or napkins. They are used to remove unnecessary paint.
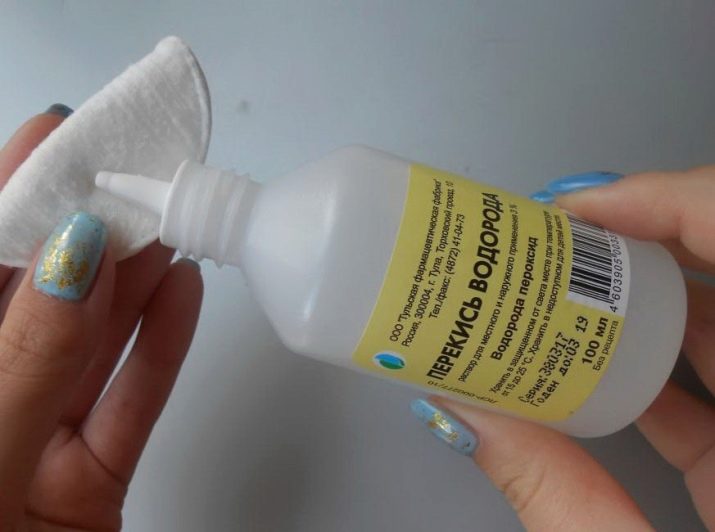
- Hydrogen peroxide. The product is used to remove paint stains from the skin.
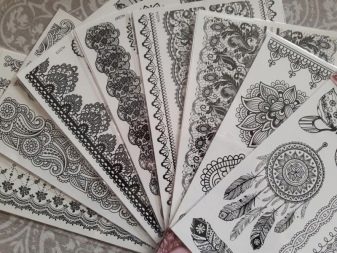
- Stencils. They are needed for novice craftsmen. Stencils help to create neat and even patterns, even for people who cannot draw at all. It is best to use self-adhesive samples in your work.
- Wooden sticks. These tools are used to create delicate patterns with fine lines. Sticks should be sharpened.
Using this basic set, you can learn how to create simple biotatas.
What else needs to be prepared?
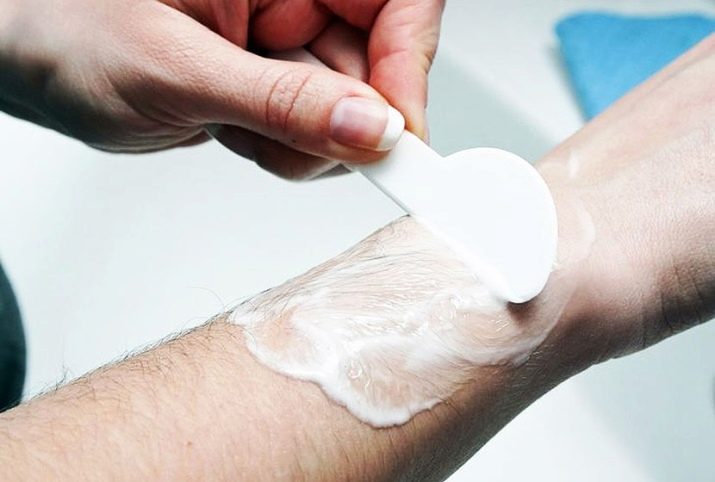
Many people note that in the process of applying such wearable compositions, henna significantly tightens the dermis. To get rid of discomfort, the skin must be lubricated with oil. People working in this technique use special professional oils. Novice artists can get by with the usual ethereal varieties that are sold in most pharmacies. For work, you can buy neroli, rosemary, juniper or marjoram oil. They smell good and moisturize the skin well.

The oil is applied to the skin both at the beginning and at the end of the work to fix the biotattoo.
Best Simple Drawings
People who are just starting to master this type of drawing should start by creating the simplest patterns. Beginning artists will need beautiful sketches that can be used for sketching.
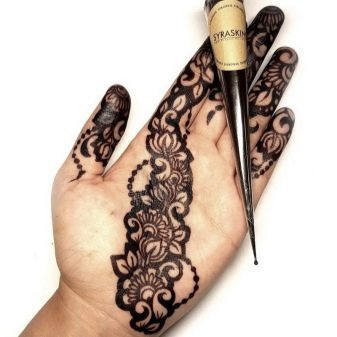
- Vegetable patterns. Floral biotattoos are very popular among girls. Beautiful floral patterns can be placed on both hands and feet. They add lightness and romance to the female image. You don't need artistic skills to create simple flower tattoos. The key is to find the right sources of inspiration and not be afraid to experiment.
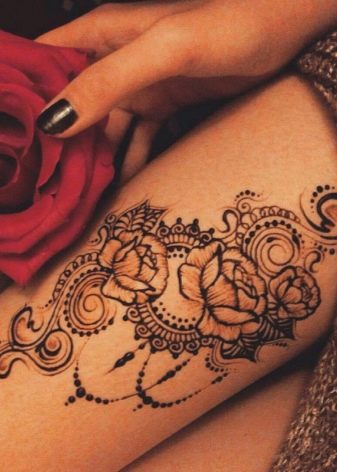
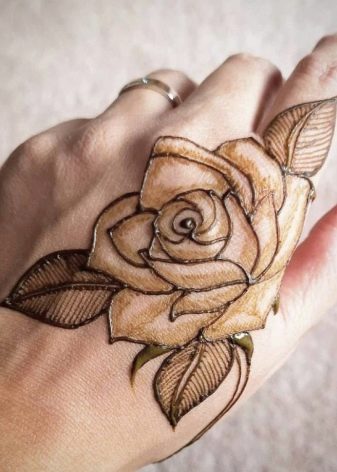
- The Rose. Suitable for beginners and biotatu with roses. It is very easy to draw such flowers. If desired, a beginner master can use a stencil in his work. The finished drawing of a rose will look beautiful surrounded by ornate patterns or graceful leaves. Images of roses are usually placed on the chest, thighs or back.
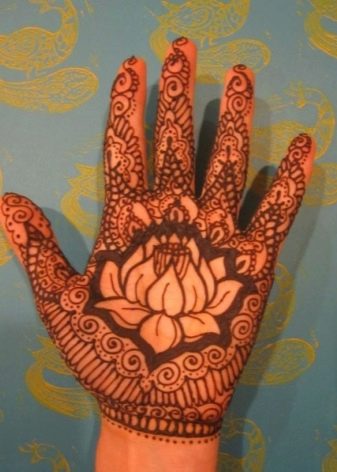
- Lotus. Previously, images of lotuses were always applied to the body of the bride and pregnant women. Such drawings emphasized the purity and holiness of the female body. The lotus image can be surrounded by simple patterns or twigs.

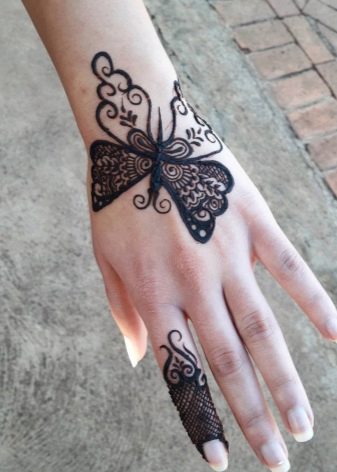
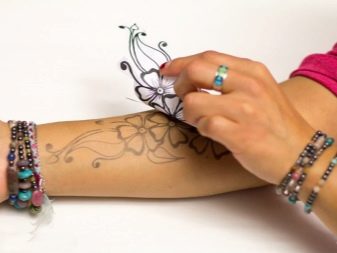
- Butterflies. Speaking about light tattoos made using the mehendi technique, one cannot fail to mention the drawings of butterflies.Small images of these insects can even be placed on the fingers. When creating beautiful sketches of such tattoos, it is not necessary to make the drawings realistic. Butterfly wings can be decorated with wavy patterns, fine lines, or even fabulous flowers.

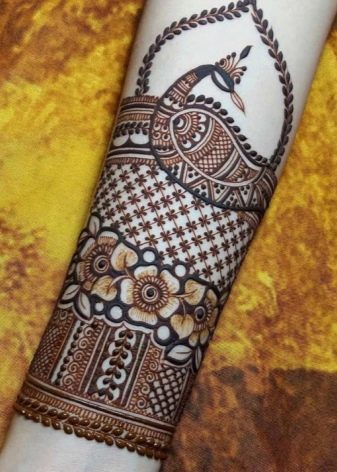
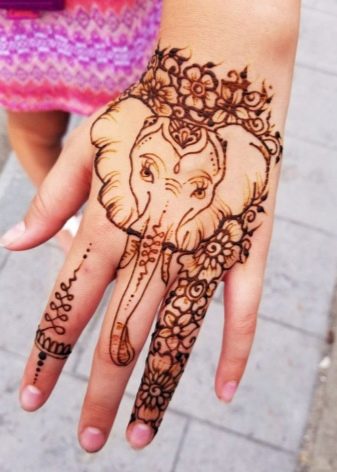
- Animals. Drawings with various animals are liked by both girls and guys. Novice artists can decorate their bodies with images of both ordinary animals and various fairy-tale characters. Tattoos with fish, peacocks and cats are very popular. People far from art can use stencils in their work.
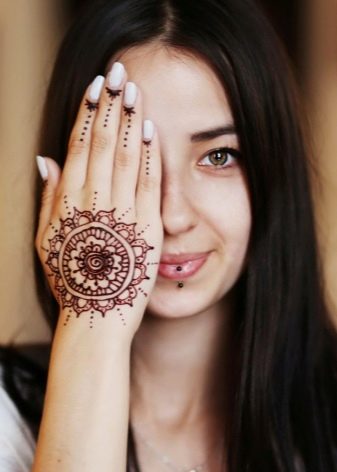
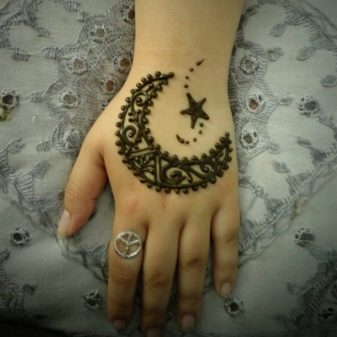
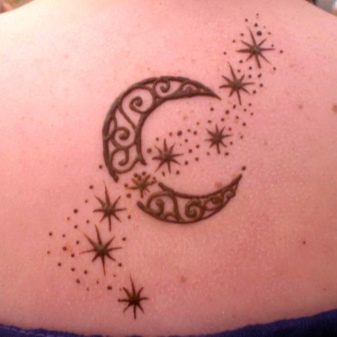
- Stars. Like many centuries ago, tattoos depicting stars, a month or the sun are also popular. These images can be very small or large. Miniature biotatu will look attractive on the wrists, ankles, and neck. It is quite simple to draw stars or the sun on the body. Therefore, such compositions are great for beginners.
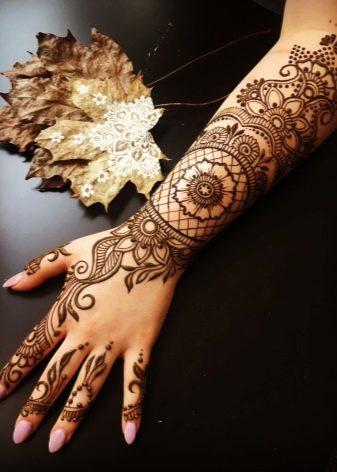
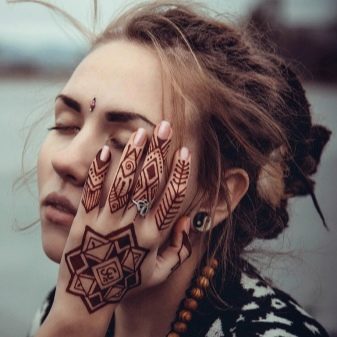
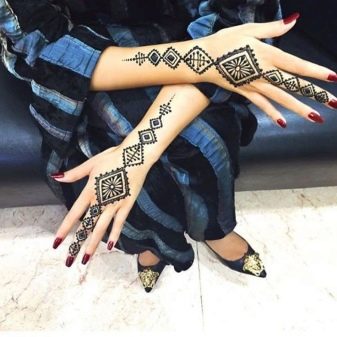
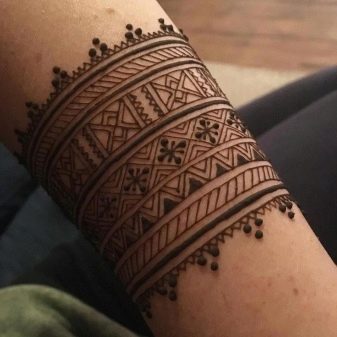
- Geometric drawings. Ornaments like these are also suitable for beginners. The patterns are made up of squares, rhombuses, triangles and circles. They look beautiful on the hand, foot or wrist.
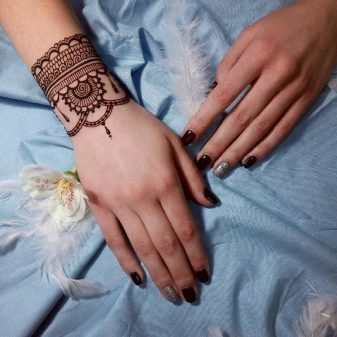
- Bracelets. Among girls, tattoos that imitate women's jewelry are in demand. These bracelets can be composed of straight or wavy lines, curls, or even flowers. Drawings look great on both ankles and brushes.
- Inscriptions. One of the simplest options for a tattoo using the mehendi technique is a short inscription made with paste. Some meaningful phrase or short word can be imprinted on the body. The inscriptions can be made in English or Russian, as well as in Latin. Such miniature drawings are suitable for people who are just starting to get acquainted with this technique. Images of hieroglyphs made with brown paint look original on the body.
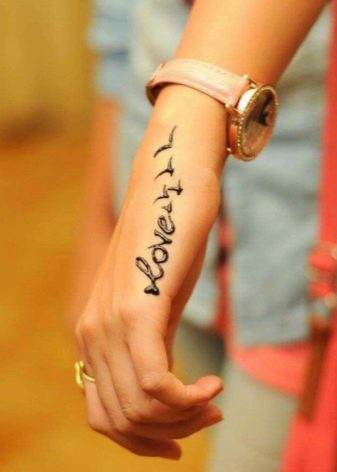
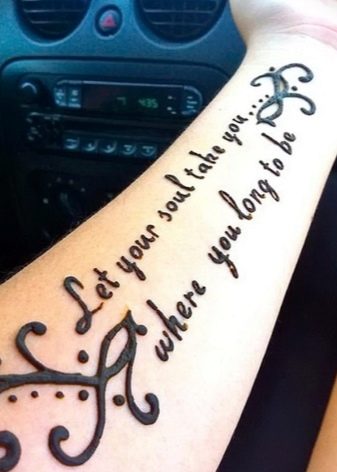
It is not necessary to use elements characteristic of the mehendi style in the work. Using henna, any signs or shapes can be depicted on the body.
Skin preparation
Having decided on the pattern, you can proceed to applying the biotat to the skin. To make the drawing even and neat, the body must be prepared before work. The first step is to remove hair from the selected area of the skin. This is due to the fact that the dye lasts much longer on them than on the skin. As a result, even after the tattoo is washed off, the hair will remain slightly reddish.
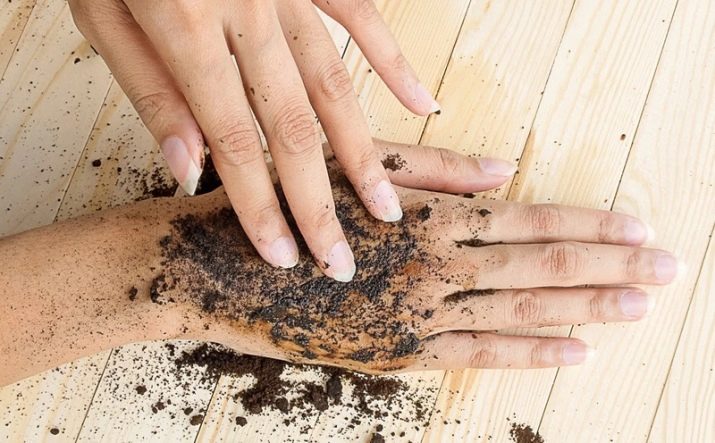
After that, the body must be thoroughly scrubbed. It can be either purchased or prepared at home. After that, the skin must be rinsed under warm water and dried thoroughly. Next, you need to apply aromatic oil to the selected area. Neroli or rosemary oil is best suited for this purpose.
When the skin is dry, you can move on to creating a tattoo.
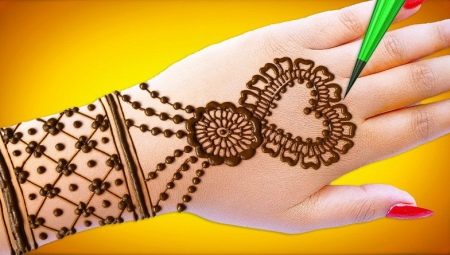
How to use the cone?
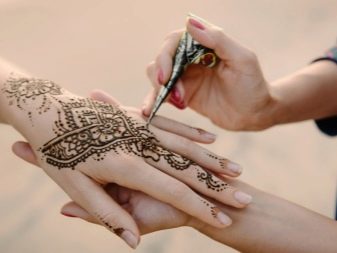
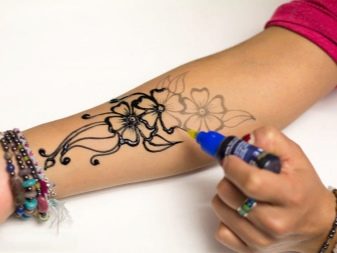
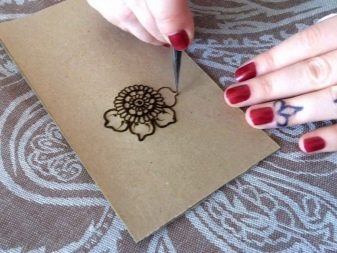
If the work will use purchased paint, you need to learn how to work with the cone in which it is sold. In the process, you must adhere to the following rules.
- Before work, the edge of the cone must be very carefully cut off. If it is clogged with paint, it must be cleaned using a wooden stick or toothpick. The edge of the cone must be wiped with a dry cloth.
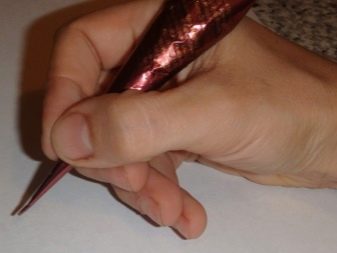
- Place the cone with the paste between your index and thumb. In this case, the working hand should rest on the table. The drawing process should not be unpleasant. If the hand gets tired quickly, the lines will turn out to be uneven and sloppy.
- Do not press too hard on the henna cone. This will cause the paste to pour out of it. This will make the lines thick and ugly.
- When drawing, the paint cone should be perpendicular to the selected area of the skin. It is only possible to hold it at an oblique angle while drawing thin lines.
- The tip of the cone should be close to the skin. In this case, he will not scratch her.At the same time, the drawing will turn out to be neat and not greased.
Before you start creating a full-fledged tattoo using the mehendi technique, you need to practice in advance. When your hand gets used to holding the cone in the correct position, you can get down to business.
Stages of drawing a tattoo at home
Everyone can learn how to create temporary tattoos using the mehendi technique. All you need to do in order to master this process on your own is to follow the simple step-by-step instructions.
- The skin, cleared of the remnants of cosmetics and dirt, should be lubricated with oil and slightly moistened with fresh lemon juice. This is done to make the selected pattern brighter.
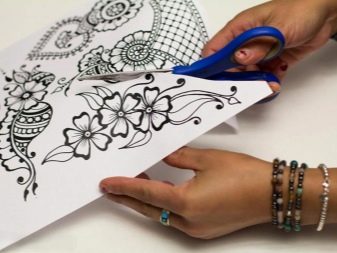
- Next, you need to decide on the choice of drawing. People who doubt their artistic skills need to prepare a stencil. The drawing can be sketched in advance on paper. In this case, it will be much easier to transfer it to the body.
- You need to apply a drawing on the body, moving from left to right. In this case, it will not be smeared.
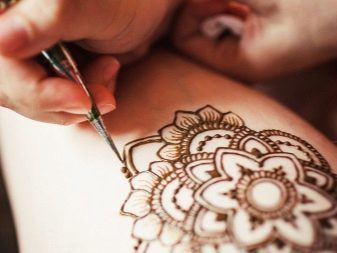
- Having drawn the base with your own hands, you can proceed to drawing small details.
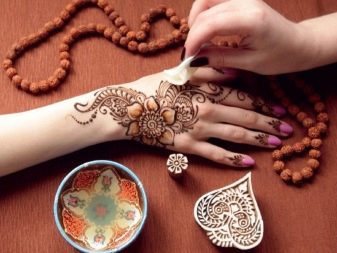
- When the drawing is ready, it should be left on the body for 40-50 minutes. During this time, the paste will dry completely. Thanks to this, the color will turn out to be even and persistent. If desired, the paint can be held on the skin for longer. This will make the pattern brighter. But this is only relevant for natural pasta without additional dyes.
- After the paint has completely dried, it must be carefully cleaned using dry napkins. Do not wash off the design or remove it with wet cotton pads. This will make the pattern look less bright.
If the tattoo is not quite perfect, you should not modify it by applying new layers of paint. This can lead to the fact that the tattoo will not be monochromatic. When finished with work, it is important to secure the drawing by greasing it with eucalyptus oil. It is necessary to distribute it over the surface of the skin using a cotton pad.
Nuances of tattoo care
In order for a tattoo to retain its attractiveness longer, it must be properly cared for. In the first 2-3 days after creating a tattoo, do not wet the drawing. At this time, it is worth refusing to go to the pool or sauna. If you wait a bit, the tattoo will become much brighter over time. If the henna-treated skin feels tight, it should be moisturized regularly. For this, you can use natural oils. A fat-based cream is also suitable for this purpose. It is undesirable to use scrubs and peels at this time. If possible, you should also refuse to visit the bathhouse or sauna.
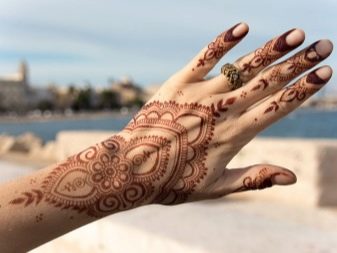

If you follow these simple rules, a tattoo made at home will last 3-5 weeks on the skin.
Useful Tips
People who are taking the first steps in mastering the art of mehendi will need advice from professionals.
- To get a neat and even tattoo, do not rush too much. Each line should be applied slowly to the body. In this case, it will be easy to make the drawing really high quality.
- When choosing a tattoo sketch for yourself, it is important to take into account the anatomical features of your body. It is worth remembering that on a wide hand, the drawing looks not at all the same as on a narrow one. No need to stir up too large detailed tattoos on fingers or wrists.
- Aspiring artists should practice drawing simple patterns. You must first try to depict tattoos on paper several times. You can even create a separate notebook for this purpose.
Separately, it is worth talking about the process of tattoo removal. The pattern usually stays on the skin for 2-3 weeks. After that, he begins to turn pale and lose attractiveness. The annoying pale pattern can be removed using the materials below.
- Hydrogen peroxide. This product is very easy to use. Hydrogen peroxide is applied to a cotton pad. They need to gently rub the skin. After that, hands should be washed using soap and a soft sponge.
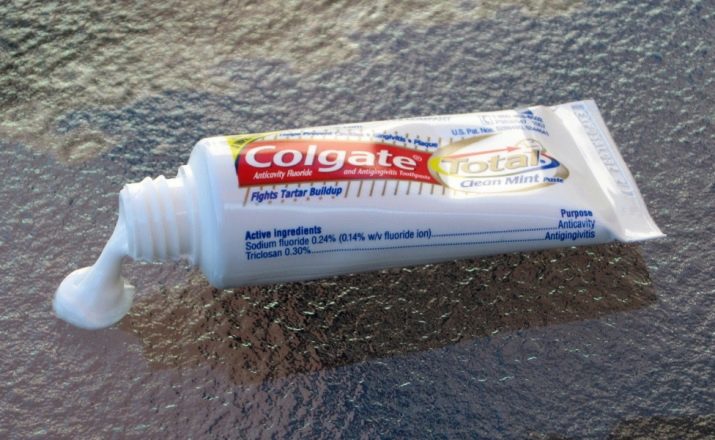
- Toothpaste. This tool only helps to get rid of a very light tattoo. Apply a thin layer of toothpaste to the drawing, hold for a couple of minutes, and then rinse.
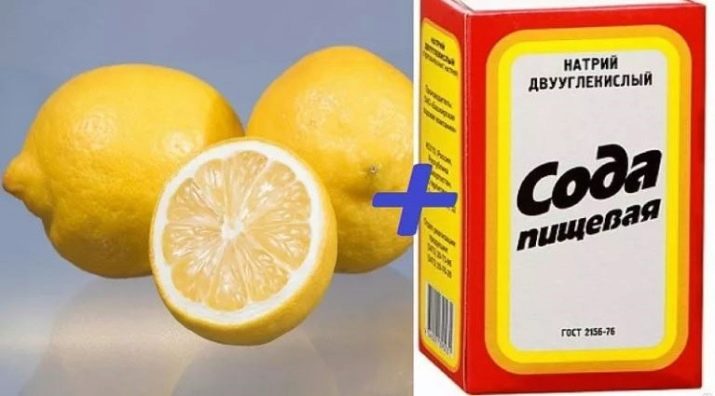
- Lemon juice. Fresh lemon juice must be mixed with baking soda. Next, the resulting mixture must be distributed over the surface of the skin. It must be left on the body until it dries completely. After that, the skin should be rinsed using warm water.
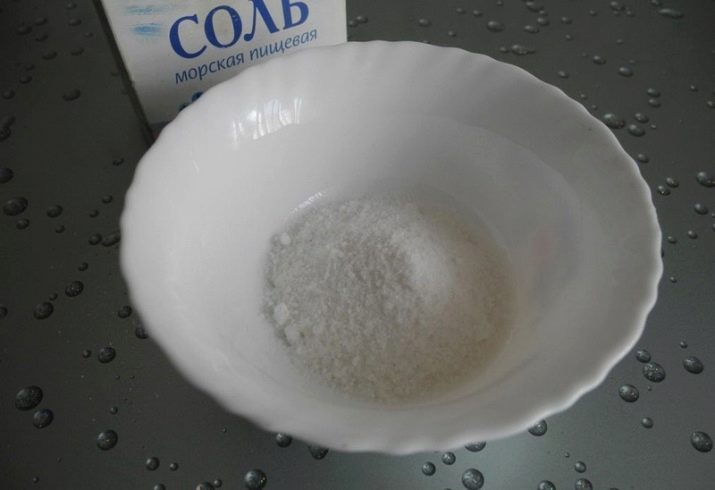
- Sea salt. You can buy this product at a pharmacy. Preference should be given to products without dyes and aromatic additives. Large salt crystals must be ground by hand or in a coffee grinder. After that, the product must be applied to the previously moisturized skin. Next, you need to gently grind it. This is done until the salt is completely dissolved.
After removing the pattern, apply natural oil or a good moisturizer to the skin. This is done so that later it is not too dry and unpleasant to the touch.
Learning how to create biotattoos is pretty simple. With a little patience and good practice, you can quickly master this technique and delight yourself and your loved ones with original patterns.
For information on how to draw mehendi at home, see the next video.


