How to get a temporary tattoo using a printer?
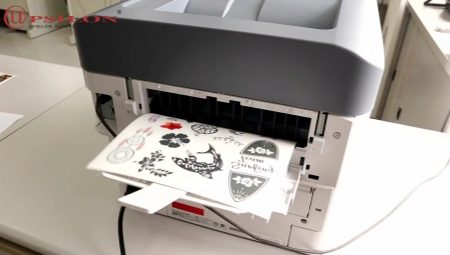
Few are able to immediately decide to get a tattoo that will last a lifetime. And this is true, because the choice is difficult, and there is a possibility that she may really get bored or will look different on the skin as it was imagined. Therefore, there is a method for applying a test tattoo using a printer.

Preparation
First you need to realize your idea, carefully consider what you want to place on the skin. It is important to find the right and comfortable place so that you can do all the work yourself. But this does not mean that you definitely need to choose available places and you can say goodbye to tattoos on your back. You can always ask someone for help. People express their personality through tattoos. Drawing in some way defines a person, because he was chosen for a reason.
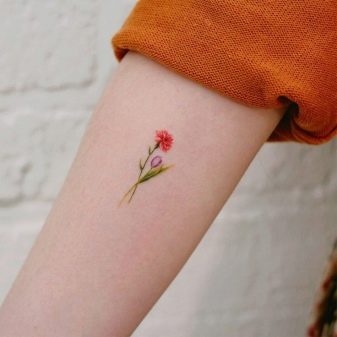
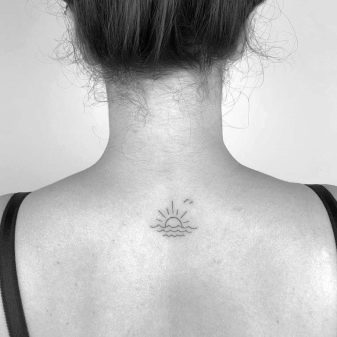
Naturally, you need a printer: inkjet or laser. Inkjet printers are more common with consumers. You only need to find special sheets of paper used for tattoos called Inkjet Tattoo Transfer Paper Lomond. This paper has two parts. The first is an adhesive-backed sheet with a blue backing. The second is a glossy white sheet, and it is on it that the image is printed.
Only a layer of glue will be applied to the body itself, it is hypoallergenic, an image will already be made on it. If you have a laser printer, then another paper is suitable for it - Magic Touch Tattoo, it also contains two layers.
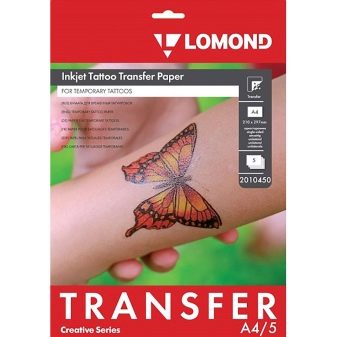
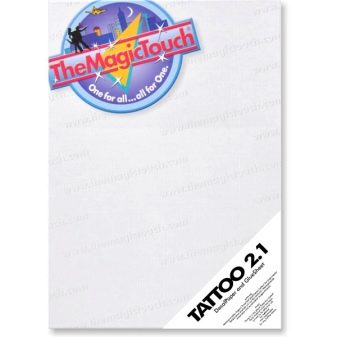
Applying black and white tattoos
The selected picture needs to be processed, it needs to be added to the program, for example, Photoshop will do. It is important to do this so that several objects can be placed on the sheet, and then printed. The drawing is then mirrored. If this is an inscription, then this is a particularly important point. High quality print is set, it does not matter if the work is done with an inkjet or laser printer.
The sheet of paper is already ready, the future transfer tattoo is already visible on it. It needs to be put upside down. The side on which the film is placed can be separated from the glue layer along the shortest side by about 3 cm. It is better not to touch the glue layer, otherwise you can ruin the drawing. Next, you need to attach this film to the paper, holding them by the edges. The film is pressed against the paper.
You need to pull and press against the glue, and then smooth it out.

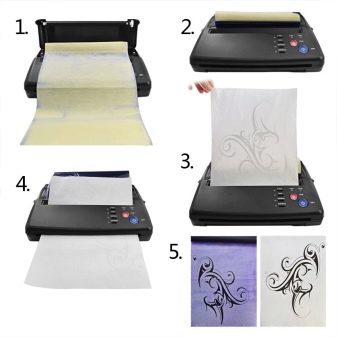
Now you can start drawing the image on the body with your own hands. You need to cut out the picture, stepping back a couple of millimeters from the edge. The location has already been chosen, it needs to be thoroughly washed, and the hair removed. It is better not to glue tattoos on bendable surfaces - they will quickly wear off. The area of the skin must be treated with perfume or cologne, as they contain alcohol.
The film is peeled off from the paper, on which the glue remains. The side with the glue is applied to the site. At home, you can use a regular washing sponge, you need to wet it and soak the paper from the outside. It remains to wait about a minute, the attached object should become elastic. Then you can already separate the paper from the glued image. It will dry up within a couple of minutes, the temporary tattoo is ready.
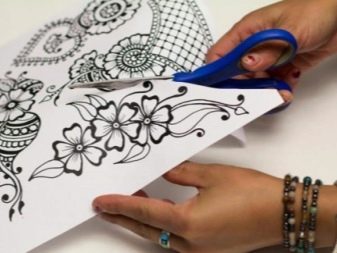
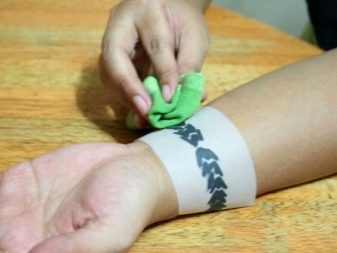
To make the effect last longer, you need to spray hairspray before applying the picture. If, on the contrary, it is needed for a short time, then you can smear the skin with a moisturizer before applying the tattoo. Sometimes they try to take advantage of the tips in which scotch tape is involved. It is used instead of special printer paper. But this method is ineffective.
Such a tattoo can stay on the body for about a week. Of course, if contact with water is minimized. This method is easy to implement, since no special dyes are required for its implementation.

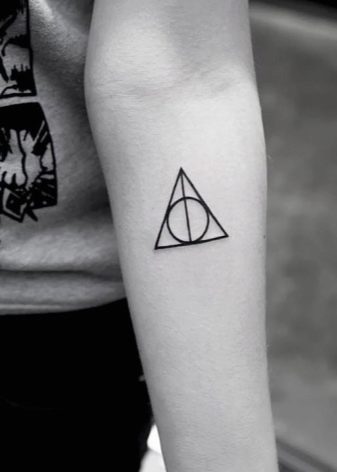
How to translate a color tattoo?
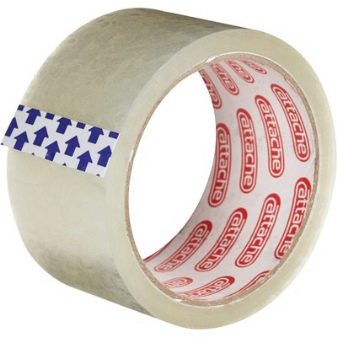
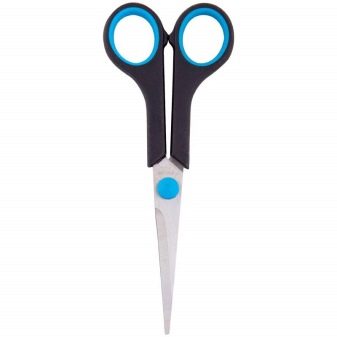
But in this method, scotch tape will be used, it will be needed a little later. The drawing will be placed on plain paper, so one sheet is required. You need scissors, a marker or pen (it must have black ink) and a ruler. This method allows you to make a temporary color tattoo using a printer. All this is usually already at home, so you don't have to get anything.
First, take a sheet of paper, a marker and a ruler. It is necessary to mark the middle of the sheet. Now scotch tape comes into play, it is best to use transparent tape, it will be much more convenient with it. It is necessary to draw a strip of tape from top to bottom on the markings in the middle. All unnecessary needs to be cut off. It turns out a blank for further drawing.
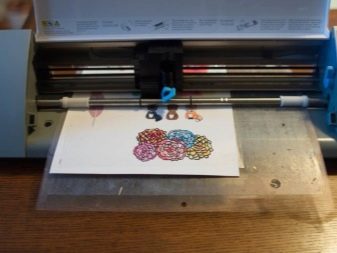
Then the image that needs to be mirrored is processed again in a graphics editor. You need to place the sketch in the middle of the sheet so that it is in the area of the tape. It shouldn't be wider than the tape. After the drawing is printed on prepared paper.
Now the most difficult task lies ahead, you need to glue the drawing correctly. The place must be clean and well-groomed. You need to attach the sheet to the skin and press.
Everything should be done as carefully and carefully as possible, any awkward movement can ruin the work.
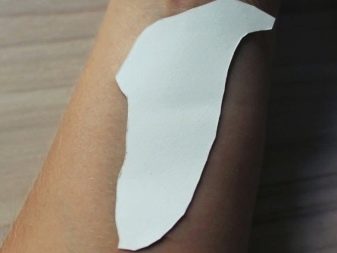
That's all, wait 15 minutes and the tattoo is absolutely ready. This result will last for about five days. You can wash it off with water and soap. The quality of the glued tattoo depends on the ink application of the existing printer. This method works for anything. For example, you can apply images in a similar way to nails or household items. Their plus, unlike the same stickers, is that it is not difficult to remove them. And sometimes you really want to decorate something.
This blank for drawing is not disposable. You can simply erase the drawing, replace it with any other, print it again and apply wherever you want. An important fact is that the number of colors in the translated image matters. The fewer of them, and the simpler the drawing, the higher the quality. But all this is art, you can try and experiment as much as you like. Such methods allow you to feel how the selected drawing will look in reality. Better wrong now than getting a real tattoo.
