All about wood burning for children

If initially it may seem to many that wood burning is not an activity for children's creativity, having delved deeper into the process of this business, one can understand that this is a very exciting and useful activity. In this article we will tell you everything there is to know about wood burning for children.
Peculiarities
Burning wood for children is a common leisure activity that combines elements of fine art with elements of making crafts. Depending on the age of the child, children's work in this technique may differ in complexity.
The main thing is for an adult to understand when it is possible to involve his child in this activity, that is, when the child is able to master working with a burner and will be able to use it on his own in the future.
Of course, we do not forget to explain about the precautions and give an opportunity for the development of imagination, attention and fine motor skills.
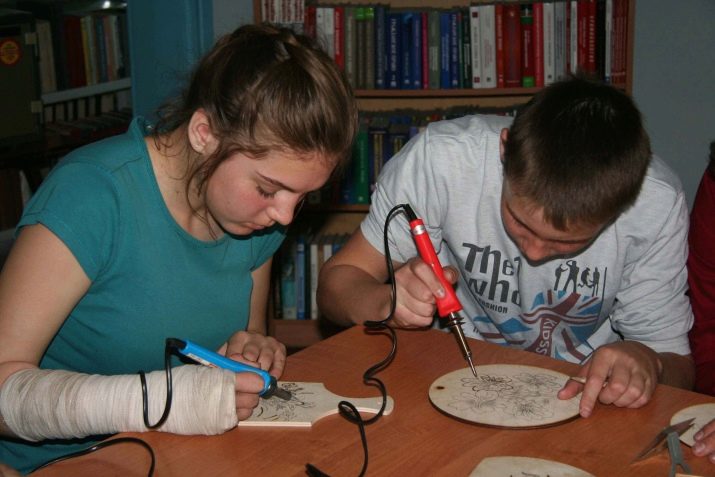
Burning out is an activity that calms down the craftsmen, therefore it is recommended for active children.
True, whether burning out will become a hobby for hyperactive kids - it depends on the child's perseverance., and his interest in such creativity. The process itself is fascinating and attractive. It often happens that with age, adolescents are more enthusiastically engaged in this business, and some practice such activities in adulthood.
What is necessary?
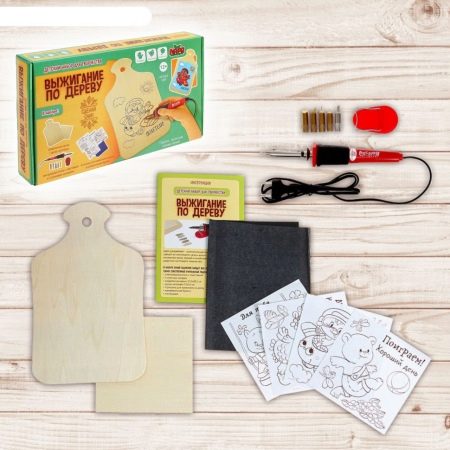
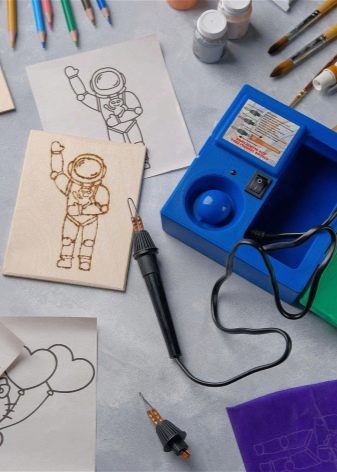
In order to start a new lesson in wood burning, you will need 3 main things:
-
burning device;
-
wooden base (plywood is also suitable);
-
sketch of the future drawing.
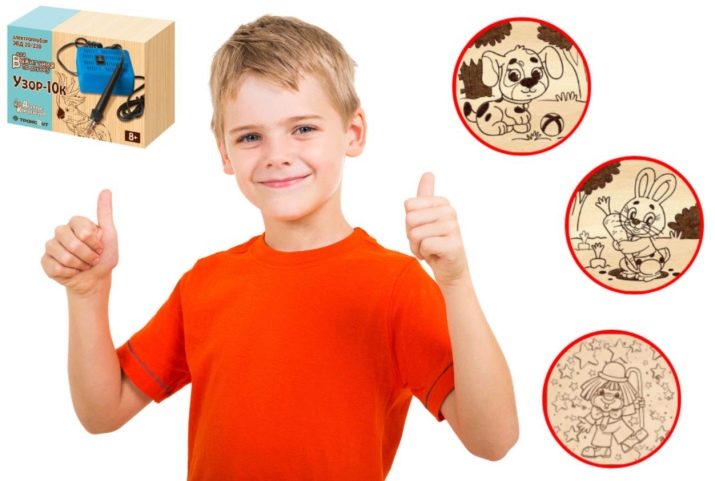
Often such a specialized children's set is sold for beginners. Agree, it's very convenient when you can buy all things at once. But you can buy the main tool and pieces of plywood with sketches separately.
If you use a saw cut of a tree for burning out, additional surface treatment will be required, so here the child cannot do without adults. And for drawing a sketch on a wood base, you can use the so-called "translators".
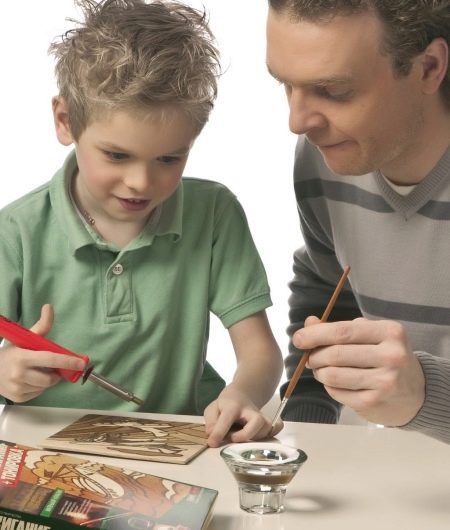
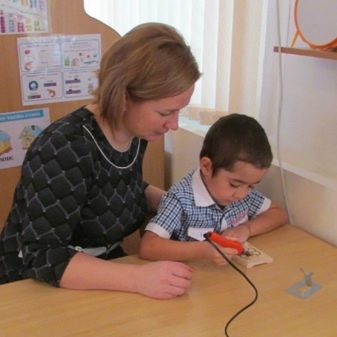
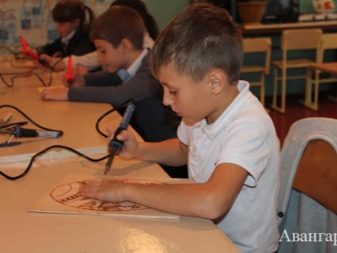
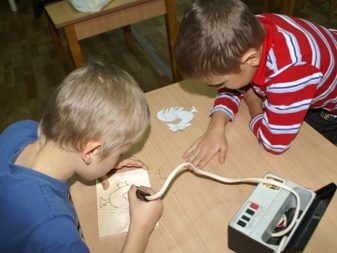
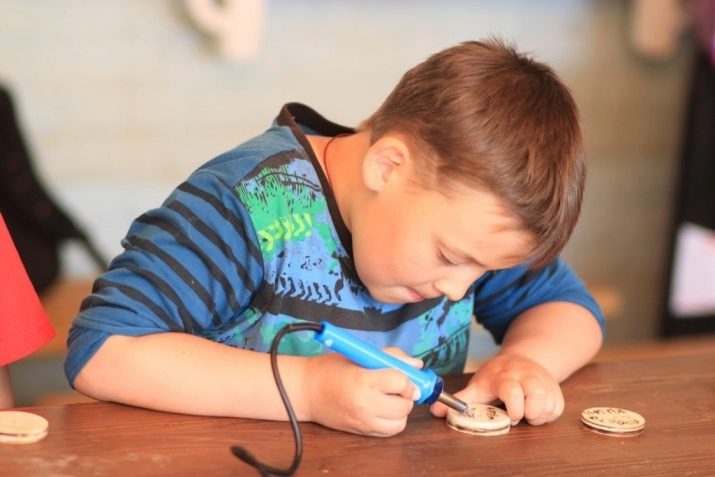
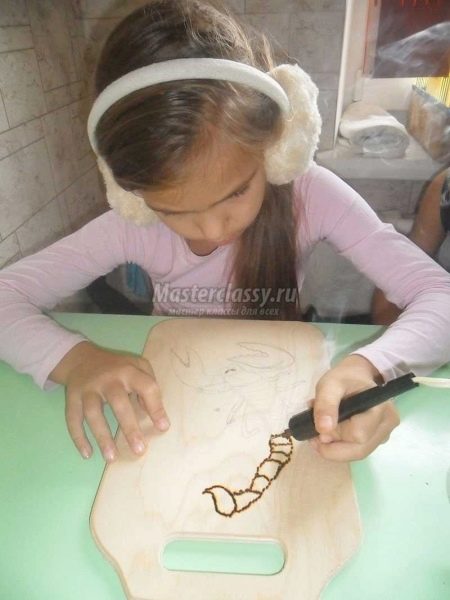
And of course before starting classes, children must be "armed" with safety knowledge. First of all, you need to explain to the young master that the tip of the burning device heats up and cannot be touched.
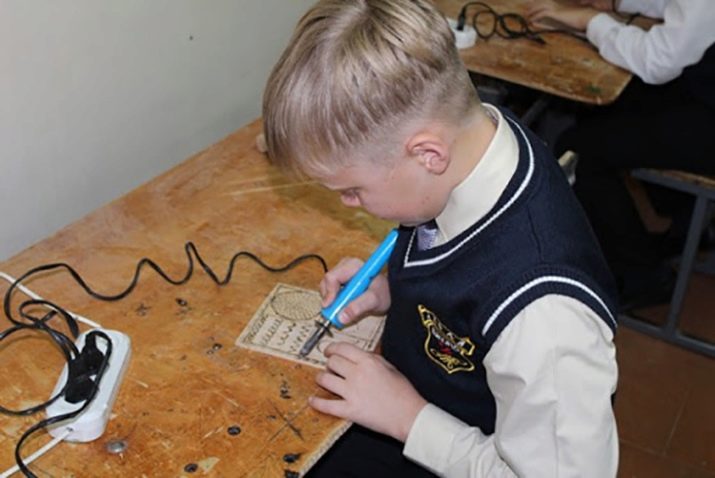
And also they cannot just drive in the air, so as not to injure someone. The device should be in the hand of the master, and if there is a break in the actions of the burner, then the hot device is not placed on the table, its place is only on a special stand.
And also, depending on the model of the burning device, you need to explain to the children that the device should be turned off periodically (after 10-15 minutes of operation). This measure remains relevant for most devices of this type, in order to avoid overheating.
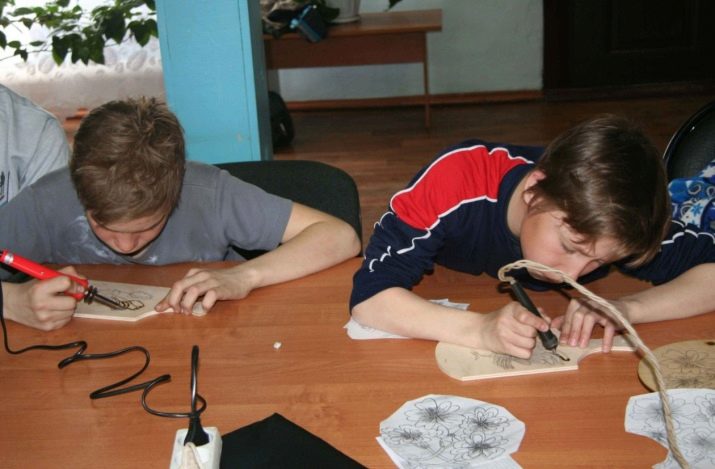
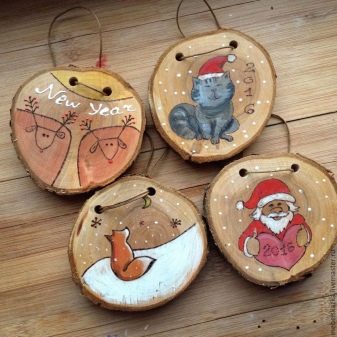
Light drawings
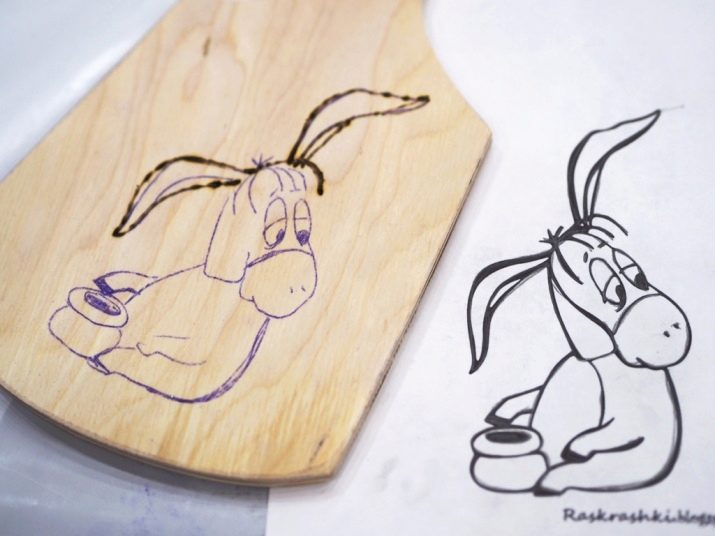
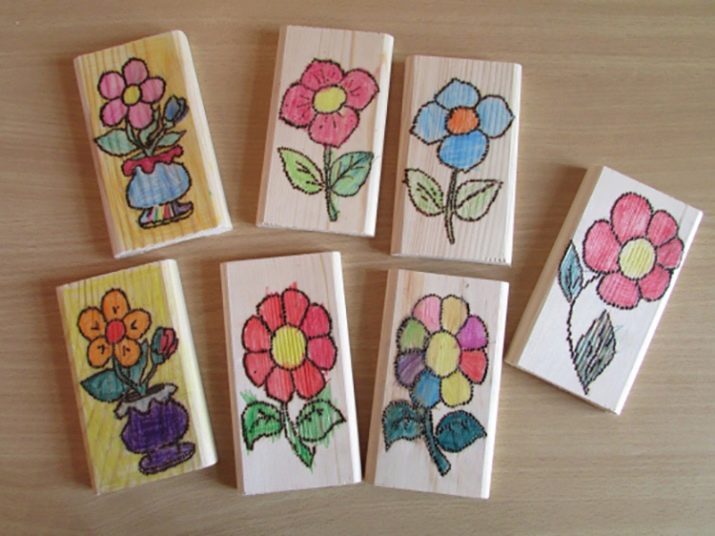
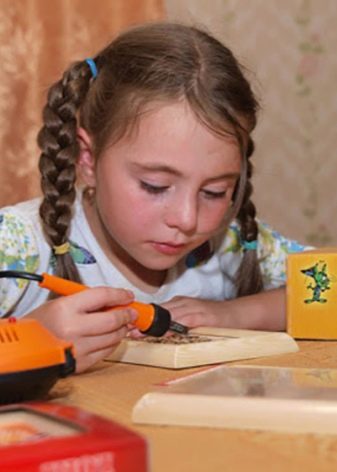
For beginner burners, light designs are sold, usually already printed on plywood pieces. But the boys quickly get into the matter, and soon they are ready to take on more complex work. Sketches can be immediately applied to the workpiece for burning, or you can first draw a drawing on paper.
In the latter case, it is better to use carbon paper - it will be more convenient to transfer the desired contours to plywood or other wood base. Paper sketches help those who are not versed in drawing, they definitely need a preliminary preparation.
A drawing is applied to a tree with a pencil with a hard lead, but a medium density lead is suitable for a paper sketch.
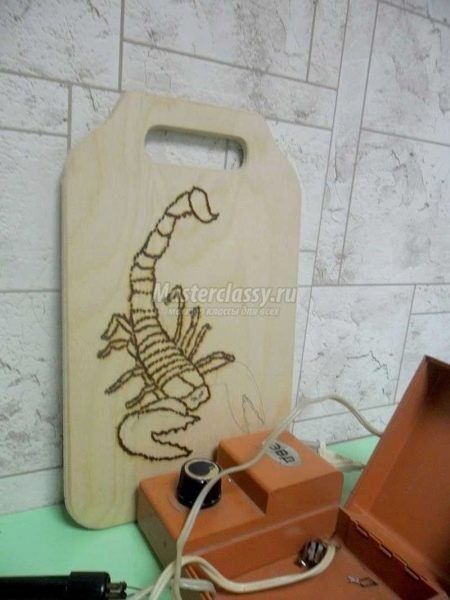
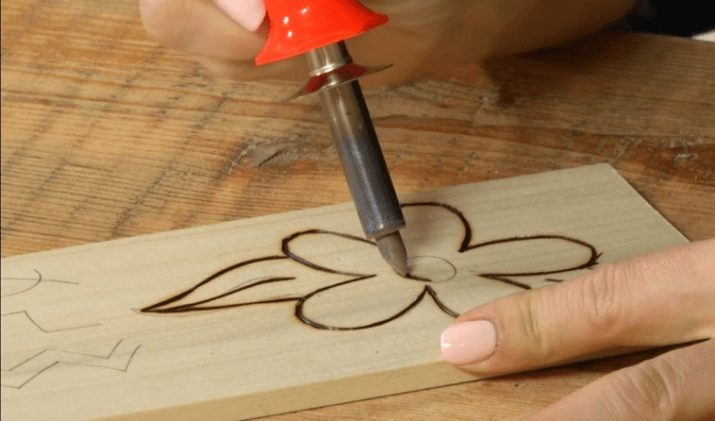
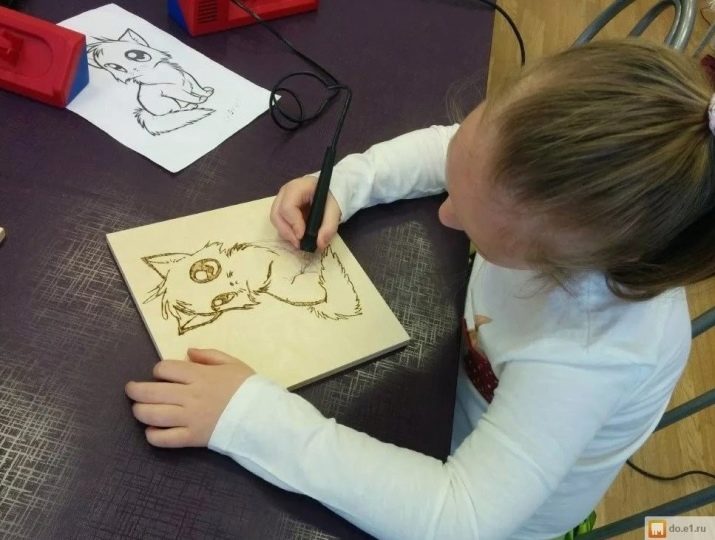
The lightest drawings are contour burning. It is with this method that young pyrographers are offered to start.
For contour burning, an elementary simple planar drawing is proposed - it can be an animal figure or large flowers. And also for such a training, it is proposed to circle various inscriptions, and to make shading.
The young master draws lines like drawing with a pencil on paper, while his hand should have good support. If there is no special roller, you can take a regular towel and just roll it up. Outline the lines with the tip of the tip without too much pressure on the surface and with slow movements.
Experts advise to start with easy, simple drawings in order to get a decent result, and subsequently the desire to engage in wood burning did not disappear, but the desire to create and improve was only intensified.
Technique
You can learn how to burn on wood not only in practical classes in circles, in labor lessons, but also on your own. There is nothing difficult, in order to master this technique, you need to know about the main rules, and then improve your skills yourself.
So, let's outline the main 3 rules, a small master class.
-
You need to work with a burner like a pen when writing, and you should not press too much. The stylus of the device behaves in the same way: that with strong pressure, that with weak pressure.
-
If a deeper line is needed, then it can be obtained not by pressing, but by holding the tip in the same place.
-
The wood base can be rotated in different directions for more accurate and regular lines. By the way, the movements should be smooth and slow when drawing the contour.
In the first lessons, it is recommended to try cross-hatching and make various lines both in length and in thickness - this will immediately give you experience in adjusting the intensity of the burn.
No need to be afraid from the first lessons to change attachments and adjust the saturation of shades.
It is better to do the first work together with the child, explaining to him all the subtleties, and outlining important safety rules, and only then give him the opportunity to improve his skills, technique and skill.