Wood burning for beginners
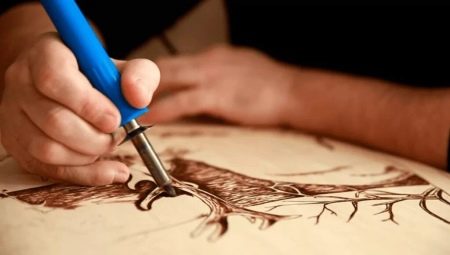
Burning wood (or pyrography) is a rather interesting activity that many adults and children are fond of. Its big plus is the absence of the need to purchase expensive materials and tools. It will be enough to purchase a high-quality device and ordinary planks or plywood.
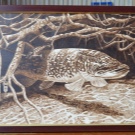
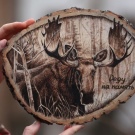
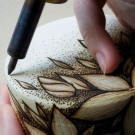
Arrangement of the workplace
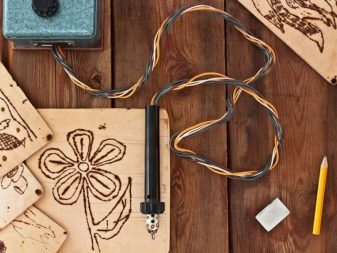
Preparing a workplace for wood burning is not particularly difficult when it comes to a novice master. You can do this type of creativity on a flat surface, for example, sitting at a table on a stable chair. The dimensions of the surface should allow placing a device for burning, blanks, a set of templates on it, and also freely accommodate the creator himself.
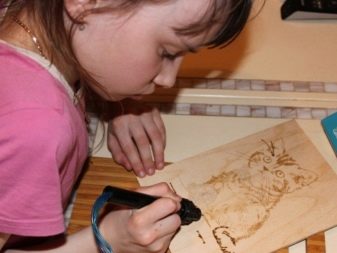
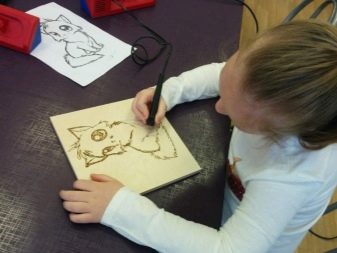
Besides, for ease of use, you need to prepare a wrist support roller, which is easily formed from a rolled towel. The optimal light source is natural light from a window, but a table lamp can also be installed if necessary. Light should hit the work surface at an acute angle so that even the smallest shadows created by the grooves can be seen.
Install electrical outlets near your work desk.
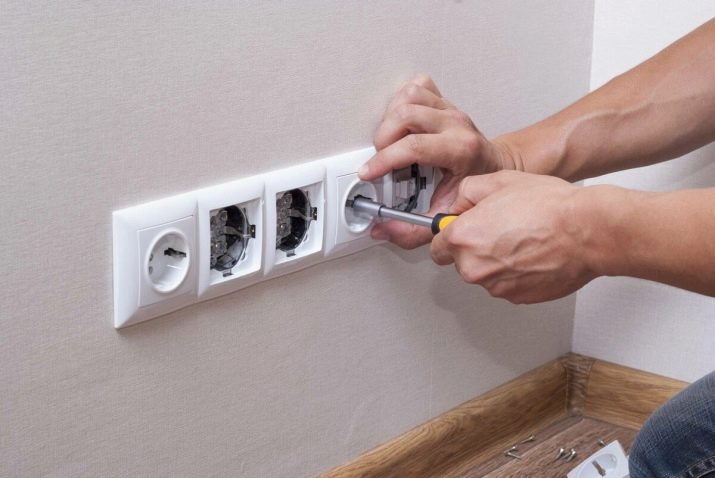
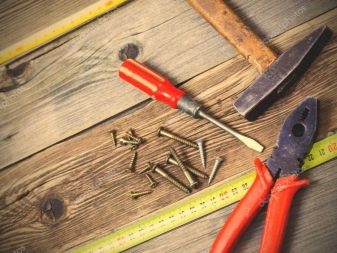
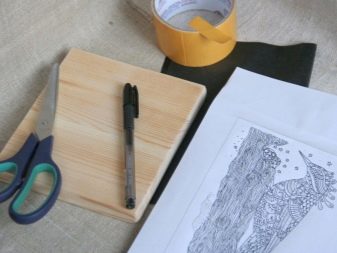
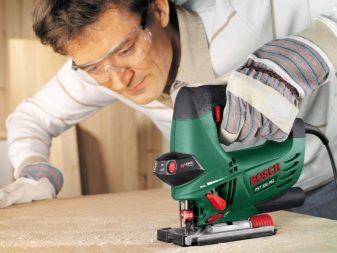
In the case of a more advanced user, it is suggested to place a hacksaw with a jigsaw, as well as pliers and nippers in the workshop. To create better images, you will have to use a pointed pencil with an eraser and fine sandpaper, which are also located in the working area.In the process of burning, some other tools and consumables may come in handy, for example, a screwdriver, a steel ruler, adhesive tape and a carbon copy. When organizing a workshop, you should also think about high-quality ventilation.
What is necessary?
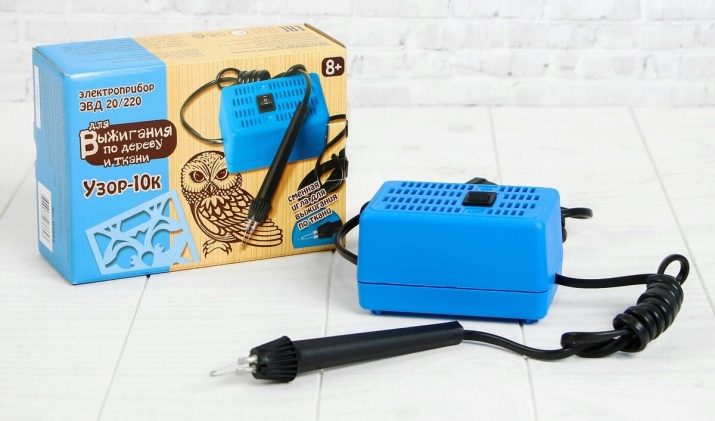
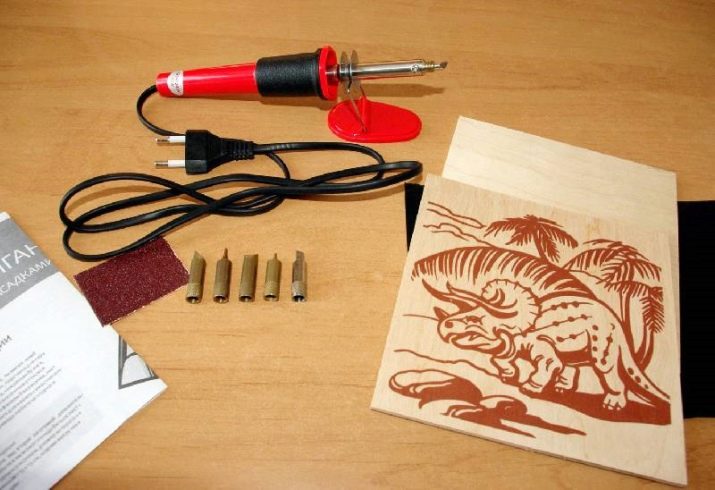
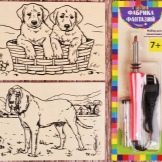
The two main components of pyrography are the burning tool and the boards on which the drawings will be created. An ordinary soldering iron can be used as a burning device, but, of course, it is better to purchase a special device. It is most convenient to work with a device in the form of a pen, with the help of which drawing is carried out according to a template or independently. A variety of attachments included in the kit allow you to get different shades, thickness and even the shape of the lines of the applied images. Replaceable blades are best selected among those made of brass. The thickness of the burner handle should be comfortable for the hand of the master.
Small pieces of plywood or wooden planks, which have been given the required shape, are suitable as a base. They are easy to create yourself, and are also freely available in stores.
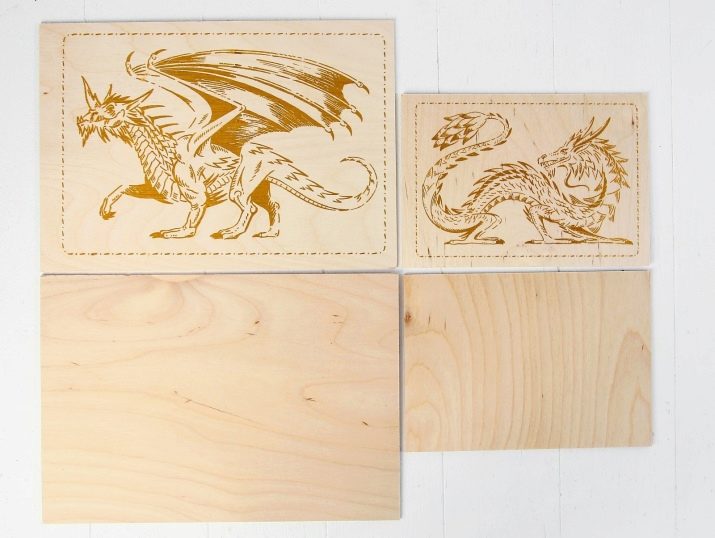
For beginners, we recommend to use blanks made of light wood, sanded to smoothness, dried and cleaned from knots. For example, it can be birch, linden or alder blanks. More budgetary plywood boards are also suitable, affordable and easy to process.
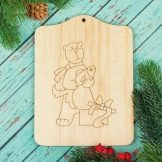
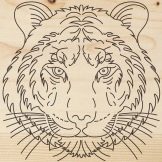
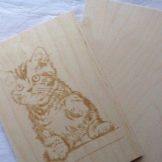
After gaining experience, you can move on to wood with a heterogeneous structure. It is worth noting that ready-made sets are offered for beginners - boards with already applied drawings, which can only be burned out.
Species overview
It is customary to distinguish 3 methods of wood burning.
Contour
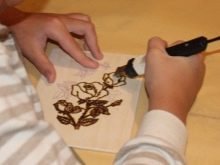
Contour burning can be attributed to the basics of pyrography. Artists start with flat drawings, and then complicate their work by the presence of reliefs or backgrounds. The image appears on the base under the influence of the tip of the nozzle, and with the condition of the obligatory presence of support at hand. In many ways, it resembles drawing with a pencil, so it is ideal for beginners. Hard wood has to be processed deeper, and soft wood burns much faster. The line is drawn evenly and accurately, tangentially and without points.
Artistic
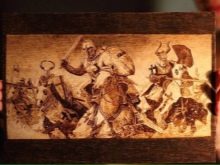
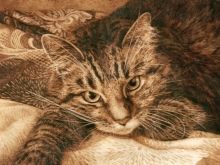
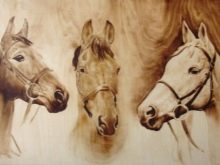
Artistic burning is considered the most difficult pyrography technique, since it combines contour and silhouette. For this method, the drawing scheme is extremely important, which should take into account perspective, shadows and light.
Silhouettenoe
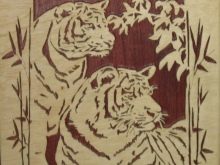
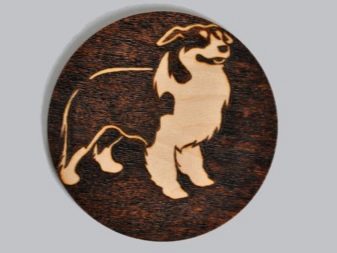
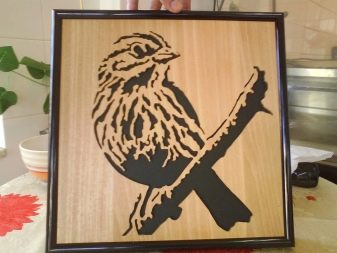
Silhouette burning allows you to get a light pattern, framed by a dark background. The simplest images are obtained with uniform processing, but some require the use of lighting rules. The master has to work with a special tip, the tip of which is riveted and sanded. The tip of the blade is always guided along the grain of the wood to ensure that the surface is smooth and uniformly dark. To obtain unusual shade transitions, either change the incandescence temperature of the tip, or modify the degree of pressure and processing time.
Selecting a pattern
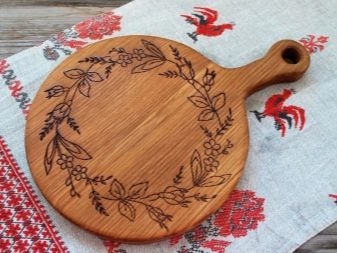
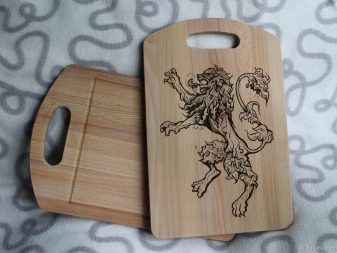
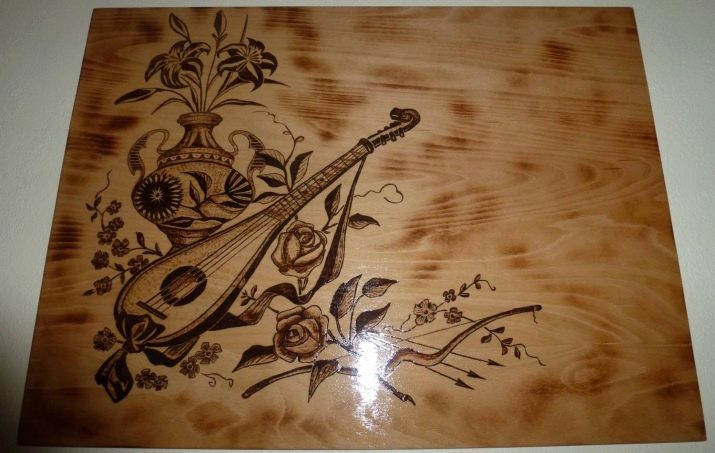
For beginners, the topic for burning should be as simple as possible: patterns or geometric shapes. In the future, you can move on to more complex images: animals, landscapes, still lifes and even portraits. A child can hang a picture made on a wooden base with characters from his favorite cartoon in the room. For adult relatives and friends, works with "classic" subjects are suitable as a gift: a bouquet of flowers, angels, a pretty house in the forest or a beautiful butterfly. In addition, you can choose a theme for creation, depending on what role he has to play.
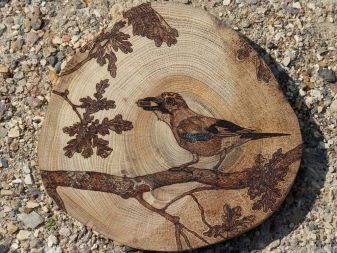
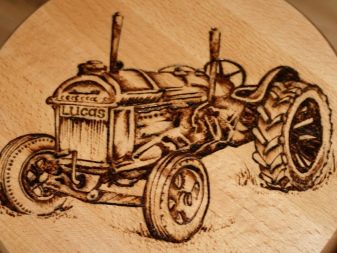
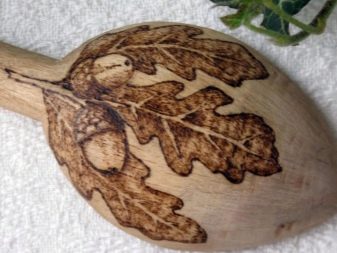
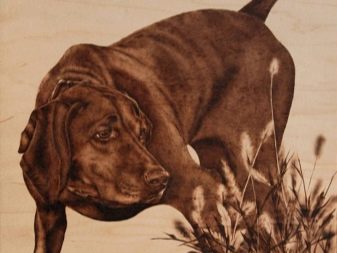
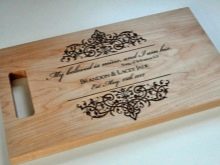
For example, a board for cutting food can be decorated with some kind of "near-kitchen" image: a still life with cooking accessories, a set table or a funny miniature on a chef's theme. Wood, which later becomes part of a jewelry box or valuable items, will look especially advantageous with a scattering of flowers or a retro image of a preening girl.
Step-by-step master class
Wood burning for beginners is carried out according to a clear plan. Let's consider one option.
Preparation of the workpiece
The drawing to be burned is either immediately drawn on the board, or at first it is harvested as a sketch, and then transferred using a carbon copy. If light wood is to be processed, it is better to use black graphite paper, and if dark - any suitable colored paper. In addition, it is not forbidden to glue tissue paper with a sketch directly onto the wood and carry out burning already on top of it. It is worth mentioning the following: in order to learn how to create high-quality drawings, first it is better to practice on a rough workpiece, covering it with strokes and contours of different sizes and depths.
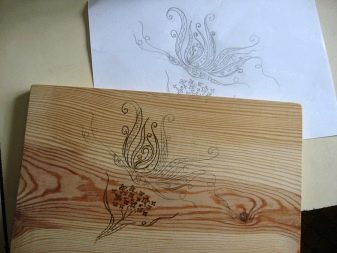
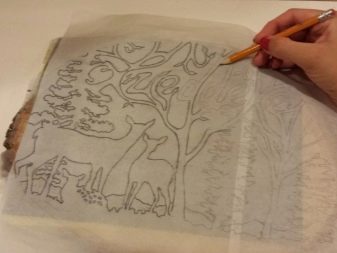
The wood itself must also undergo preparation. First, its surface will need to be sanded with fine-grained sandpaper, moving along the fibers. Next, the board is wiped with a damp soft cloth. The drawing is carried out only after the base is completely dry. For a hot pyrograph, prepare a support made of non-combustible material. It is most convenient to use for this purpose a ceramic bowl, plate, as well as any other dishes made of heat-resistant material.

Technique
The burner is always located on the side of the working hand, and in the case when it is electric, it is immediately connected to the network. Images in the early stages are obtained by setting points and then connecting them. It is customary to first create external contours, the blots on which are not so noticeable. In addition, the blots are later sanded. Inner strokes are burned out last. At the final stage, toning and shading are carried out. Thin lines usually require moving the nozzle quickly and thick lines slowly.
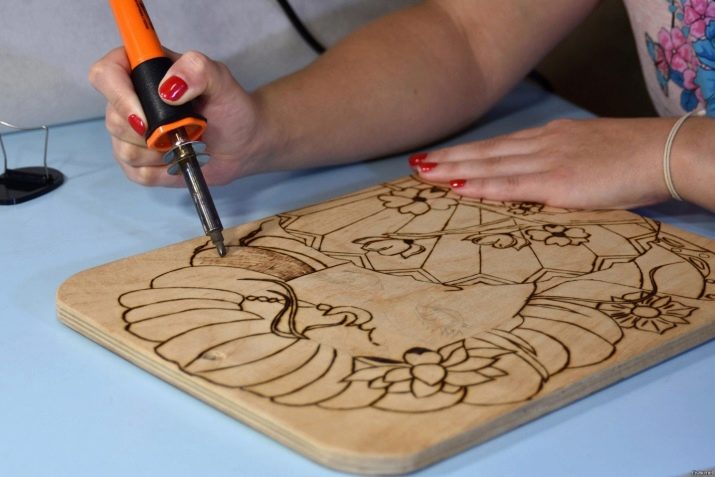
Wide slices are formed by holding multiple layers. So that the line does not end with a bold point, the pen at the end should be quickly removed from the board. The pressure force is adjusted depending on the direction of the fibers: when the burner goes along them, less pressure is required, and when across - more. If several lines are located nearby, then they need to be applied with a small gap, which will be required for cooling.
In any case, it is important to avoid jerky movements and not apply too much pressure to the tip. Otherwise, the strokes will have different widths.
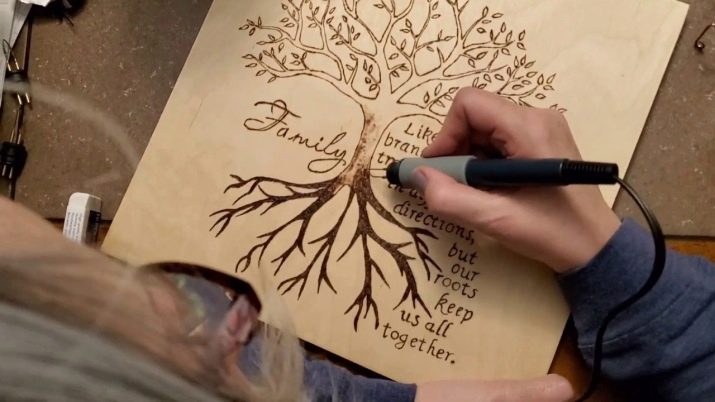
During operation, every 10-15 minutes it will be correct to disconnect the device from the network so that it has the opportunity to cool down. Drawing should be started only after the soldering element has heated up to the required temperature, characterized by a dark red color. Since it is almost impossible to correct creative mistakes in burning, you will have to act immediately with the utmost care. Some craftsmen prefer to fix the wooden blank at a slight angle for greater convenience, although it is not forbidden to keep it just on the table.
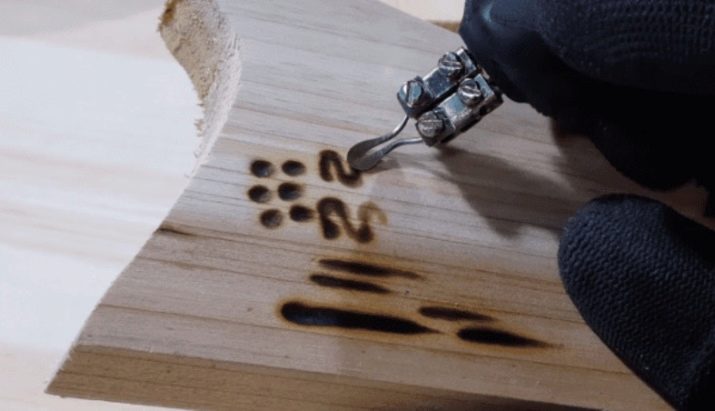
Final processing
The finished drawing must be cleaned with fine-grained emery paper. If there are deep contours in the image, then you should also additionally walk along them with a metal brush. This procedure allows you to remove small coals that are a by-product of burning. Processing should be careful, but accurate, not allowing damage to the painting. In addition, the absence of chips should be monitored.
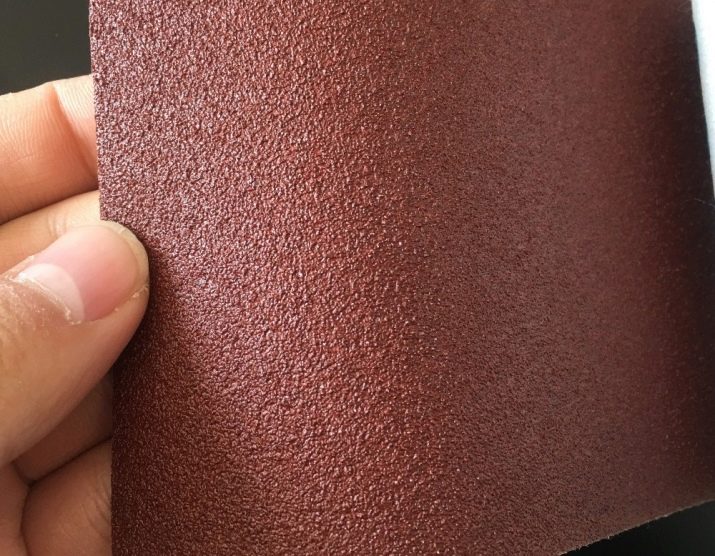
The treated surface is varnished. This substance helps to extend the shelf life of the product and to protect it from damage.If necessary, the space between the burned out contours is completely or partially painted over.
Useful Tips
During work, it is important to adhere to the same burnout period for one element. If the red-hot tip lingers at one point longer than at another, the color of the finished product will be uneven.
To make the feather move as smoothly as possible, it is best to place the plank with the fibers facing down. If during the creative process smoke begins to stand out, inhaling it is strongly discouraged.
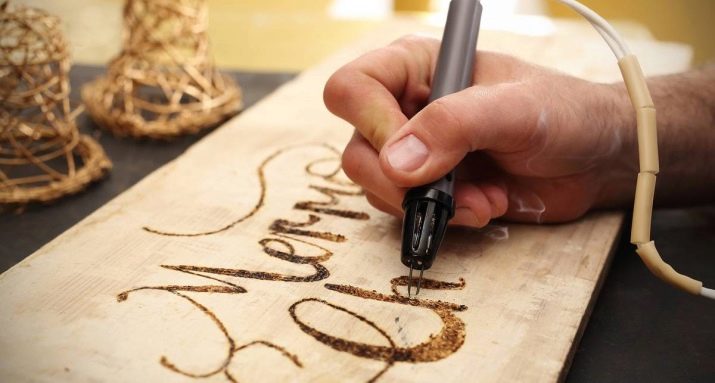
You need to sit at the desktop correctly: neither the back, nor the neck, nor the arms should be overstrained. Novice pyrographs should periodically clean the nozzles from carbon deposits using a grinding device. During burning, you can only touch them with pliers.
The following video will tell you how to properly burn wood.


