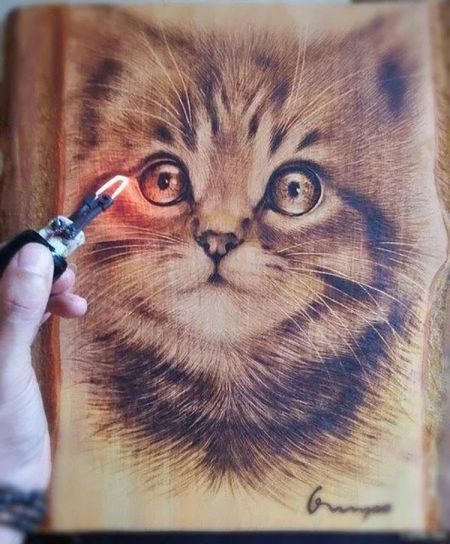
All About Wood Burning Kits
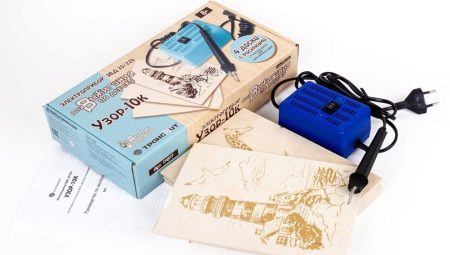
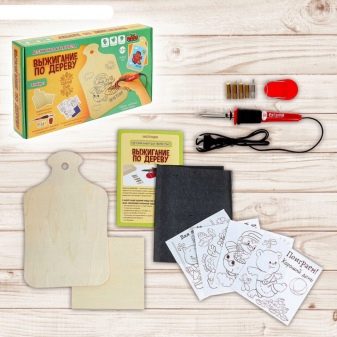
Simple sets for wood burning, such as "Pattern-10k", "Ginger Cat" and others, will keep your child occupied for a long time, help him develop artistic skills and be realized in creativity. Professional kits for creativity will be useful for both young and adult craftsmen.
Varieties
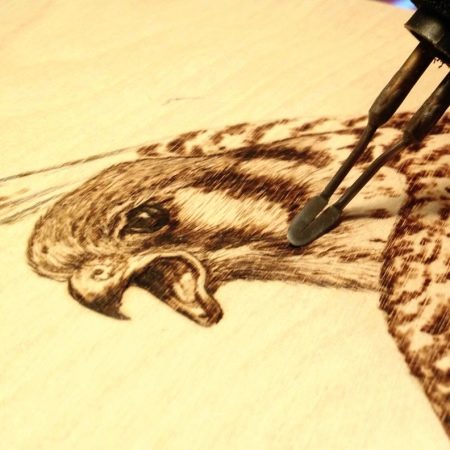
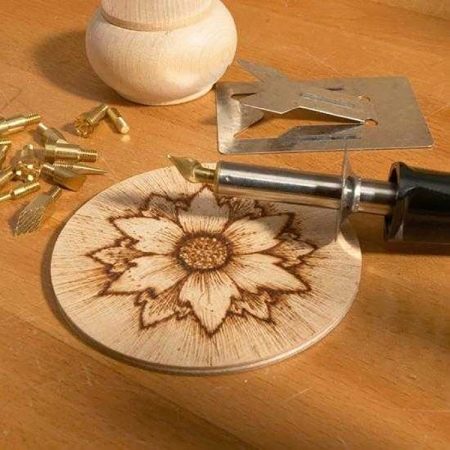
Pictures created by decorative burning are clear and voluminous. They don't even need to be painted - the play of light and dark lines already creates a finished piece. It remains only to varnish.
Everyone can create a picture, for this you need to choose a tool.
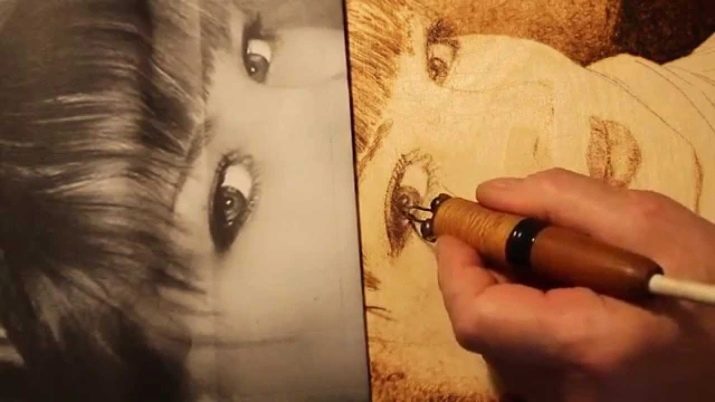
Burning, or pyrography, has been used by craftsmen for a long time. Even the ancient Indians, when they made pie boats, burned their inner part with hot stones. Since then, technology has stepped forward, and progressive designs of pyrographs have appeared.
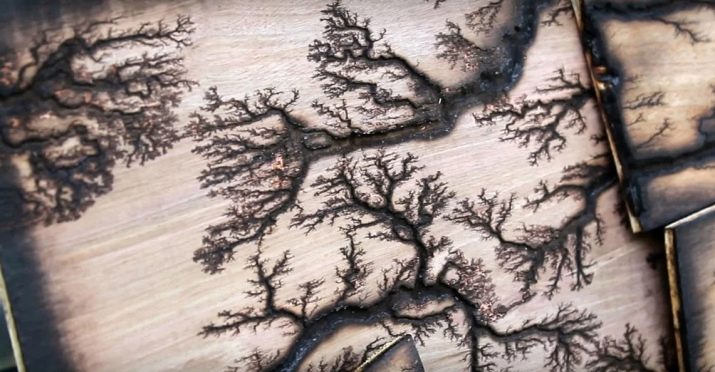
- Burning out with an electric discharge forms Lichtenberg figures - patterns similar to trees. They arise when a powerful current flows through the fibers of wood impregnated with electrolyte. You can make such a burner yourself, but it is advisable to have skills in working with electrical engineering.
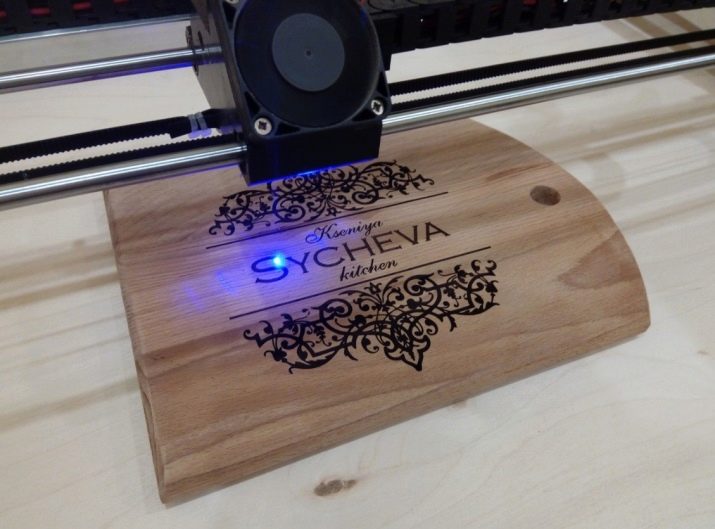
- CNC machines are used in woodworking and furniture production. Select a drawing on the computer, and a laser or nichrome needle will quickly transfer it to wood or leather. The picture turns out to be bright, saturated, but stereotyped. Real art needs a different tool.
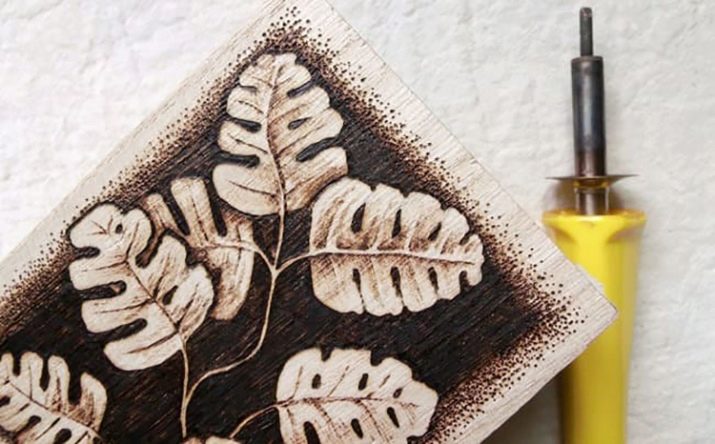
- Hand-held pyrographs reveal the talent of the master. With their help, you can not only get flat images, but also decorate interior details. In addition, they will make your life safer - it is easy with a red-hot tip, for example, to make a notch on the smooth handle of the tool.Working with such a device relieves stress, develops attention and imagination. And fine motor skills of the hands are also trained. So the wood burning kit is a valuable gift not only for children, but also for adults. You just need to choose the right burner.
- Hard nib models resemble a soldering iron. They are equipped with a variety of nozzles - up to 20 pieces, for thin and thick lines of cylindrical and conical shapes. There are die attachments for obtaining patterned prints. Reliability, ease of use and low price make such devices available to everyone. In such a device, the "filling" is hidden in the handle, so the device turns out to be heavy and cumbersome - it is difficult for children to hold it for a long time. It is difficult to control it, because the sting is far from the handle. It also heats up for a long time - 5 minutes or more. Such a burner is suitable for strong and patient people.
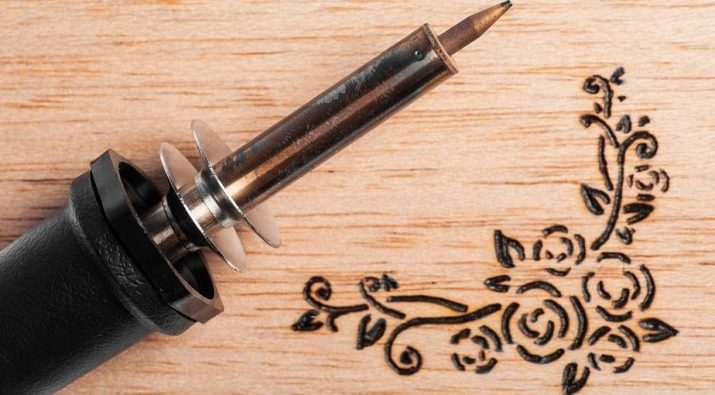
- In wire pen burners, the working part is a thin nichrome wire. It instantly heats up and draws delicate patterns. Such models are often equipped with a power regulator, sometimes stepless. They are suitable for delicate and responsible work. But drawing thick lines with them is inconvenient - too long. And the sting is very fragile, it breaks from any careless movement. And the device itself is more expensive than models with a solid nib, and more difficult to repair. But it is safer, because the nozzle cools down almost immediately after turning it off. Very good for restless children who, after work, immediately put the device away.
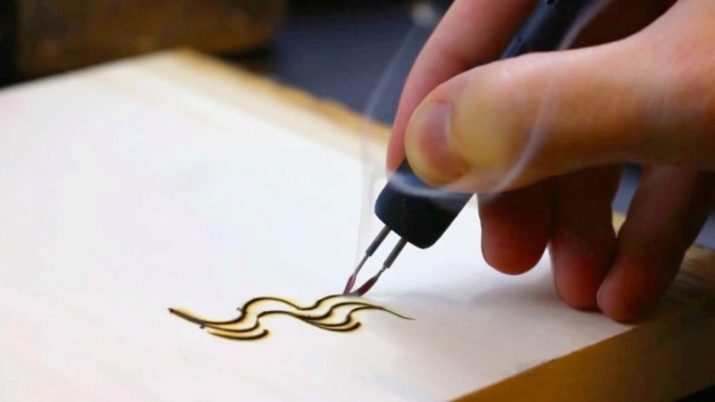
If you are going to be working professionally with the burner, then all of these models will come in handy. And if you are looking for a burner for free creativity, then take any.
The main thing is that it is of high quality. Trust the opinion of the majority of users.
Popular manufacturers
Companies are fighting over our wallets and offering different models of burners. Among them, we have highlighted the best options and made our own subjective rating.
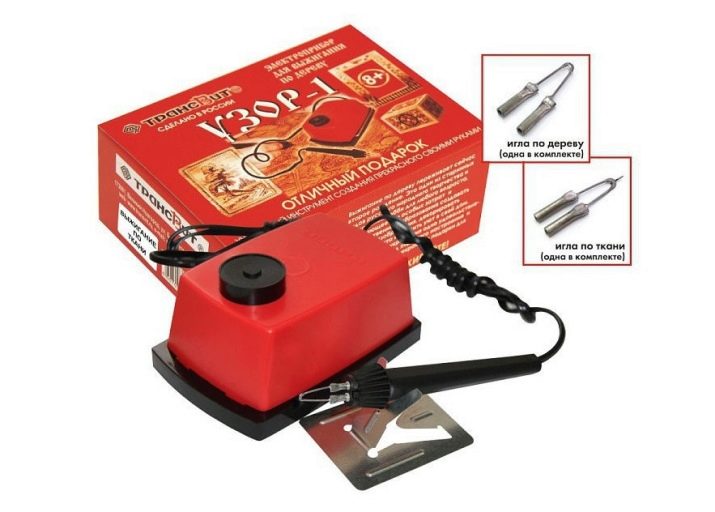
- "TRANSVIT" offers the "Pattern-1" and "Pattern-10k" models. Devices cost in the region of 1,100 - 1,800 rubles. and have the same power of 20 W, which is adjustable with a 2-stage regulator. "Pattern-1" has a richer set - 5 items in a set versus 2 for "Pattern-10k" and 2 attachments instead of one.
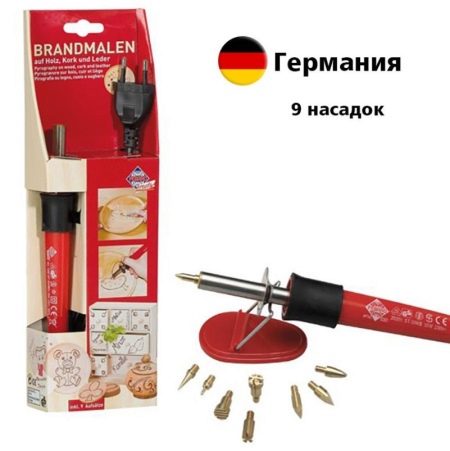
- PEBARO from Germany offers a wood and leather burner with 9 attachments: 6 taper tips and 3 dies. Discounted price of the device - 2 200 rubles.
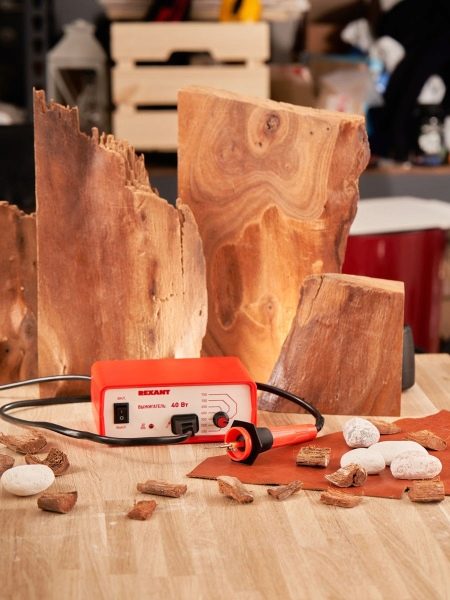
- Scorcher from Rexant has a power of 40 W and an operating temperature of 450-750 degrees in increments of 50 degrees. Due to its high power, the device is recommended for adults and children over 14 years old. Such a pyrograph costs about 3,000 rubles.
- Orbit boasts a rich set of 21 nozzles. Its power is 30 W, and it can also work as a soldering iron. There is a plastic box for carrying. The price of the model is 1,400 rubles.
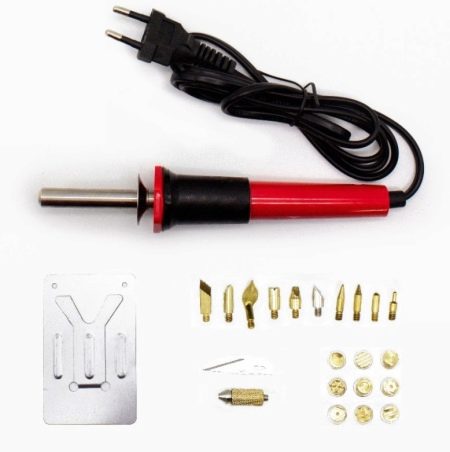
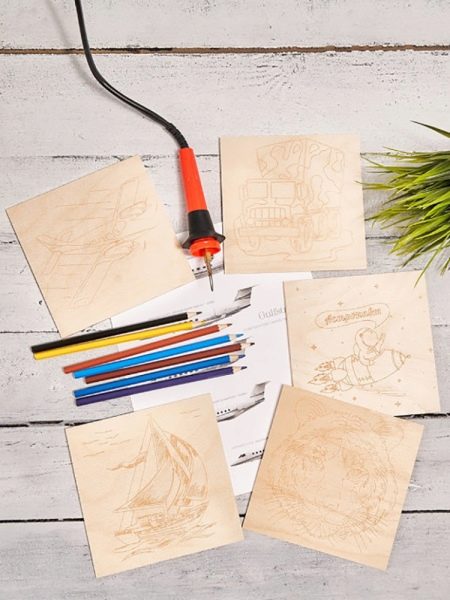
- But the set for burning "Red Cat" will cost only 350 rubles. The set for the 20 W burner included 6 different attachments. The disadvantage is that it heats up for a long time.
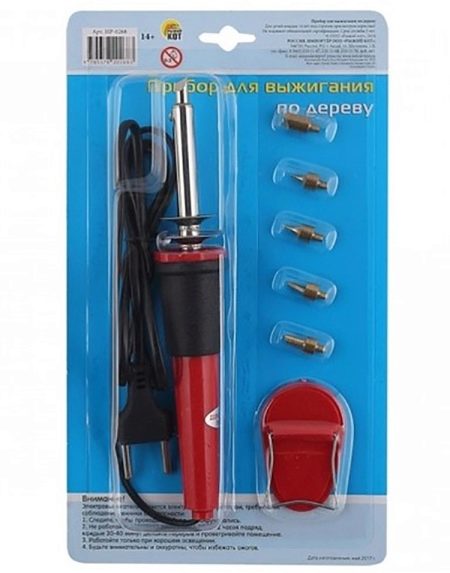
All models have a stand in the kit, and some manufacturers put burn boards as a bonus - 7-11 items in total. Sometimes drawings are already applied on the boards, and the set is immediately ready to work. Convenient for beginner craftsmen. You just need to choose the right set.
Nuances of choice
As with any purchase, the choice of burner must be wise. To find what you need, use our tips.
- For beginners, it is better to take models in which the boards are included in the kit, because preparing the material is a separate difficult task, and so it is immediately solved.
- But the abundance of nozzles is useless - a complex picture is beyond the power of novice masters, and for a simple one, 1-3 tips are enough. Therefore, budget proposals will be the best choice.
- If you buy a wire pen burner, take care of spare nibs. It's good when they are included, then it will be easier for children and beginners.
- Imagine the result of your work.If this is a large painting that will be admired from afar, then it is better to take a model with a firm nib and high power. Otherwise, the thin lines left by the nichrome wire will be practically invisible, and burning out will take a long time.
- Professionals will appreciate the stepless temperature control. And if you have just started to engage in burning, then there will be little benefit from it. Hold the sting on the board longer, and the result will be the same as with a powerful model. So don't buy an "advanced" burner - for now.
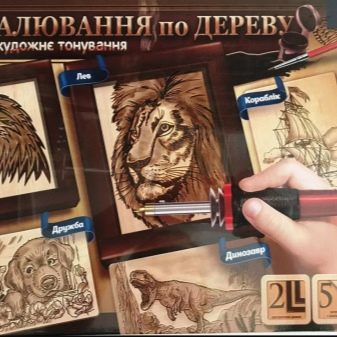
And remember that the painting is created by the master, not the tool. Therefore, the correct use of the kit is the key to successful work.
How to use the kit?
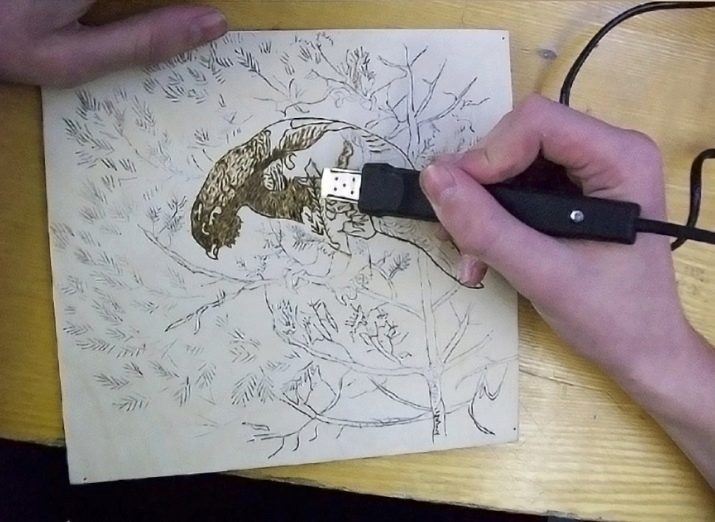
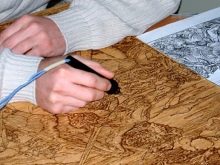
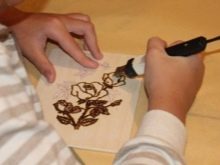
Everyone can master the technique of burning. The work is not much different from drawing - the burner must be held in the same way as a pencil, and draw lines with it with light pressure. But there are some peculiarities.
The most important thing is to choose the right blank board.
- It should be smooth, "without a hitch". If the sting bumps into an unevenness, it will abruptly go to the side, and the picture will be ruined. Therefore, the surface must be sanded along the grain.
- Paint and varnish are not permitted. When heated, they emit harmful vapors, or even ignite altogether. You can burn on MDF, but a hood is required here.
Important! The area in which you work must be well ventilated. Or burn it outdoors.
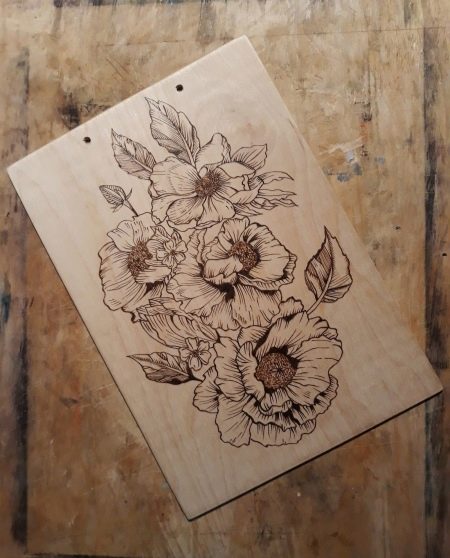
Then transfer the drawing to the workpiece by hand with a pencil or print out a stencil and trace it on the board. Traces will remain. Arrange the picture so that most of the lines are along the grain.
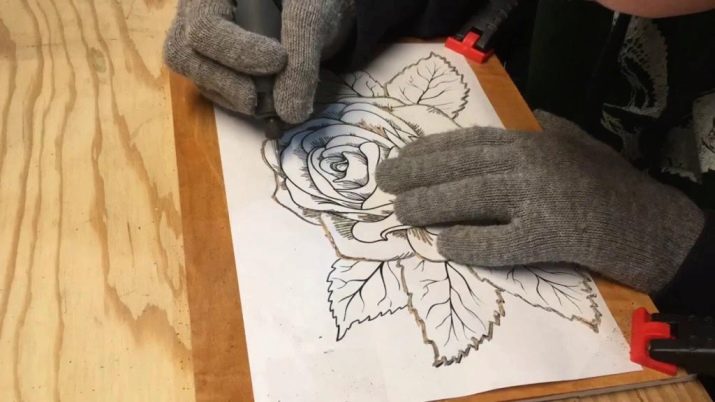
The shops sell prepared boards with ready-made drawings. You can choose your own picture, and the specialists themselves will apply it to the workpiece. But this is not necessary - you can burn it on any plywood, board or leather.
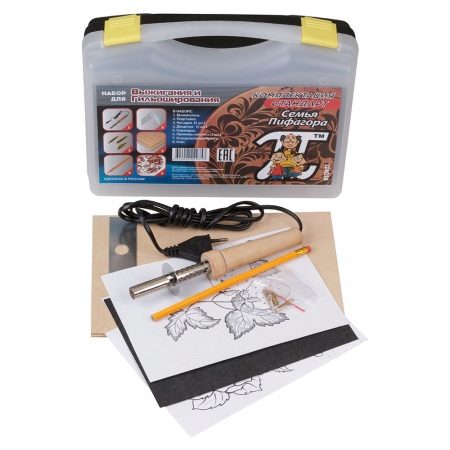
After that, feel free to get to work.
- Draw the outlines. If you are a beginner, then burn many points on each line, which are then easy to connect. When you practice, immediately guide the sting of the burner along the line.
- For clear black lines, the sting should be hot; for lighter lines, its heating should be reduced.
- Then move on to the hatching and inner fill. To reduce fatigue, move your hand towards you. If you make a mistake, it's okay, the image can be corrected with sandpaper.
- Unplug the appliance every 10-15 minutes to cool it down. At the same time, clean the descaling tip with a metal dish sponge.
- Cover the finished image with varnish or paint if you like. That's all.
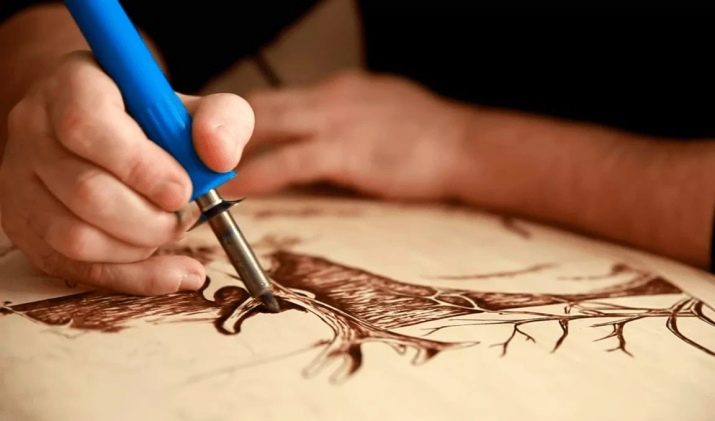
Important! The burner tip is heated to a temperature of 400–500 ° C. Be careful not to touch metal parts. Do not forget about safety precautions.
Masters will be happy to share their secrets and give advice.
- When starting a new line, blow lightly on the sting, then the beginning will be smooth and imperceptible.
- Fill in a circular motion.
- To draw a thin line, draw quickly, and a thick line draw slowly.
- For smooth transitions, work in front of the fan. Then the flow of air will cool the sting, and the line will become lighter. It is easier than adjusting the temperature on the regulator during operation.
Burning wood is a wonderful hobby. It trains perseverance, hand motility, and creativity. And rich imagination helps not only in creativity.
