Woodburning
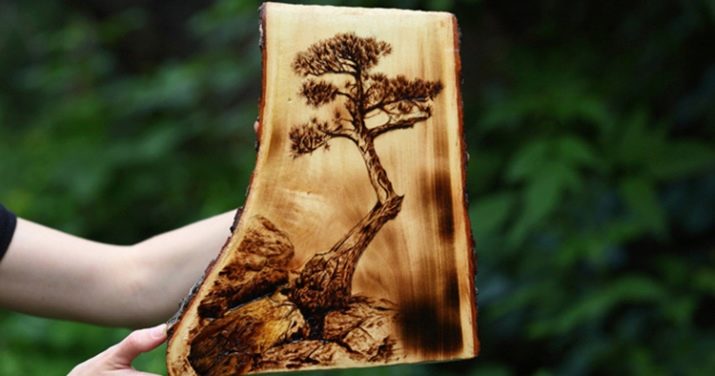
Burning wood can be called the real art of painting with fire. Today it is popular in different parts of the world, professionals create stunning compositions on furniture, boxes that can decorate any interior. Your attention is invited to a more detailed acquaintance with this type of art, its features and methods of burning.
What it is?
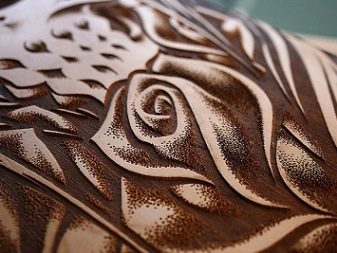
Burning wood, which is called pyrography, has arisen a long time ago. The process consists in applying patterns to the plate using a red-hot tool. Today, electrical appliances and burners are the assistants of the craftsmen. There are no rules here, it is enough to have suitable materials with you, everything else depends on creative thinking and the idea that you want to translate into reality.
In ancient times, experts used stamps and needles that were heated on coals, but today collecting lenses, acids and burners are designed for this.
A product with a scorched pattern can be a wonderful gift, and pyrography can be an interesting hobby that develops creative thinking, trains motor skills and imagination.
Views
Depending on the type of drawing, burning is divided into several varieties, each of which uses its own tools and devices. The work of electricity consists in the application of an electrolyte, which is applied to the contours of the image, after which a high voltage current is launched through the wood. This is an exciting process that will be interesting not only for adults, but also for children.
For burning with modern methods, machines are used that create complex patterns with high precision. Laser equipment is in great demand, and the result is better than doing it manually, but it all depends on experience. With the help of special equipment, you can do large amounts of work, because such a tool saves time. Craftsmen work not only with wood, but also with other types of materials. Heat treatment is suitable for obtaining volumetric and flat images, so you should familiarize yourself with the types of application in more detail.
Deep
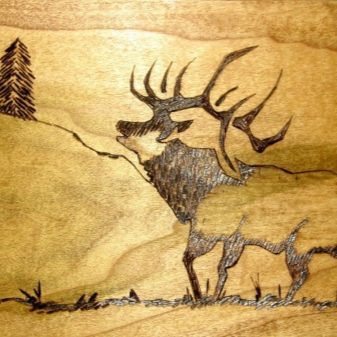
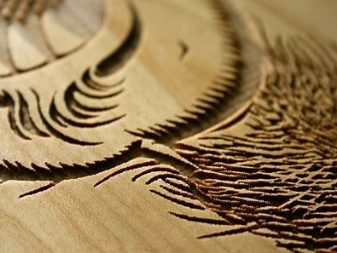
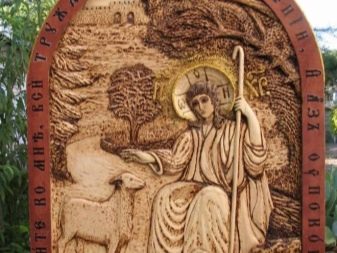
The main image is located on the plane of the canvas, as for the background part, it deepens thanks to the knife-like pin.
Planar
This type of burning consists in placing the background and the main picture in the same plane.
Acidic
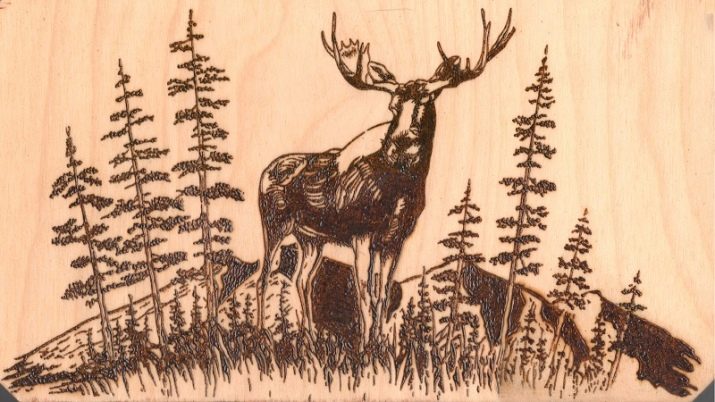
In this case, it is necessary to use chemicals. To begin with, the wood is covered with paraffin, after which everything unnecessary is scraped off along the lines of the image and sulfuric acid is applied.
Pyrotype
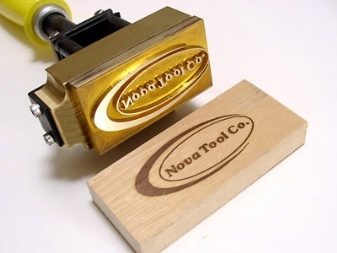
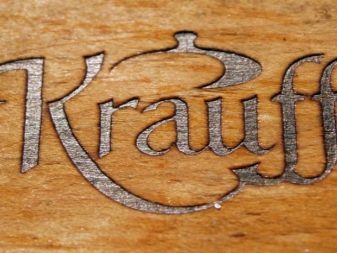
The process resembles printing, experts use ready-made stamps, it is enough just to adjust the relief and clarity of the future image.
Materials and tools
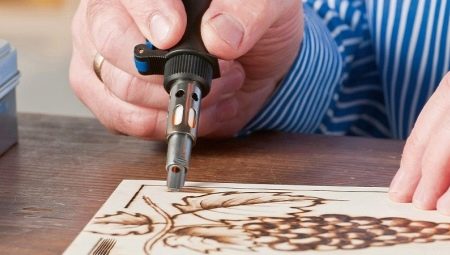
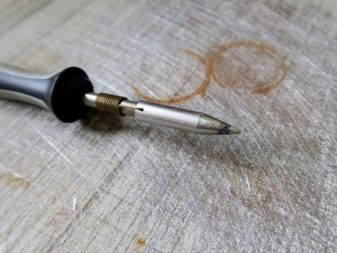
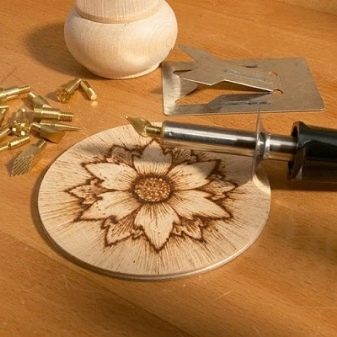
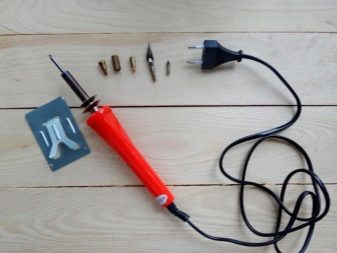
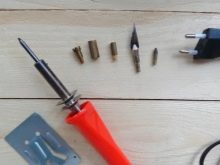
Pyrography requires a device such as an electric burner, which has a brass needle, or a soldering iron, which can be found in many today. The device is equipped with a box with a transformer and a handle with a wire loop that quickly heats up to the required temperature. Loopers are in great demand because they cool down quickly, which is safe, and the heating level can be adjusted. The kits always have replacement loops, they come in different sizes and shapes, so they are practical and easy to use. The disadvantages of such a device include the fact that the service life of the nozzles is short. With this tool, you can make bitmaps from small strokes, which is important to consider when choosing equipment.
As for the soldering iron burners, the device consists of a thick handle with a tip at the tip. Such a unit heats up slowly, but retains the temperature at which you can work for quite a long time. The choice of interchangeable attachments is very wide, besides, the equipment is reliable and durable, so it is in great demand. It should be noted that the attachment can be changed in the process, there is no need to turn off the devices. With this tool, you can make solid fill, shadows, smooth transitions and lines of different thicknesses. The only downside is that the device cannot be repaired. With a quality pyrograph handy, you can create works of art by starting with something small.
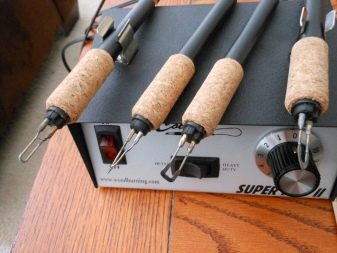
Materials are just as important as tools; several different surfaces can be used for the job. For example, plywood and MDF board will be an excellent basis for creating a beautiful pattern. As for the type of wood, plates of chestnut, linden, poplar, cherry are suitable - the main thing is that it is dry, light and smooth. The paint-and-lacquer coating is not suitable for pyrography, the surface must be clean, without any impurities.
The burner attachments are offered in a wide range, so you can replenish your arsenal depending on your painting technique. In the course of work, you will need fine-grained sandpaper, carbon paper, a simple pencil, pliers, stand, tape, soft cloth.
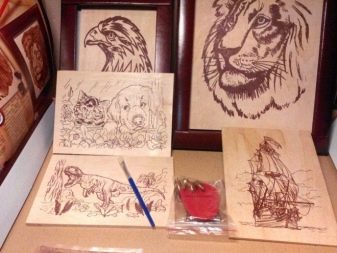
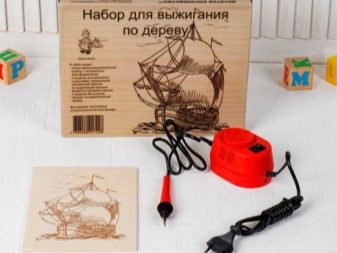
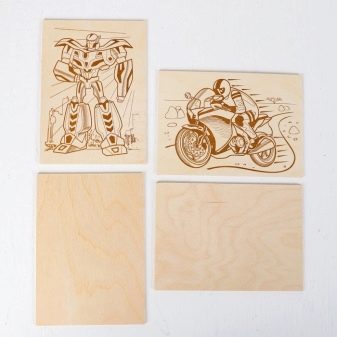
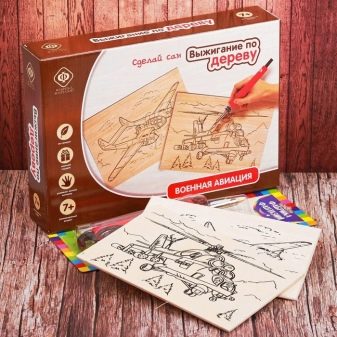
Today on the market you can find ready-made kits for pyrography, so you don't have to collect everything you need yourself, especially when it comes to children's creativity.
Ideas
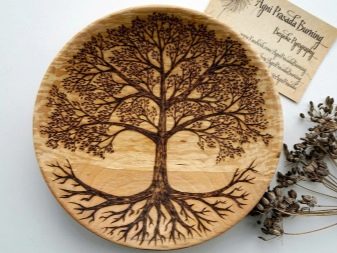
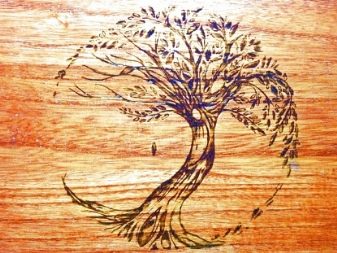
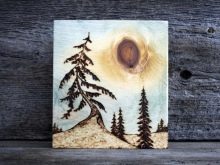
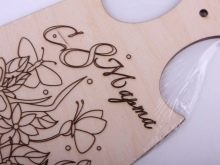
Scorched paintings look amazing and will decorate any interior, if you choose the right drawing. It should be noted that here everyone can show their creativity - it can be a landscape, a motivating inscription or a quote, even a portrait, it all depends on the skill and desire to work. You can find various options for drawings and designs for any holidays that you can do yourself.On March 8, you can make flowers, roses or peonies, and easy schemes can be found on the net if you are going to do this for the first time.
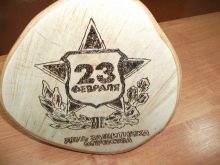
It should be noted that a man will definitely appreciate such a gift on February 23, you can burn a fish in a picture or write an inspiring quote, and if you have artistic ability, then even draw his portrait. If you are doing crafts with children, you can try burning on a cutting board, or patterning an Easter egg. It is easy and fun, the child will definitely like it. As a gift, a box with a burnt ornament on the lid is suitable, there are no restrictions, because having a high-quality device with you, you can embody any idea.
Technology
If you want to learn how to properly use a burner or a laser at home, first you need to study safety techniques, and only then you can watch a master class.
- Preparation. This stage is the simplest, it is enough to collect blanks (boards with sketches), equip a workplace with high-quality lighting, and find the necessary tools with materials. It's best to start soldering something simple if you have absolutely no experience in the field. For convenience, you need a towel, from which you need to make a roller, the wrist will rest on it. Lighting plays an important role as shadows can get in the way and can distort the vision of the painting.
- Basic techniques. If you master these techniques, you can quickly get the hang of using the device so as to do different types of burnout. Drawing points with small strokes that connect into a solid line is called contouring technique. If you need to draw the outline of any objects, this is a silhouette drawing. Of course, the picture will not look complete if you do not convey light and shade, we are talking about simple toning, during which it is necessary to apply dots and do shading.
- Shadows and transitions. A high-quality transition from shadows to light gives expressiveness to any picture. Dark areas are filled with dots and strokes of different depths within the outline. The dotted line can be of different density, if we are talking about a large area, use curly tips, it will be easier this way. The number of black objects in the drawing should be minimal.
- Background. In contact pyrography, a burner is used, and non-contact drawing is done using a stream of flame from a gas burner. The fire is directed to those areas of the canvas where the image should be. Thanks to this method, it is possible to obtain a background of different colors, that is, to tint the picture in an attractive and professional manner. To get a thin line, you need to burn out with a quick movement of the pen, thick ones require a slow needle, and for very thick ones more than one layer will be required. To prevent a fat point from burning out at the end, the pen must be torn off sharply, while being careful not to burn yourself. The glowing tool is held perpendicular to the canvas if points and curves are needed, but at an angle you will get straight lines.
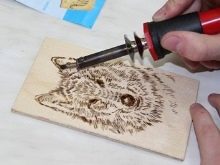
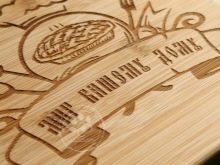
As you can see, there is nothing difficult in working with a soldering iron, the main thing is to practice and not be afraid, because over time you will be able to create paintings and do something original with your own hands, without leaving home.
Observe safety precautions, collect a set of quality tools and materials, come up with an idea and get started. Good luck!
