All about skin burning
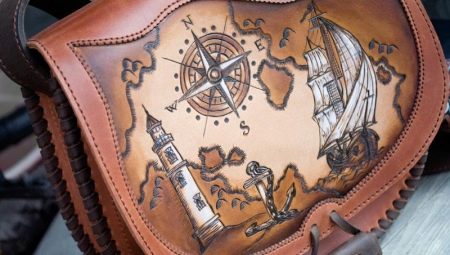
How often we do not know what to give a loved one. Today we propose to consider an option made with our own hands using pyrography technology, but we will talk about burning on a leather surface. From the publication you will learn in detail how to make a scorched applique by yourself, how to make a hairpin or brooch from the remnants of leather.
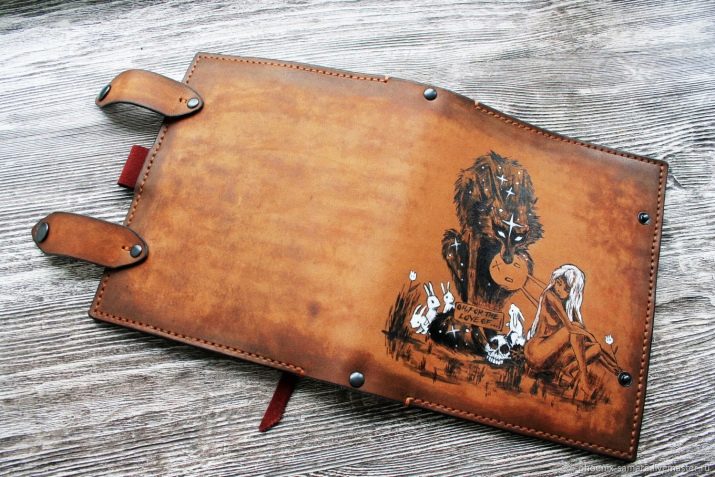
What it is?
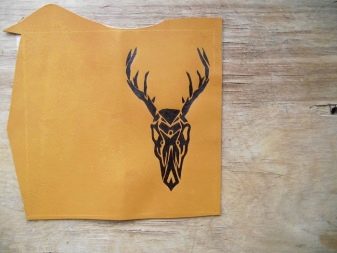
Burning on the skin is a type of pyrography. In this way, you can hide defects on leather products, update a boring handbag or other leather thing, hide frayed stains on a leather jacket.
In the end, if you want to show off with an original gift, then also use this method of engraving on a leather surface.
Your gift will differ from others not only in the fact that you made it yourself, but also in its unusual design.
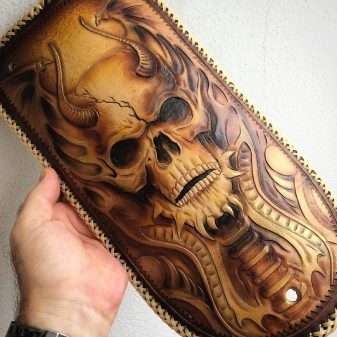
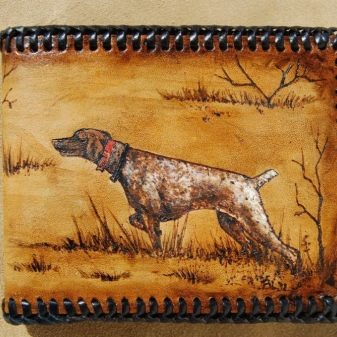
The engraving on the skin due to burning cannot leave anyone indifferent: such a specimen will definitely add brutality to men, and add mystery to a woman's image. Skin pyrography is quite an exciting activity, and you can become interested in it at any age.
It is not necessary to buy specially leather for this - you can use a leather base from an old jacket or raincoat. To decorate the picture, you will need a special device for burning out or a soldering iron; you can also draw on the skin with a laser.
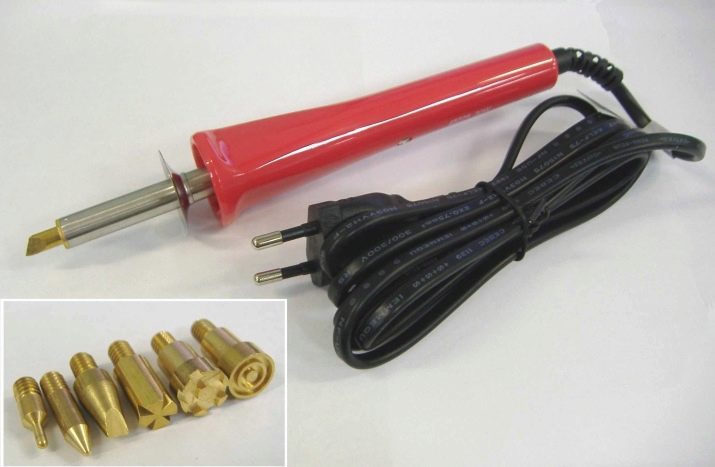
Tools and materials
To get a quality drawing, do not skimp on material. Usually clothes are sewn from goat or pork skin, as well as from veal.
By the way, it is better not to use pork and sheep skins for burning, but polished skins (from cattle) are considered optimal for such a case. The method of leather tanning is of great importance for pyrography:
- fatty;
- vegetable;
- zirconium;
- formaldehyde;
- chrome tanning and other types.
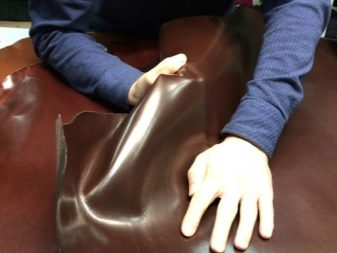
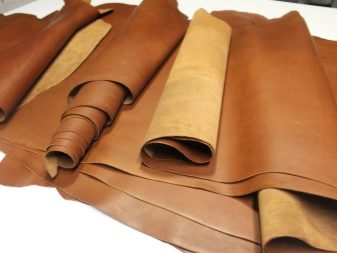
A combination of different methods is often used, but for haberdashery, vegetable tanned leather is the most common. It is a rather dense and ductile material, but expensive due to the fact that it requires complex processing.
Chrome-tanned leather is quite suitable for pyrography.
It is better to burn out on a surface without an artificial covering, because, for example, the polymer film will immediately melt and will release harmful, bad-smelling substances into the air.
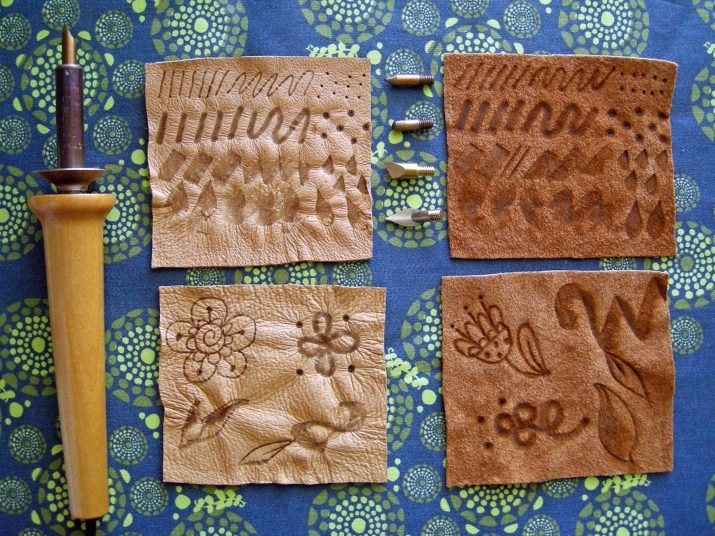
Burning on pieces of crust is permissible - this is a leather material without a treated surface (comparable to a semi-finished product). But as for the tools for pyrography on the skin, there are no special burners for this kind of occupation.
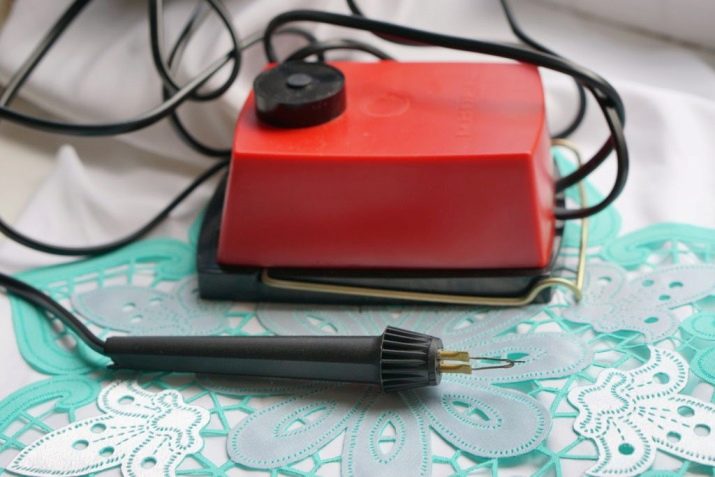
Therefore, those devices are used that are used for burning wood, most of them resemble a soldering iron. To work on a leather surface, it is better to choose such devices that have a temperature control mechanism, because to burn out the base in question, less power is needed than when working on a wood surface.
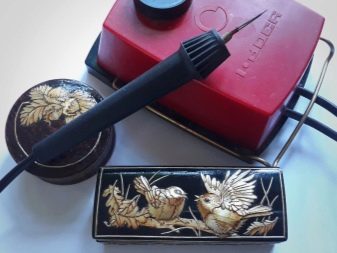

Otherwise, the principle of their operation is the same: the thickness of the lines is achieved depending on the length of time the tip is on the skin area, and not on excessive pressure.
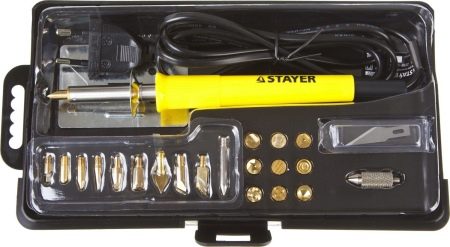
However, there are devices with various attachments - it is easy and convenient to work with such a tool: thin lines and small details can be made with wire attachments or special needles.
The most convenient way of pyrography on the skin is laser burning. Whoever has such an opportunity, it is better to purchase such a device.
For beginners, special kits are sold, which include pieces of material and various accessories for the convenience of work.
Progress
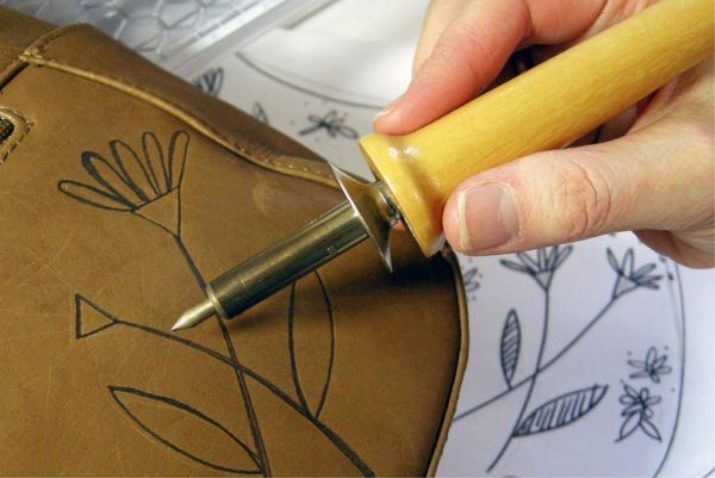
It is only at first glance that it seems that it is difficult to burn pictures on leather material, in fact, the technology of this process is quite simple, and it is quite possible to master it at home. Following our master class, you can make a hairpin fish with your own hands.
And believe that she will fulfill all your desires and will certainly bring good luck. So, we procure the following tools and materials:
- skin (preferably light shade);
- tracing paper for drawing;
- burner;
- carbon paper;
- scissors, marker, PVA glue, paper fixers.
Let's describe the progress of the work.
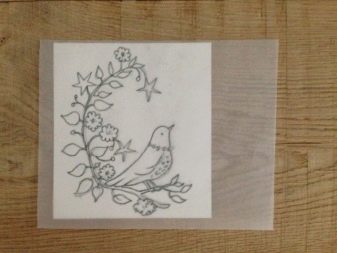
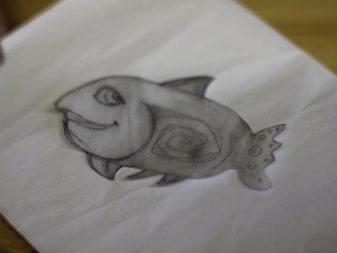
- We select the desired drawing of the fish and translate it into tracing paper.
- Now you need to make a template, for this we simply glue the tracing paper to the paper and cut it along the contour.
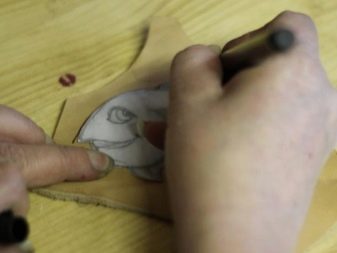
- Place the template on the skin, draw a marker along the contour. In order not to have to remove the remnants of the marker, choose brown (or black, but not colored).
- Using a carbon copy, we translate the drawing (details inside the contour). In this case, we take a simple pencil or non-food paste from the pen, just a wooden stick will do.
- We place the template strictly in the allotted contour, and so that the sketch is printed well, we press quite hard on all the lines of the drawing.
- We also outline all internal parts with a marker for ease of work.
- To make it easier to move the skin during the burning process, you can put it on a piece of board (a chopping board will do as well).
- Before work, open the window or window, provide fresh air in the room where you will burn, because from the very first movements you will feel a specific smell.
- First, the general outline of the drawing is outlined, then the inner central details are burned out.
- At the end of the process, the product must be allowed time to cool down.
- As the drawing cools down, it must be cut along the contour. Do it at once or in two stages: first, cut with an allowance, then directly along the contour - this way there are more guarantees that the figure will not be damaged.
- Further, the product can be decorated at your discretion and taste: the figurine of the fish can be painted with acrylic paints or felt-tip pens, you can circle it with a permanent marker, add sparkle.
- After the product has acquired the desired shape, color and shine, an additional piece of leather (you can also use a different color) should be glued to it on the back side to make the product hard.
- When the glue base is dry, the fish is cut out again with an additional base.
- To highlight the relief of the product, it is moistened with an adhesive composition (1 teaspoon of PVA glue is added to 200 ml of water).
- When the composition dries on the surface of the "fish", you can walk along the inner lines of the drawing with an awl. If there is no awl, sharp elements from a manicure set or an ordinary bamboo toothpick will do.
- If you want a darker hairpin, then darken the lines of the "fish" with a special compound or ordinary shoe polish containing wax.
- Next, turn the product into a hair clip. To do this, pierce two holes in the "fish" and pass a decorated stick or buy a special mechanism for hairpins at a hardware kiosk.
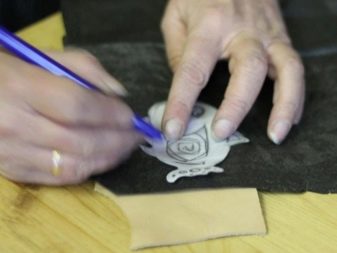
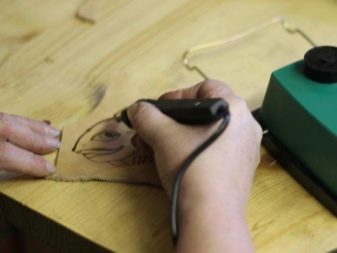
Following the example of our "hairpin fish", you can make a brooch by attaching a pin or clasp at the back. You can simply burn out any pattern and make a leather applique (in this case, you can do without an additional base), using a special machine for sewing leather, attach it in the right place.
There are a great many options for making products by burning a pattern on the skin - it all depends on the imagination and desire of the master. The main thing is to learn how to do this work correctly, observe safety measures and enjoy the process itself and the result!
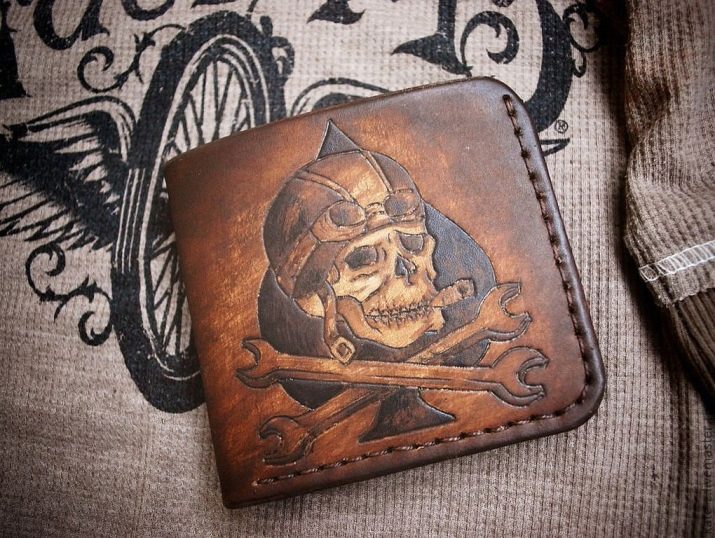
Master class on skin vision in the video below.


