All About Burning Portraits
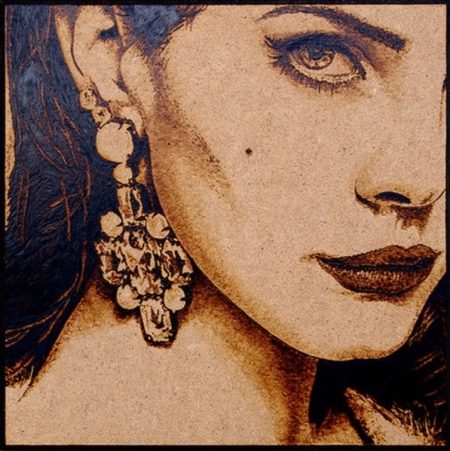
Burning wood is a craft that has come to us since ancient times. It has become a hobby for many of today's adults and children. In this article, we will tell you how to create portraits by burning them on a tree - this is a new direction, which, according to experts, has already become very popular.
Peculiarities
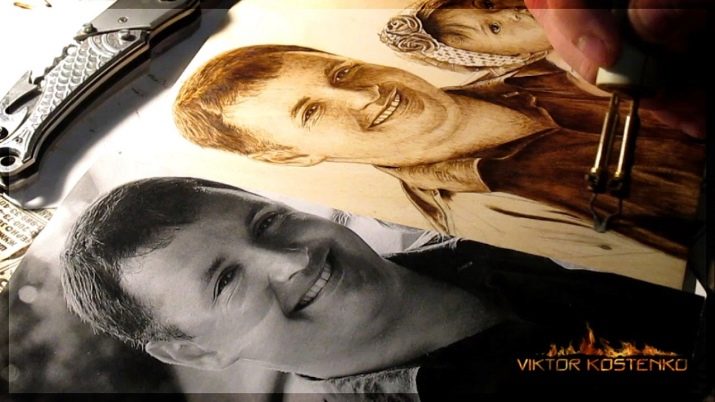
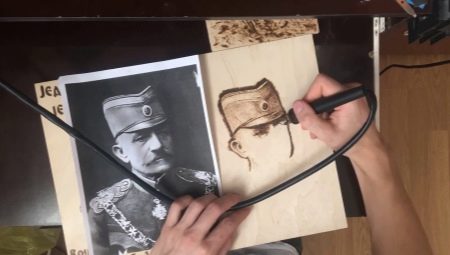
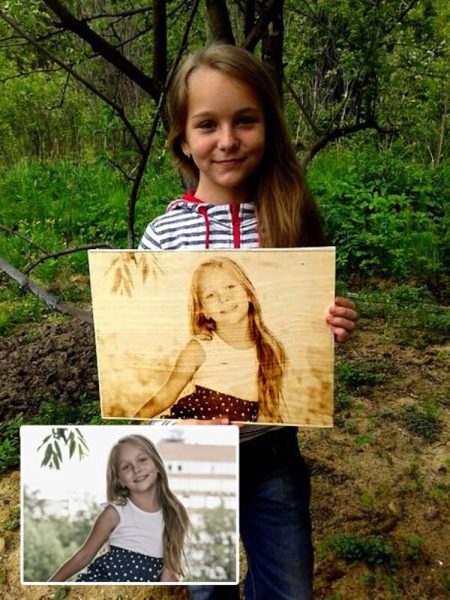
Burning portraits on wood from photography is becoming a hobby for those who love to work with wood and are inclined to art. However, it is not necessary to have artistic skill, because the modern technique of pyrography involves copying a drawing onto a wooden plate.
A scorched portrait is also obtained after applying the photo to the base. The process is so exciting that many children and adolescents become infected with it. And thanks to the improvement of technology, they can engage in this type of decorative activity on their own, developing hand motor skills.
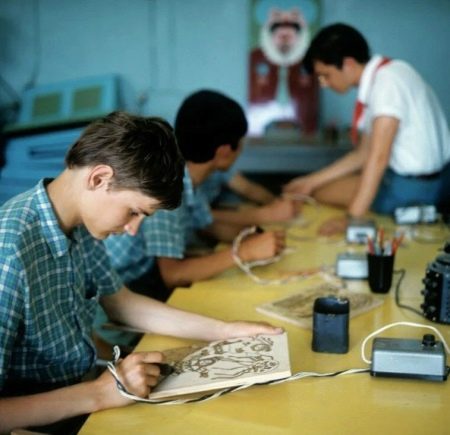
By the way, a modern device for burning out was invented by a 15-year-old teenager more than half a century ago (in 1962). Unlike its predecessors, the device did not overheat, which made it accessible to schoolchildren.
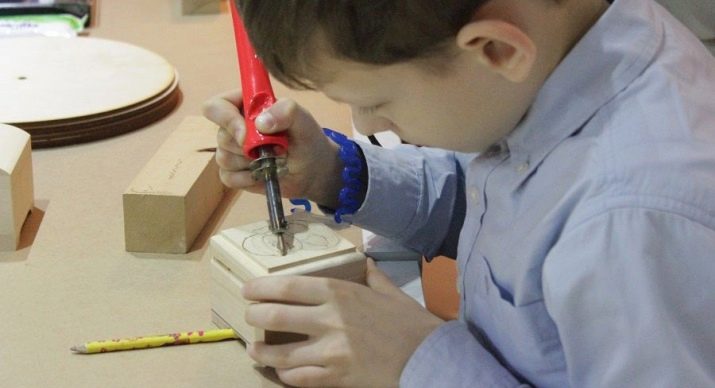
Burning wood perfectly develops imagination, attention and has a calming effect on the master. You can burn on almost any wood, be it a processed plank or just a saw cut from a tree.
The basic rule is that the wood base for burning must be dry.
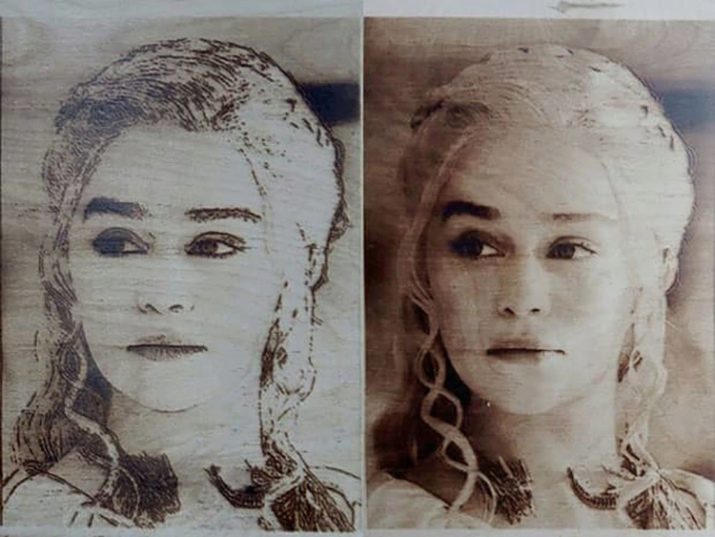
Pyrography can be contour (like an ordinary sketch on paper) and silhouette (when images are shaded). Pyrographers use a combined approach to create complex work, but beginners are encouraged to start with contouring techniques. This does not require special skills.
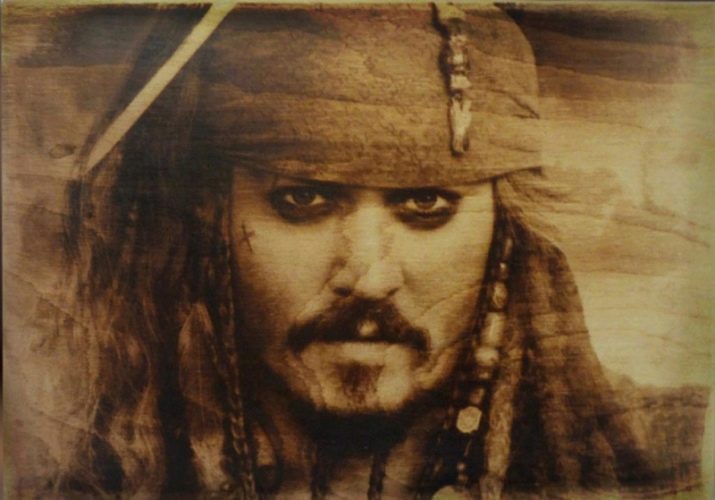
Experts point out that the scorched paintings are an eternal image. If a photograph can turn yellow or simply tear, then in this case only a purposeful mechanical effect can ruin the "wooden portrait", and so it is considered durable.
Tools and materials
Today on sale you can find ready-made sets for practicing pyrography. So if you are a beginner, it is better to take advantage of such a purchase, which includes woody bases for burning and even sketches of future images. In addition, the set contains a pyrograph (main instrument) and the following elements:
- paper (sanding and copying);
- rags;
- brushes;
- a set of paints and pencils;
- eraser;
- wax.
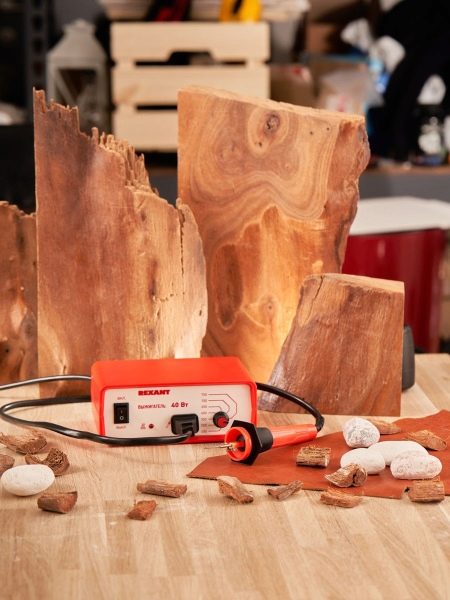
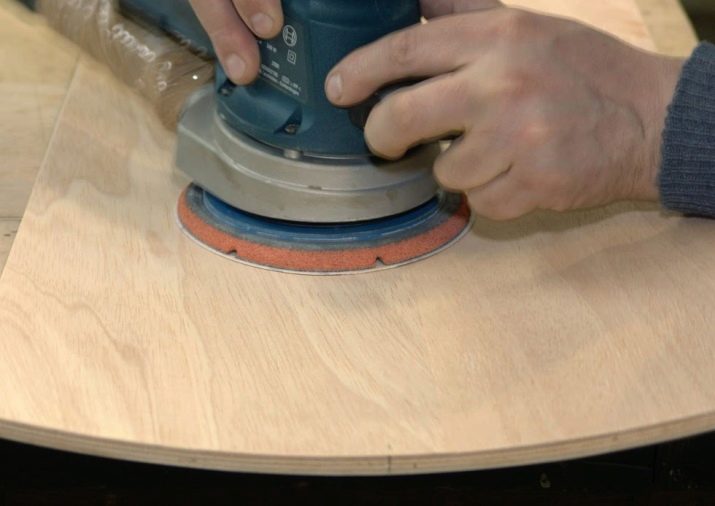
But if you intend to engage in wood burning on a professional basis and carry out the entire process from start to finish, then it is better to purchase tools and materials separately. First, you need equipment to process the wood base for burning.
Then you need to purchase a burner. It comes with hard nibs and wire tips. For beginners, the first design option is recommended. A pyrograph with a hard nib has attachments of various thicknesses and shapes (in modern sets, there can be up to 20 of them).
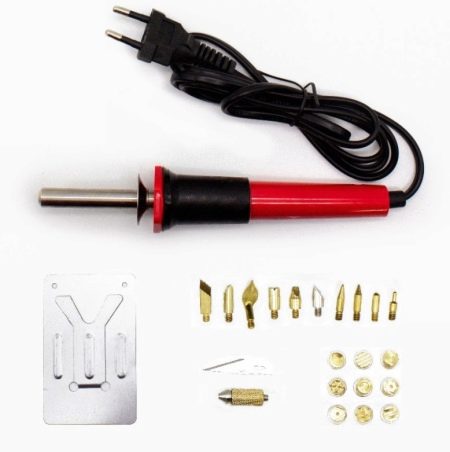
With such a tool, it is much easier to burn out portraits, draw various lines, hatch shadow areas, and so on. In addition to a set of nozzles, a stand for a soldering iron is included in the standard kit. As for wood for a portrait, the following requirements are imposed on it:
- the structure of the tree should be homogeneous and fine-pored, not resinous;
- there should be no cracks and scratches or other mechanical damage on the surface;
- for a more advantageous background, choose hard tree species with light shades (birch, linden, poplar, chestnut and others).
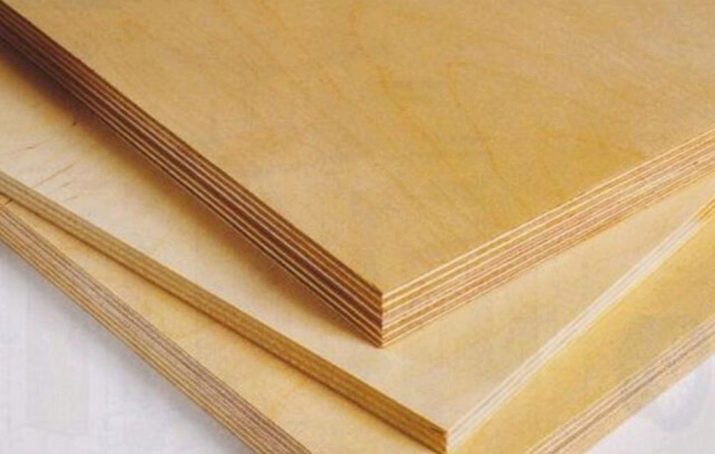
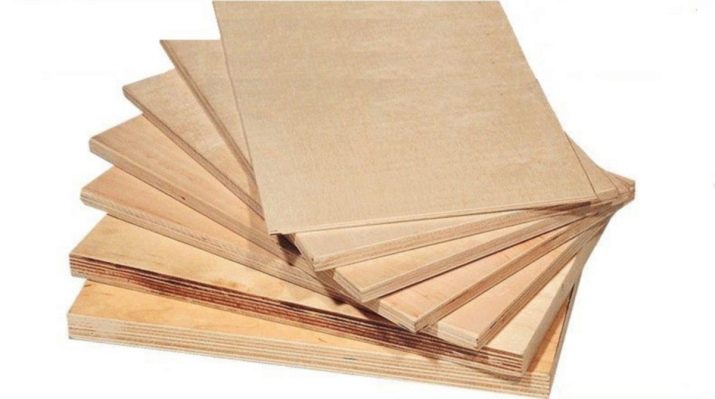
Choose ready-made sets of wood base for burning. Such kits come with ready-made images, but if you need your own sketch, then it is better to purchase a set with blank boards.
Using a pencil or pen, you will independently apply the drawing to the base, and then pick up the pyrograph.
Preparation
The workplace should first of all have a burner and a wooden plate or block of wood. Further, depending on the level and severity of the occupation, the pyrographer stocks up with a wire brush for cleaning nozzles, a jigsaw, a carbon copy, pliers and other tools that will be needed in the process of decorative work.
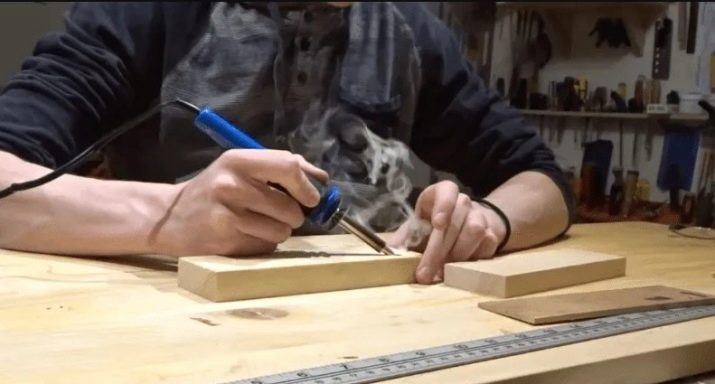
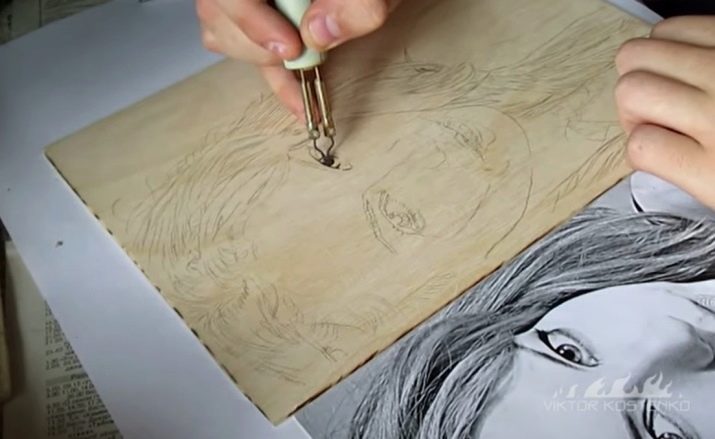
A scorcher-portrait painter, of course, will need a sample (photo) or a model (but rarely does anyone undertake to burn a portrait right from the model). Drawing (or copying) can be done with either a pencil or a pen, so these writing instruments should be at hand for the master.
In addition, take care in advance of a good table surface where you will work, as well as high-quality lighting for the workplace (you can use only natural light or turn on an additional table lamp).
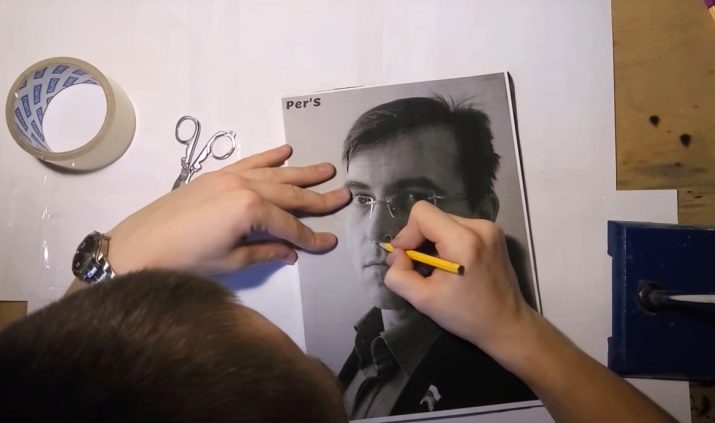
You may need to support your arm (for this, put a special roller under your wrist or just roll a towel), well, start working in a respirator. Some people wear a gas mask when burning out, but this is an unnecessary measure, a respirator is quite enough. The fan will also help.
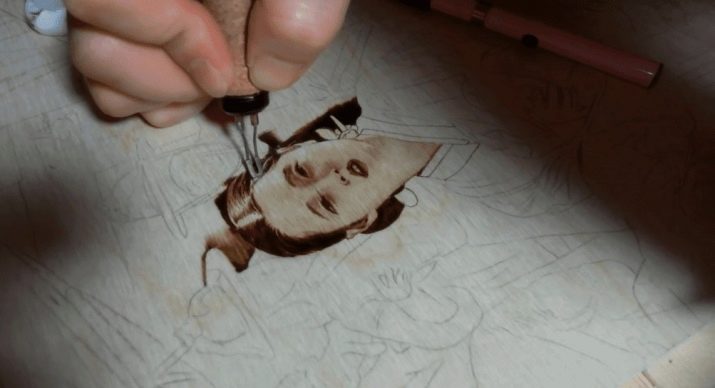
How to burn properly?
A portrait or painting with your own hands is easy to do if you follow these rules and tips.
- Wood engraving is started after the tip is warmed up. The nib should take on a dark red color, after which you can start working.
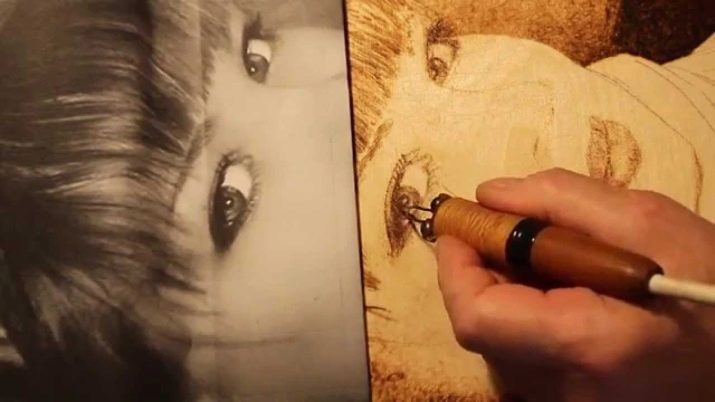
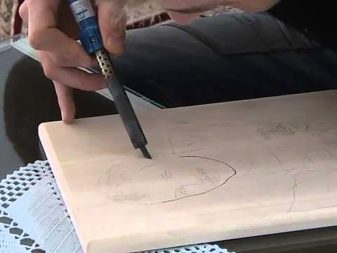
- The burner attachment is held like a pencil.
- To prevent the device from heating up, it is periodically turned off to cool down (every quarter of an hour) and placed on a stand.
- Fine strokes are drawn slowly for a more accurate effect.
- Thick lines are also drawn in slow movements.It is possible to increase the intensity of the color by changing the temperature (if there is such an adjustment in the working tool), but in no way due to strong pressure on the pen.
- If you hold the pen in one place, the line will be deeper.
- To shade the area, all the contours are first outlined and only then they start burning out the middle (for this, the wide side of the feather is used).
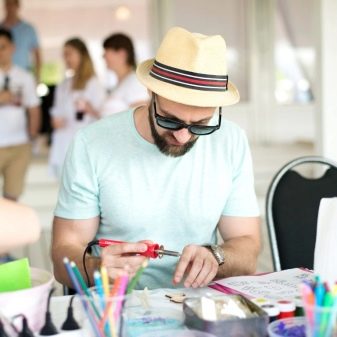
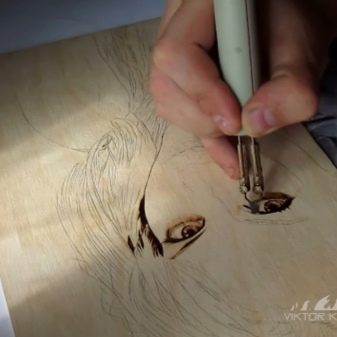
After burning, the surface of the engraving is ground to remove any charred areas.
If desired, the picture is painted with paints, then varnished.
Burning portraits is a fun process, but it is not so easy to transfer an image to a tree. There are several options for this process.
- Redraw the portrait with a pencil on a wooden blank and then start burning, observing the above rules (the redrawing method is more suitable for professionals or those who have drawing skills).
- Beginners can use carbon or graphite paper.
- The modern technology of transferring a picture to a tree is when a picture is printed on a printer and attached to a wooden base with its front part. A heated flat nozzle smoothes the reverse side of the sheet - thus, the ink is imprinted on the wood.
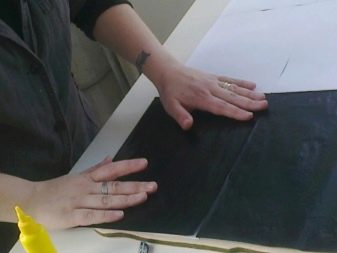
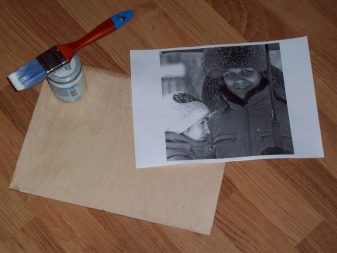
You can also use plain parchment paper for copying. As soon as the drawing is applied to the surface, you can start engraving along the indicated contours.
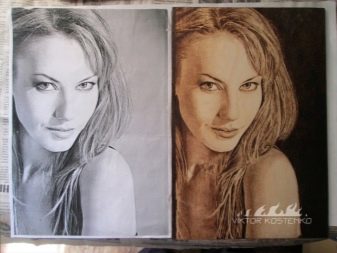
The scorched portrait is a good gift, a real surprise. Well, this occupation itself from a hobby may well turn into additional income. Until professional studios are embraced by this new business idea, many hobbyists can do well.
